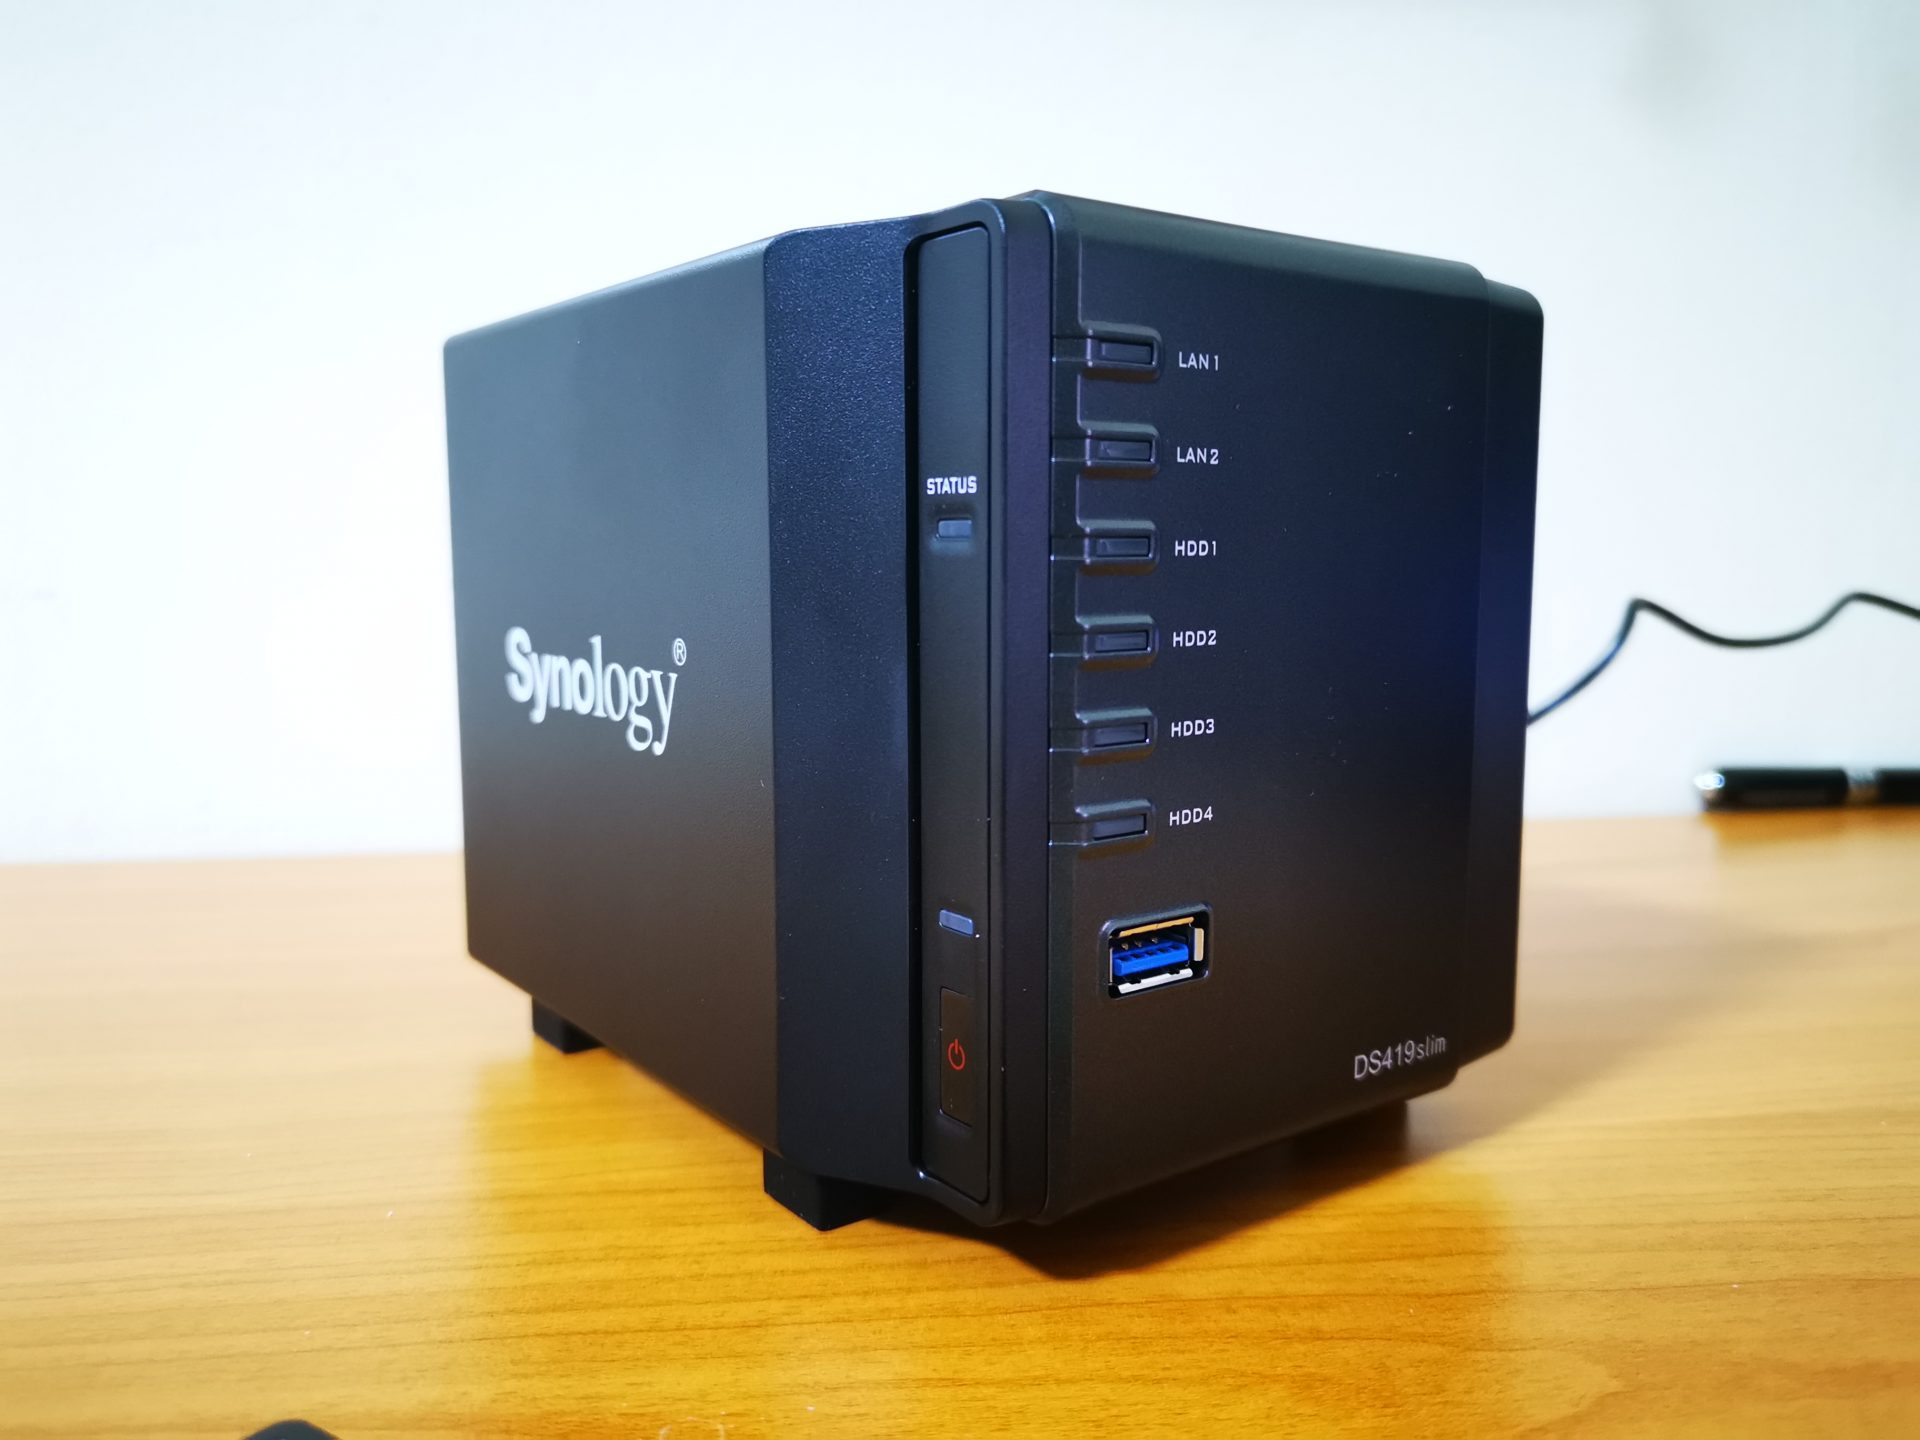
When it comes to choosing a Network Attached Storage solution for your home or office, the physical size the system unit isn’t usually one of the key factors for consideration. That is also why manufacturers don’t develop small form factor NAS solutions. It is only until recently, when Synology decided to release the new DS419slim NAS system unit. The DS419slim is for the niche segment of consumers who wants a good NAS system, but do not want it to take up too much of a footprint at home or in the office.
Introduction – Synology DS419slim NAS
The DS419slim NAS prides itself in its size. Measuring at a mere 120 x 105 x 142, this NAS about 4 times smaller than typical 4-bay NAS systems. There is just one caveat: The DS419slim NAS only supports 2.5″ drives.
So, it really boils down to what you are trying to achieve. While 2.5″ storage drives are usually more expensive than its 3.5″ big brother per GB, they really do provide the advantage of a smaller footprint. Moreover, if you are planning to configure a NAS with purely an array of SSD drives, the DS419slim does the work optimally without any wastage of precious physical space.
That is what makes the DS419slim so unique – it won’t satisfy everyone, but only the ones who truly seeks the value that it brings onto the table.
Design and I/O
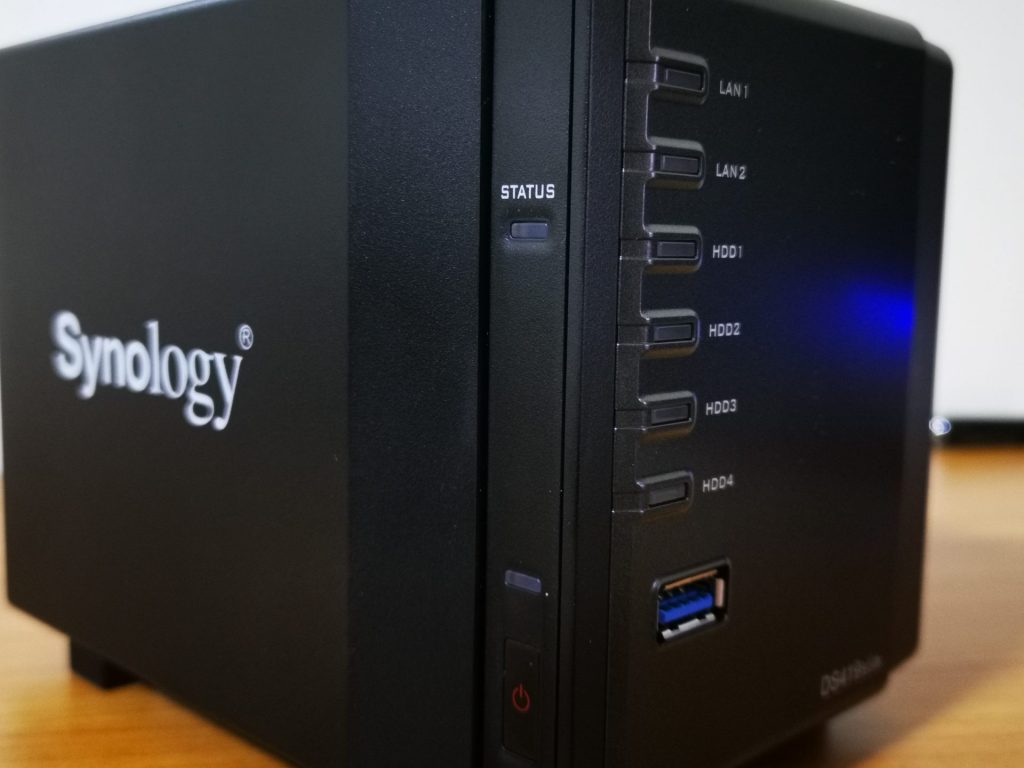
The Synology DS419slim comes with a minimal design. At the front, we can see the power button and its indicator LED. On top of it, there is a status LED which shows us if the device is starting up, operationally ready or facing an error. On the front panel, there is an indicator LED for each of its 4 hard drives, as well as two of its Gigabit Ethernet ports. This NAS also has a front facing quick access USB 3.0 port.
The USB 3.0 ports can be used to connect to any other USB storage devices, printers or even WiFi dongle (which allows you to connect to your network wirelessly).
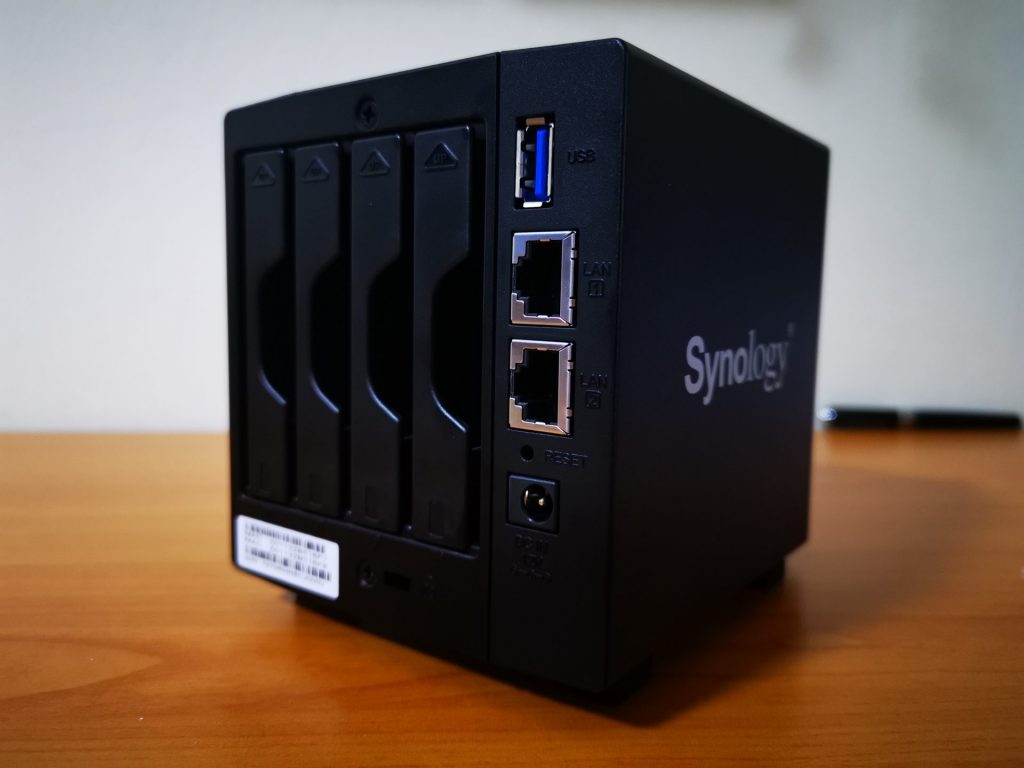
At the rear, we can see another USB 3.0 port for expansion/other applications. There are two Gigabit LAN port, which also supports Link Aggregation and Failover support. It will be useful if you plan to use the Synology DS419slim as a SSD based NAS server and require that additional bandwidth for optimal data transfers between your computer and the NAS.
There are also 4 tool-less 2.5″ storage hot swappable drive bays.
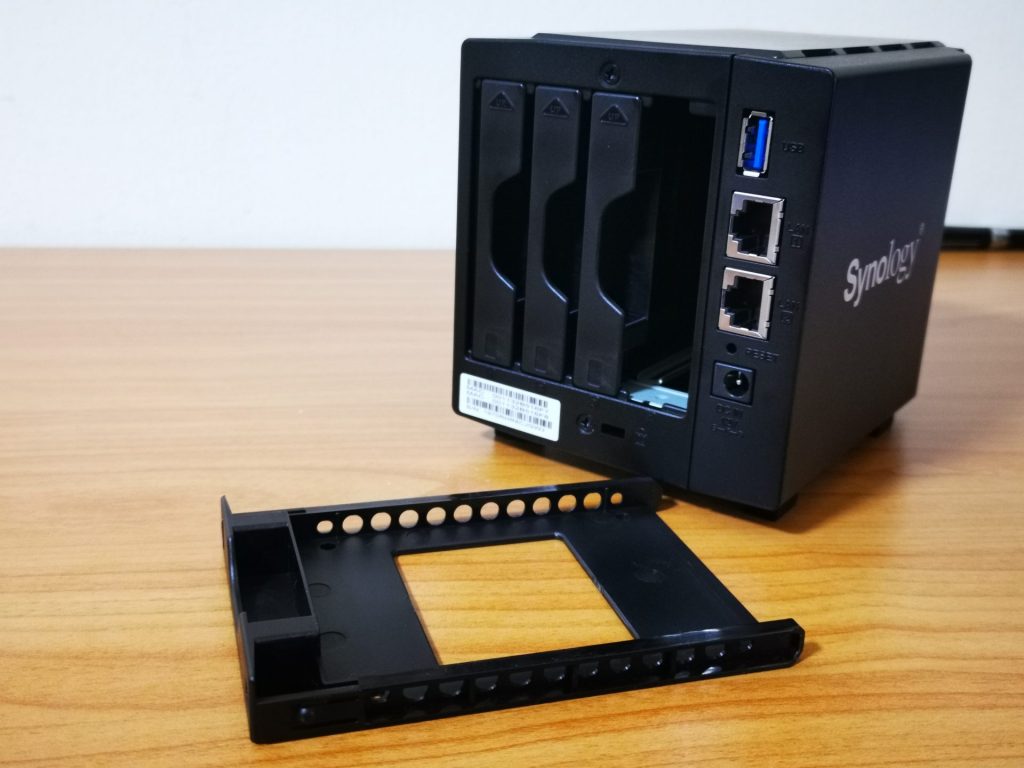
Installing drives in the drive bays is quite straightforward. You can simply pop the drive into the bay, secure it with the provided screws and then slide it in directly into the NAS. It’s really as simple as that!
Setting up the Synology DS419slim NAS
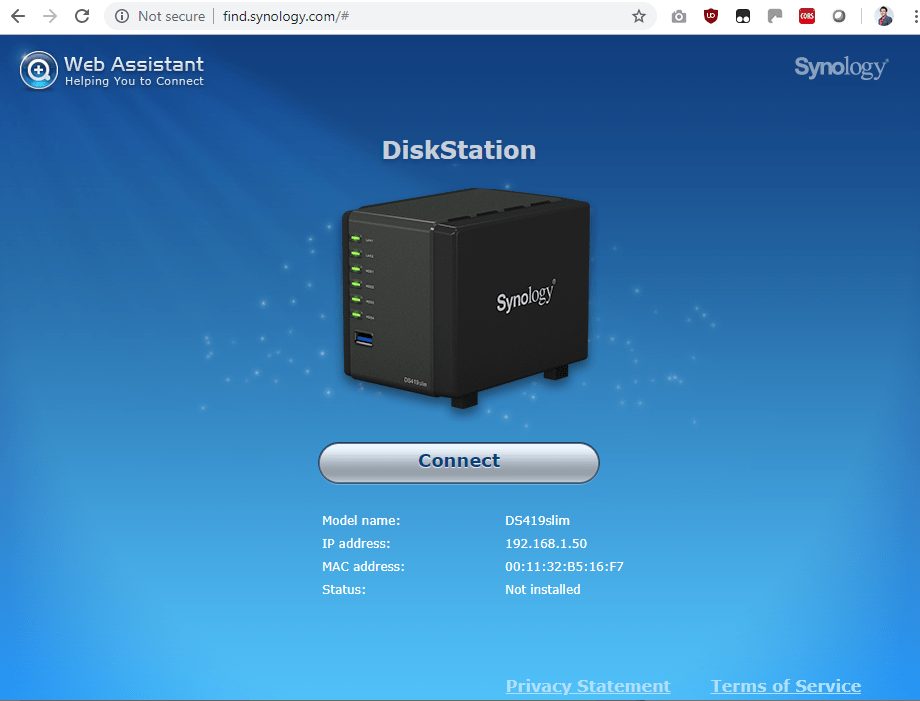
After connecting the NAS to the network via a Ethernet cable, you just have to visit find.synology.com on any browser to reach the Synology DiskStation setup page. Synology made it easy to access the NAS for setup, without the need for any prior technical knowledge in computer networks. We can imagine that without this important feature, it would be quite difficult for the layman to find the IP address of the device and access its setup application.
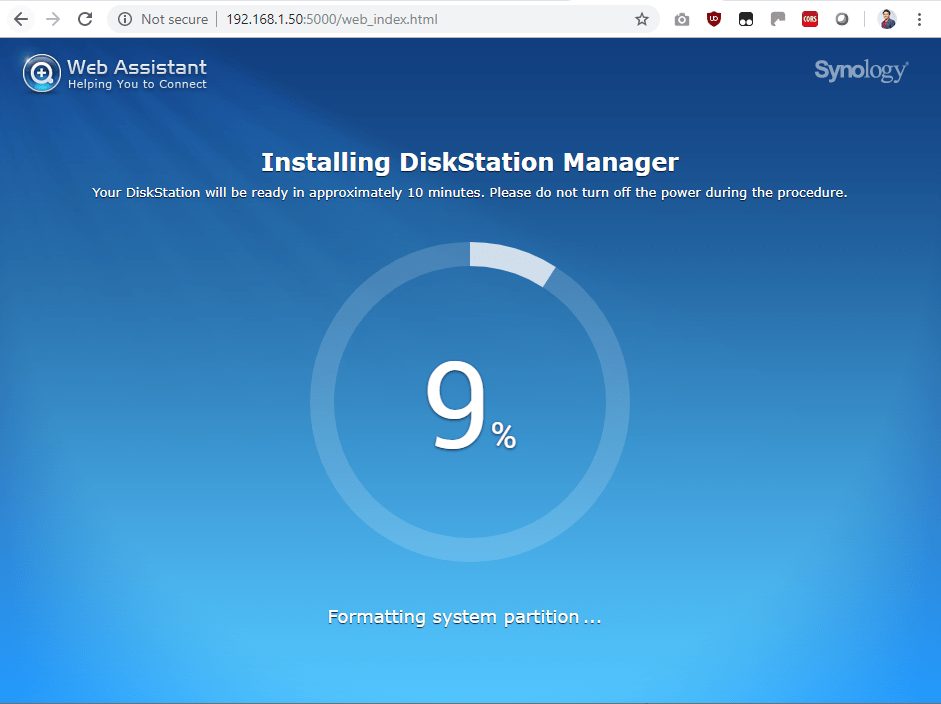
After following a few simple instructions (clicking next, and reading through T&C), the NAS will look for the latest firmware package, update itself and install the rest of the services. The whole installation took about 20 minutes.
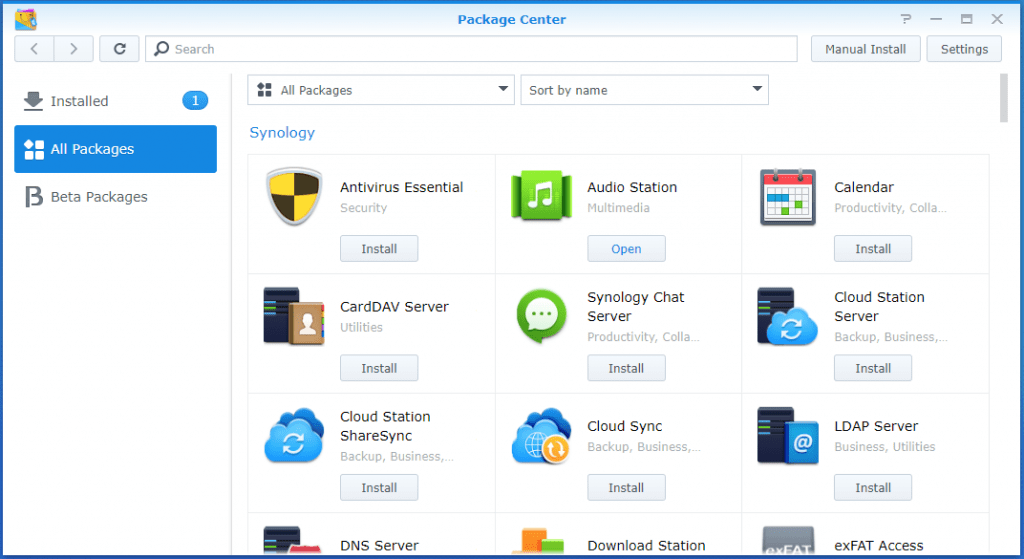
There are also optional packages that can be installed on the NAS. Synology calls the operating system on their NAS DSM (DiskStation Manager). DSM comes with an app store known as “Package Center”, where you can also add new features the Synology DS419slim such as cloud backup, media server, web server, download server etc. In fact, NAS can be a full-fledged server running applications of your choice on your network.
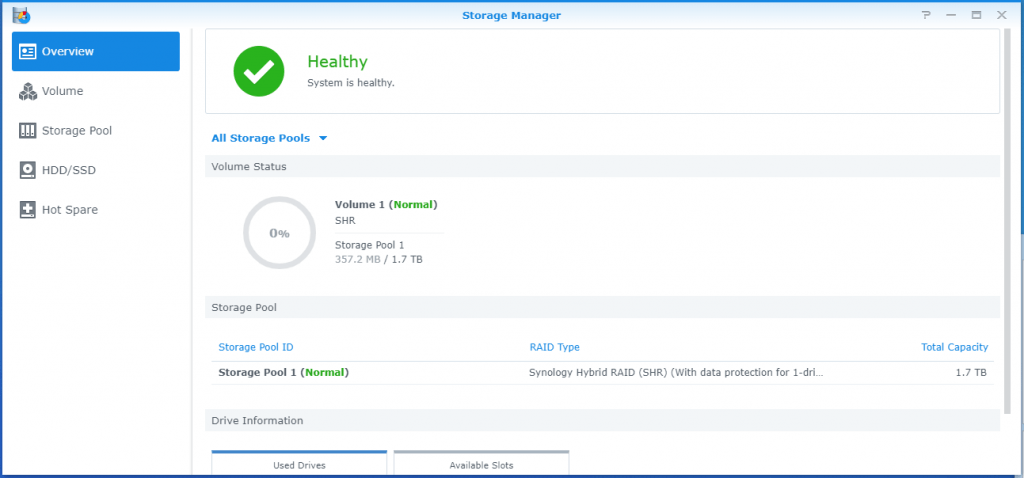
Interestingly, when setting up the NAS, DSM also automatically configures your storage drives. It determines the best possible storage and backup configuration and just sets it up right away. This makes the whole installation process fuss-free.
We have experience on other NAS brands which requires some knowledge on complex disk drive, and storage configuration terms that are only unique to the brand. It was painstakingly complex to set those NAS systems up. Synology has made it extra simple to get the DS419slim up and running. It’s something which we can appreciate, now that we realized the simplicity of set up.
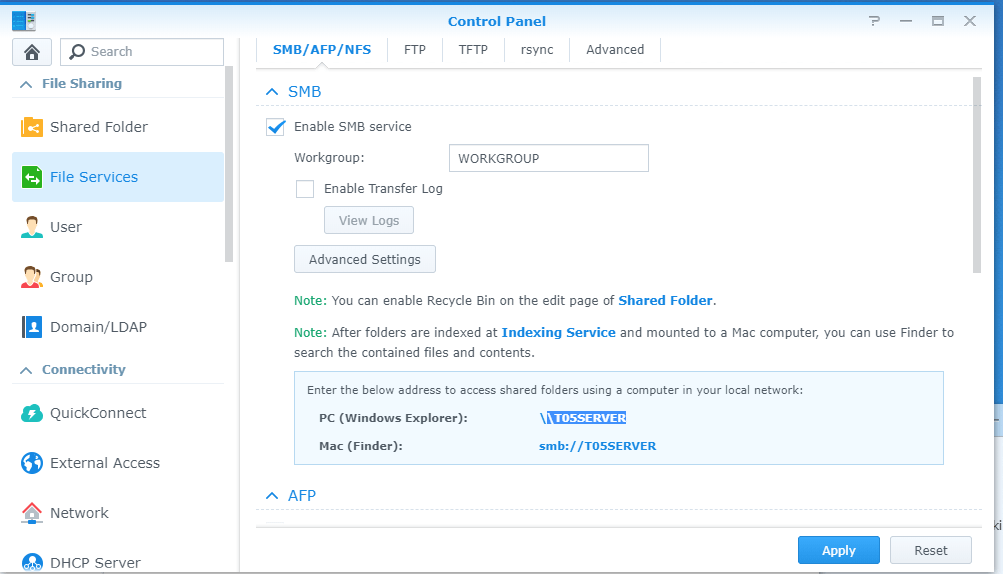
Once the NAS has been fully setup, we just needed to configure the File Services so that we can access the files on the NAS. Honestly, it’s really less of configuring the file service, but more of just activating it. We simply have to check the enable checkbox, then click apply to get the file share up on the network.
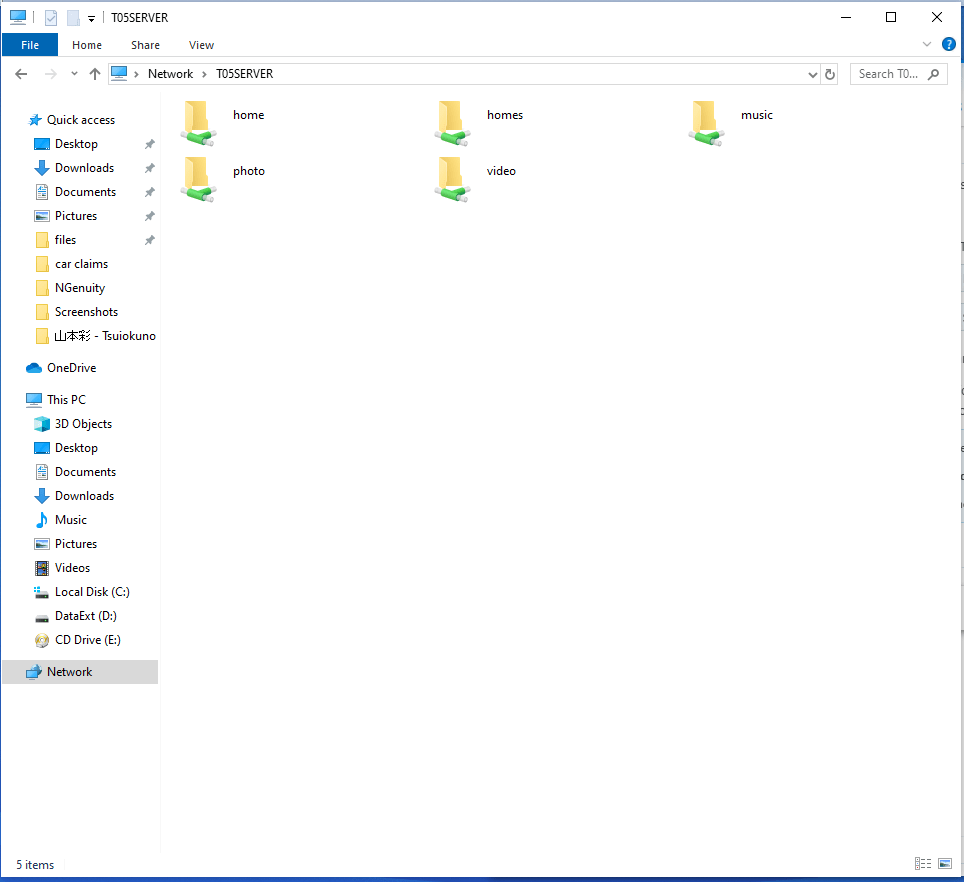
With SMB service enabled, the drives on the NAS could be access through all the devices on the network.
NAS Performance
Our NAS is setup with 2 x Seagate IronWolf 110 SSD. To find out more about the SSD’s performance, you can read our full review of it here.
To test the performance of the NAS, we had a PC connected to the same network switch with a patch cable. We used the SMB protocol to transfer files between the network. This is done by a standard Windows based drag and drop transfer, as well as using the CrystalDiskMark software to Read/Write files from/to a remote folder on the NAS.
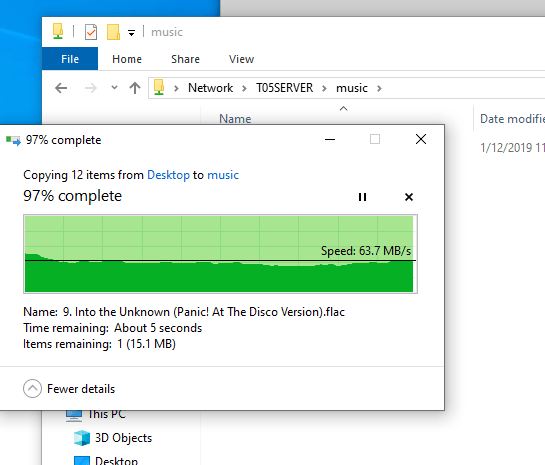
Based on the Windows transfer test which writes some data files onto the disk on the NAS, we managed to attain a speed of about 60MB/s. This considered to be quite decent as the transfer is done over the network.
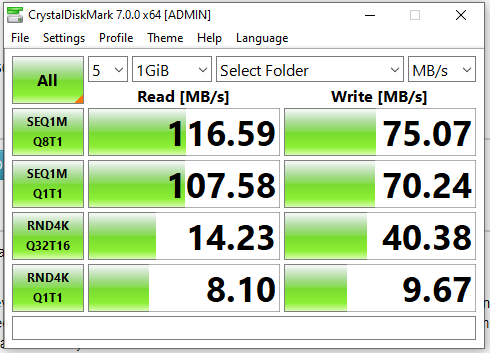
CrystalDiskMark showed higher scores, showing the true potential of the performance of the NAS.
If you take a closer look, we can see that the network is the main bottleneck factor of the NAS. While it is known that the Seagate IronWolf 110 SSD is capable of speeds beyond 500MB/s, we are only achieving a maximum of 116.59MB/s read on the NAS. Theoretically, a gigabit connection saturates at 125MB/s (125MB/s = 1Gbps). The CrystalDiskMark results suggests that we are already maximising out the Gigabit Ethernet link.
Conclusion
Despite the small size, the Synology DS419slim NAS comes with all the features and greatness you can expect out of a Synology NAS system – easy setup, third party app support, etc. Understanding that users are likely to equip the NAS with a SSD drive, Synology has even added a second Gigabit Ethernet port to bridge the bandwidth gap between the network and the drives. However, we realised that this could be insufficient, especially when SSDs are expected to reach speeds near 6Gbps, but only 2Gbps of bandwidth can be attained by the network.
If the Synology DS419slim NAS is equipped with a 10Gbps network interface, it would make more sense for it to be installed with a full SSD array. However, for this product, perhaps a conventional hard drive array with a separate small capacity SSD that act as storage cache will be more suitable.
In conclusion, if the physical size and footprint of your NAS really matters, the Synology DS419slim NAS fits the bill really well. Else, there’s always a more sensible choice out there.


