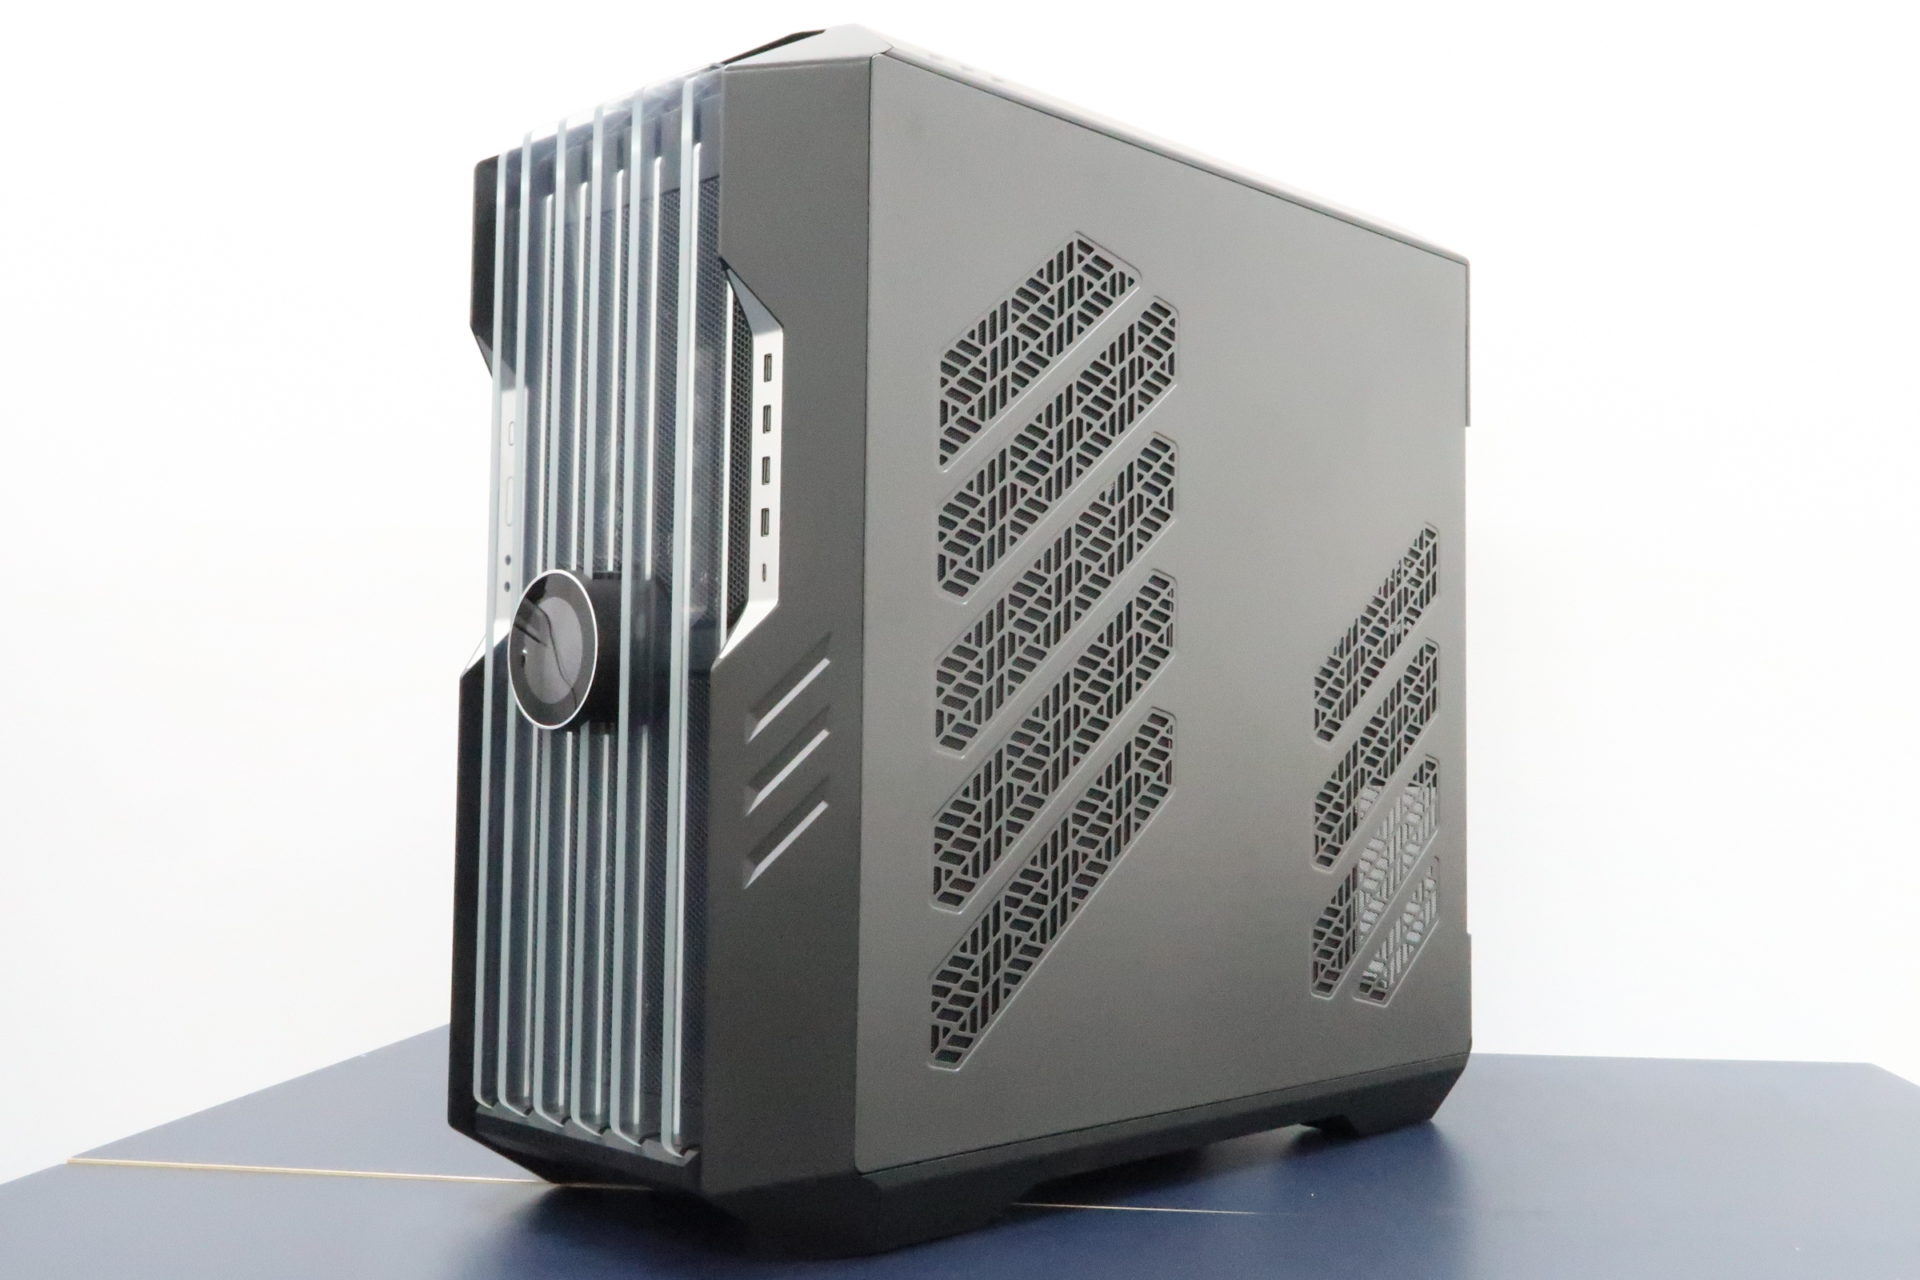
Veteran system builders will be familiar with Cooler Master’s HAF brand of products. HAF, which is also known as High Air Flow, is a brand of Cooler Master cases that is specially designed to provide an optimized air cooling solution. One of the key feature of HAF cases is the use of large fans installed around the cases which allows huge airflow to be drawn and exhausted effectively. With the use of the large fans, the overall system can still remain relatively quiet, as large fans are quieter than small fans. Of course, the HAF cases usually receive many awards for its performances and innovations.
More than 10 years since the introduction of the HAF cases in 2008, many things have changed. There is now a general shift in the preference in case design and many innovative features were introduced. This year, at the Cooler Master Chronos Summit held in February, a new HAF Flagship case was introduced – the HAF 700 EVO.
Cooler Master HAF 700 EVO
As a system builder that works mainly on mid-tower cases, my first impression of the HAF 700 EVO full tower case was that it’s huge. Building a system on the HAF 700 EVO is not easy as well, as the sheer weight of the case will make you struggle when handling it. Thankfully, there are still many interesting features on the case that still makes it an enjoyable process. In fact, building a PC within the HAF 700 EVO is actually quite different from your traditional builds. While I go through the various features of the case, you would probably understand why I say so.
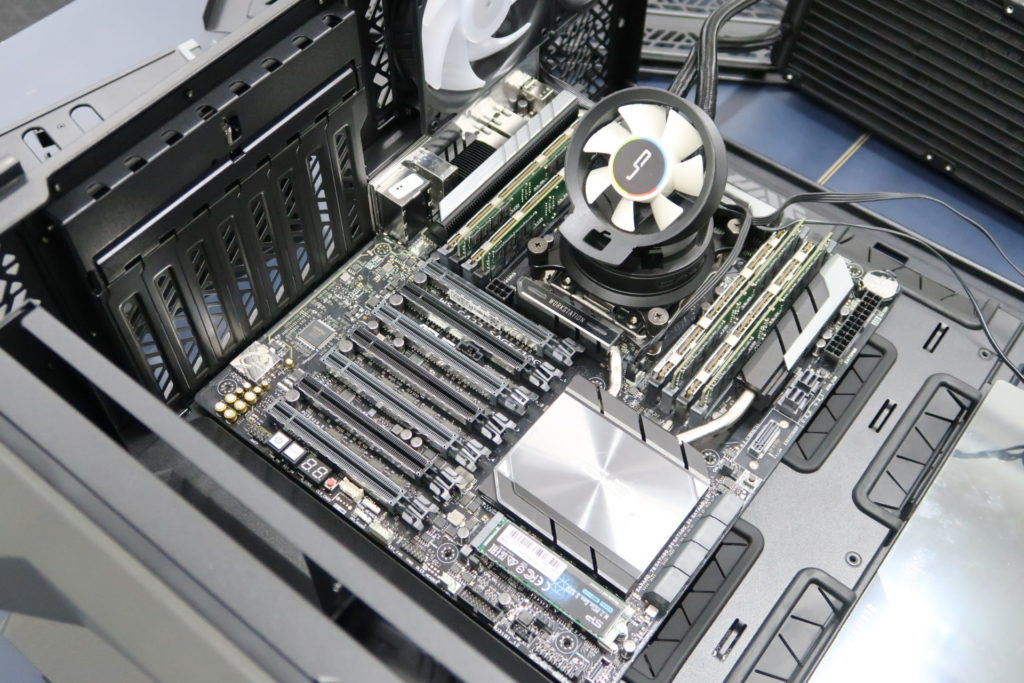
For a start, because the HAF 700 EVO is a full tower case, it also supports motherboards that are sized larger than usual. I’m not talking about your standard E-ATX motherboard, but rather also SSI-CEB and SSI-EEB. These are form factors which are only adopted in workstation server motherboards. As such motherboard needs to fit more components on them, they need to come in such sizes.
In our case, we decided to fit our AI inferencing workstation/server in the HAF 700 EVO. Even though this is a SSI-CEB motherboard, after fitting the motherboard into the case, there’s really still ample space. The HAF 700 EVO is certainly designed for systems like these, ensuring that every single component can be properly cooled in a large container with high airflow.
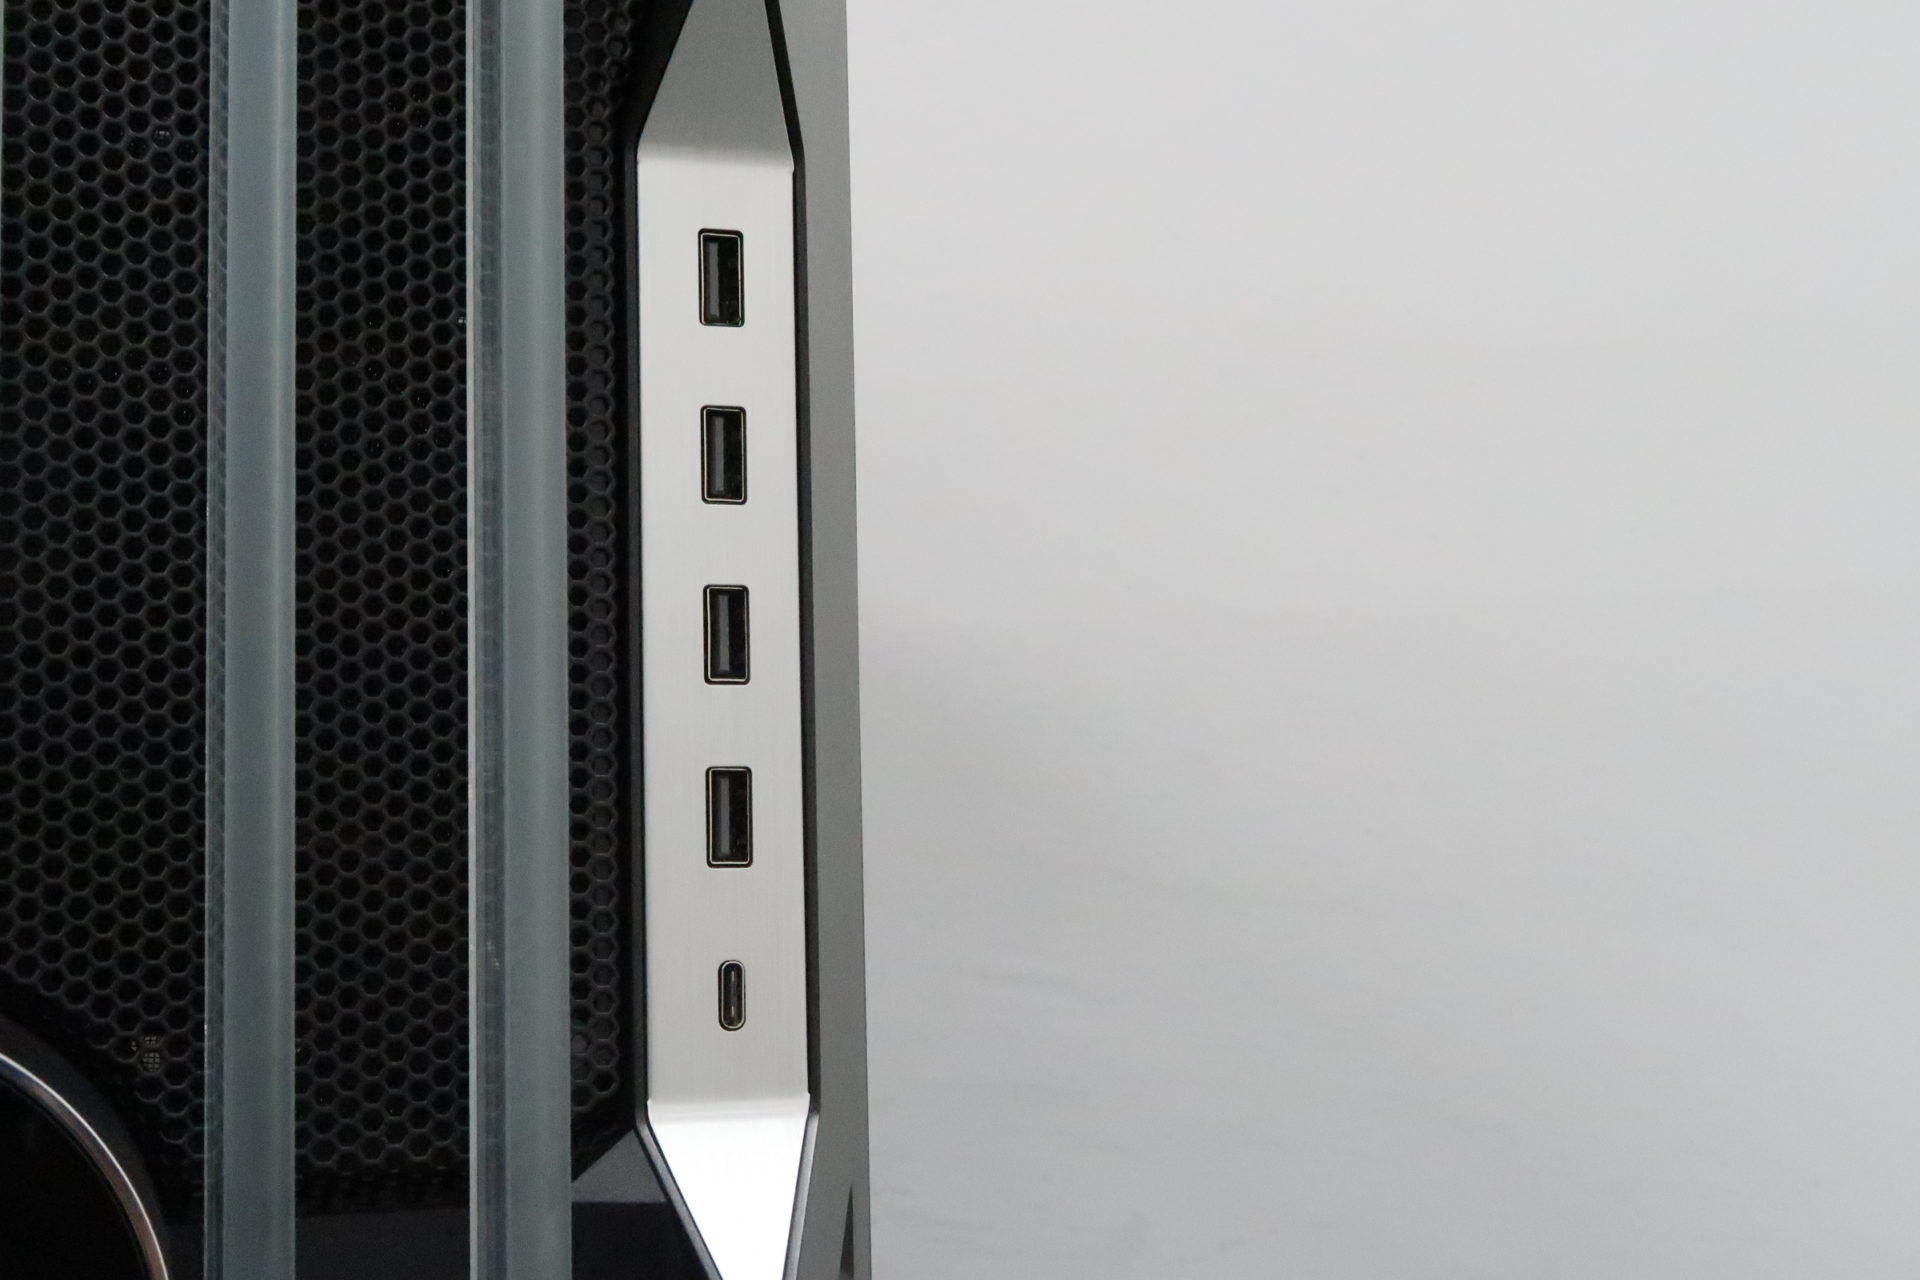
Of course, as a premium case, the HAF 700 EVO also features a comprehensive suite of front panel access ports. There are 4 x USB 3.0 ports, 1 x USB 3.0 Type-C port and also the standard 3.5mm headphones and microphone jacks. You’d need to make sure that your motherboard has got the features to support all these external ports, as there is a need for 2 x USB 3.0 19-pin headers and 1 x USB Type-E connector. (in our case, we could only use 2 x USB 3.0 ports instead of 4, as our motherboard doesn’t have enough 19-pin headers.
There is also a dedicated button for you to easily change the lighting effects of the case.
Toolless Design and Ease of Installation
Certainly, I barely had to use any tools to have access to the different parts of the HAF 700 EVO. Many parts of the case could also be easily accessed and even removed. This makes it extremely easy to install various components such as fans, radiators and more. Here’s what I mean.
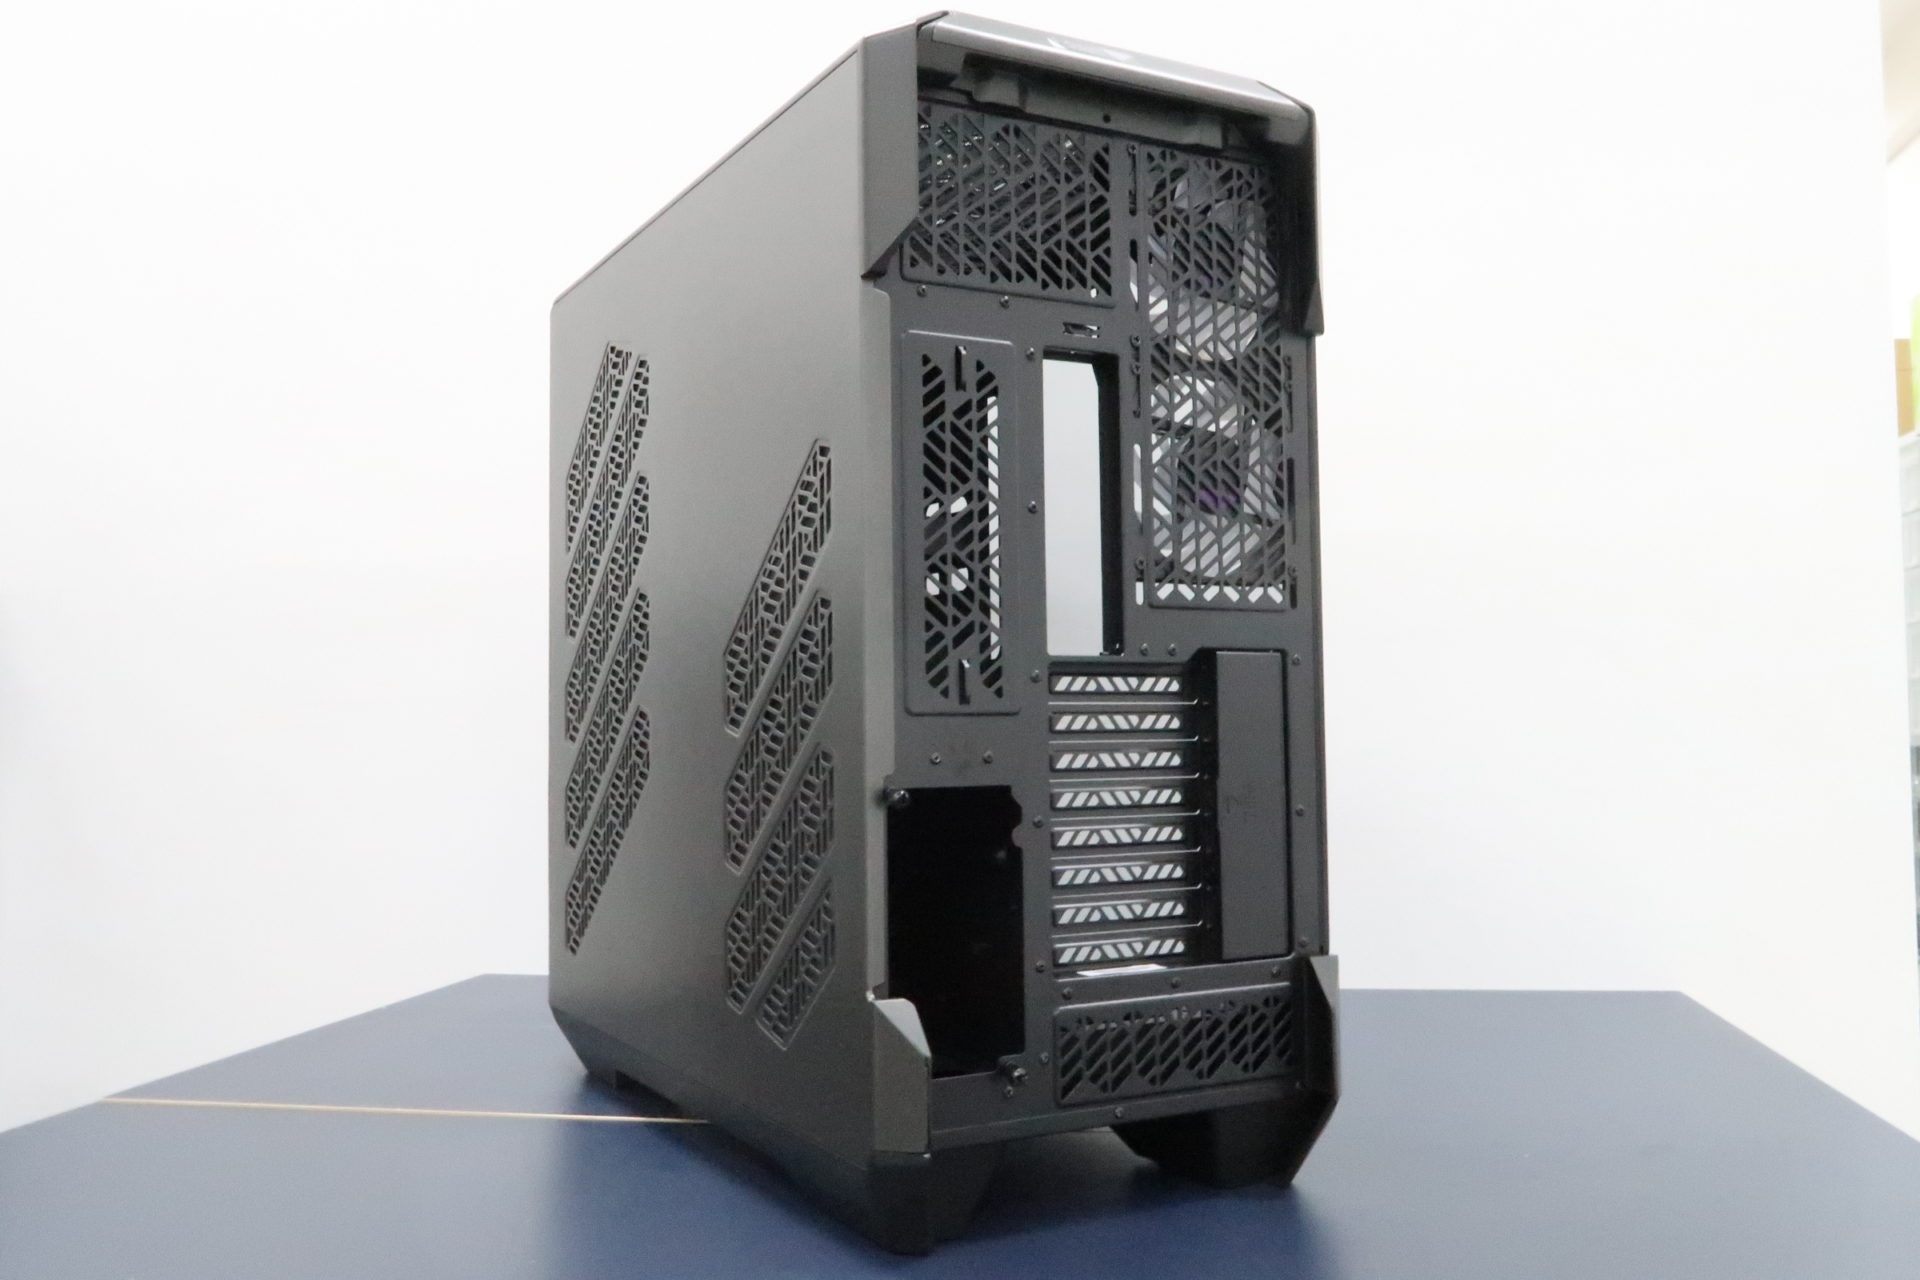
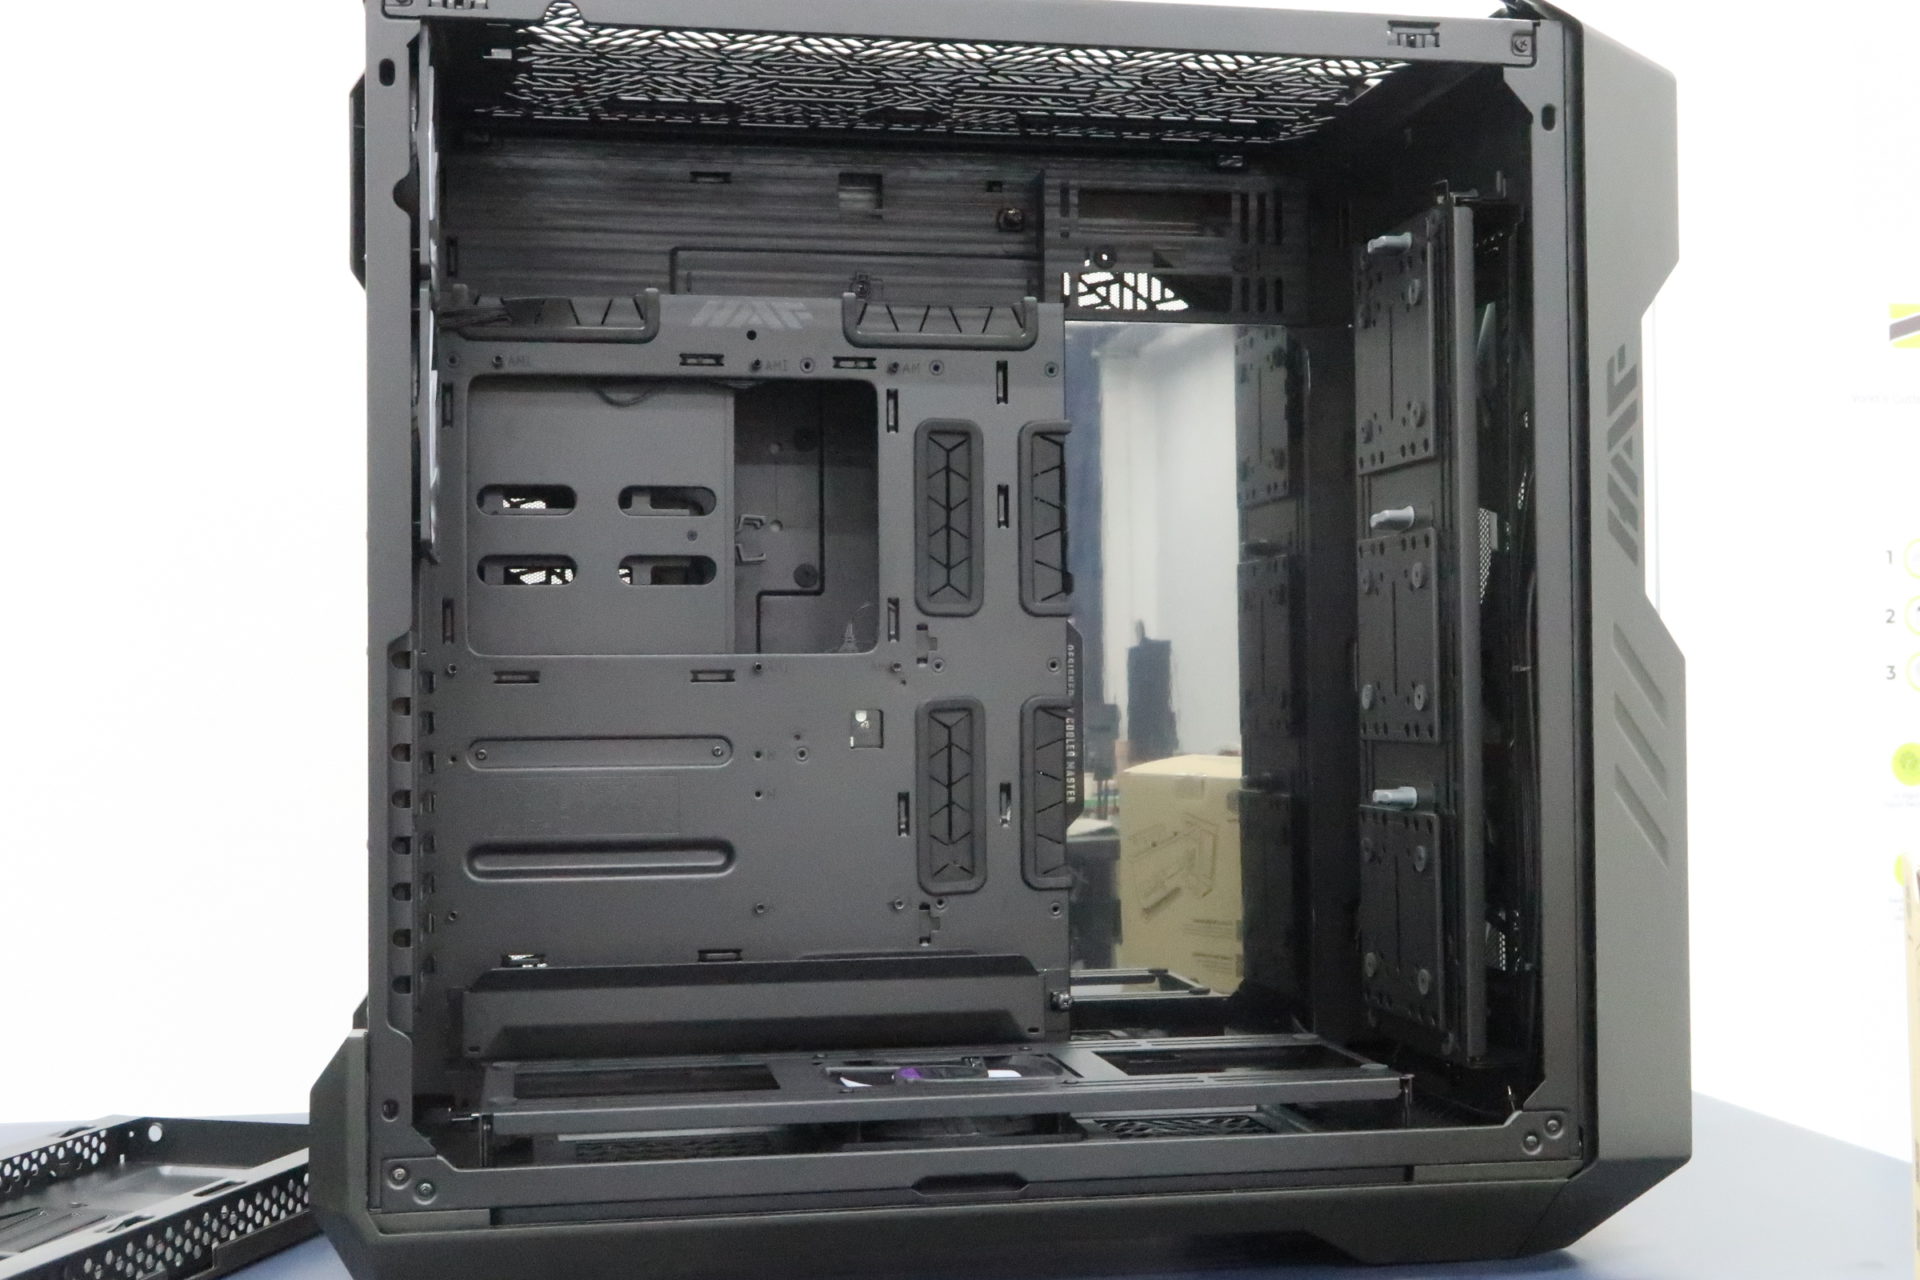
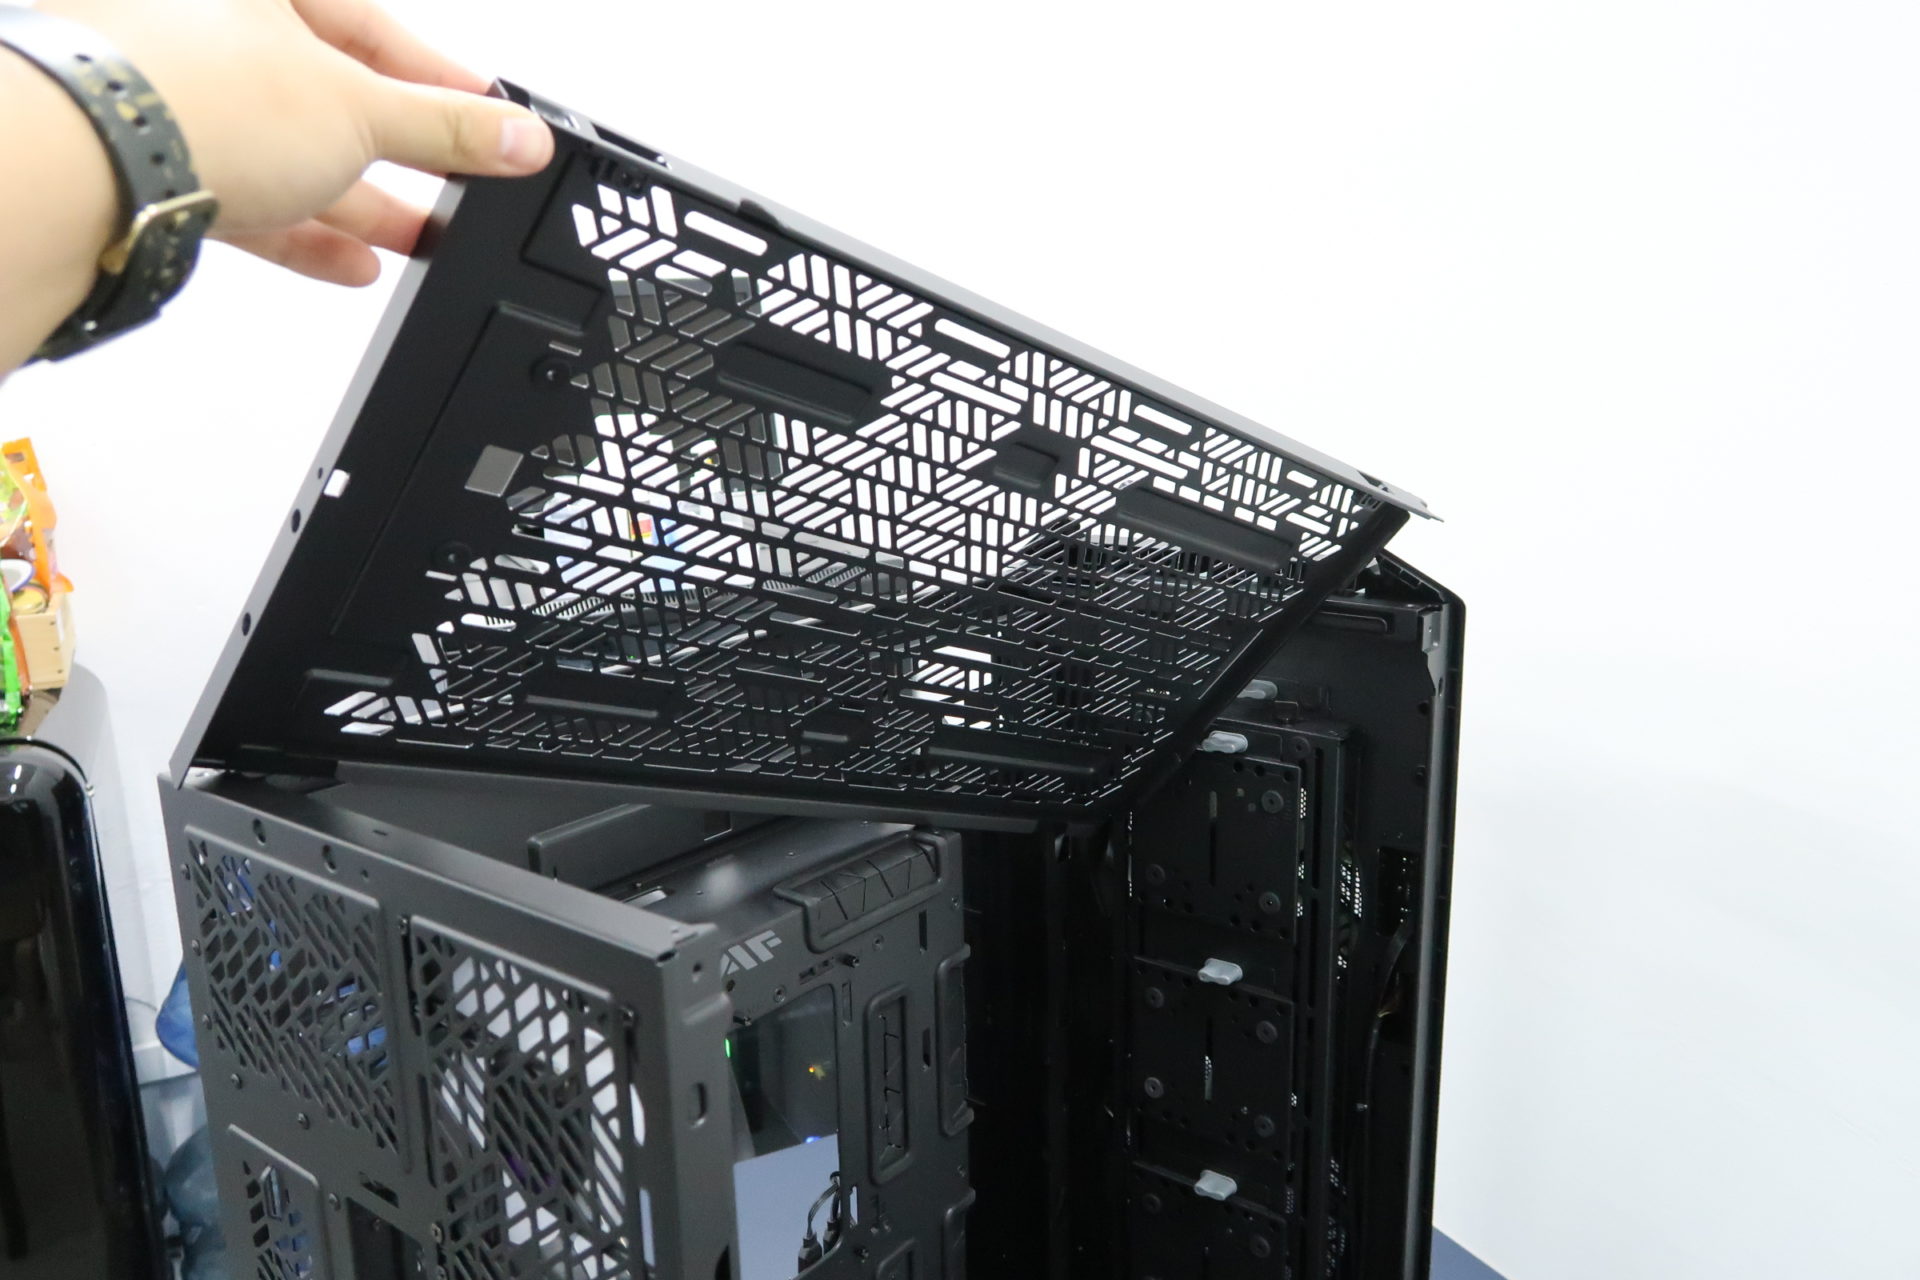
To remove the side panels, the top panel need to be removed first. There is even a small little sticker which instructs you on how to gain access to the insides of the case. Without any effort or tools, I simply had to pull the top panel towards me, and then just remove the side panels. Although each of these panels are quite heavy, making them easily removable makes it extremely convenient for any system builders.
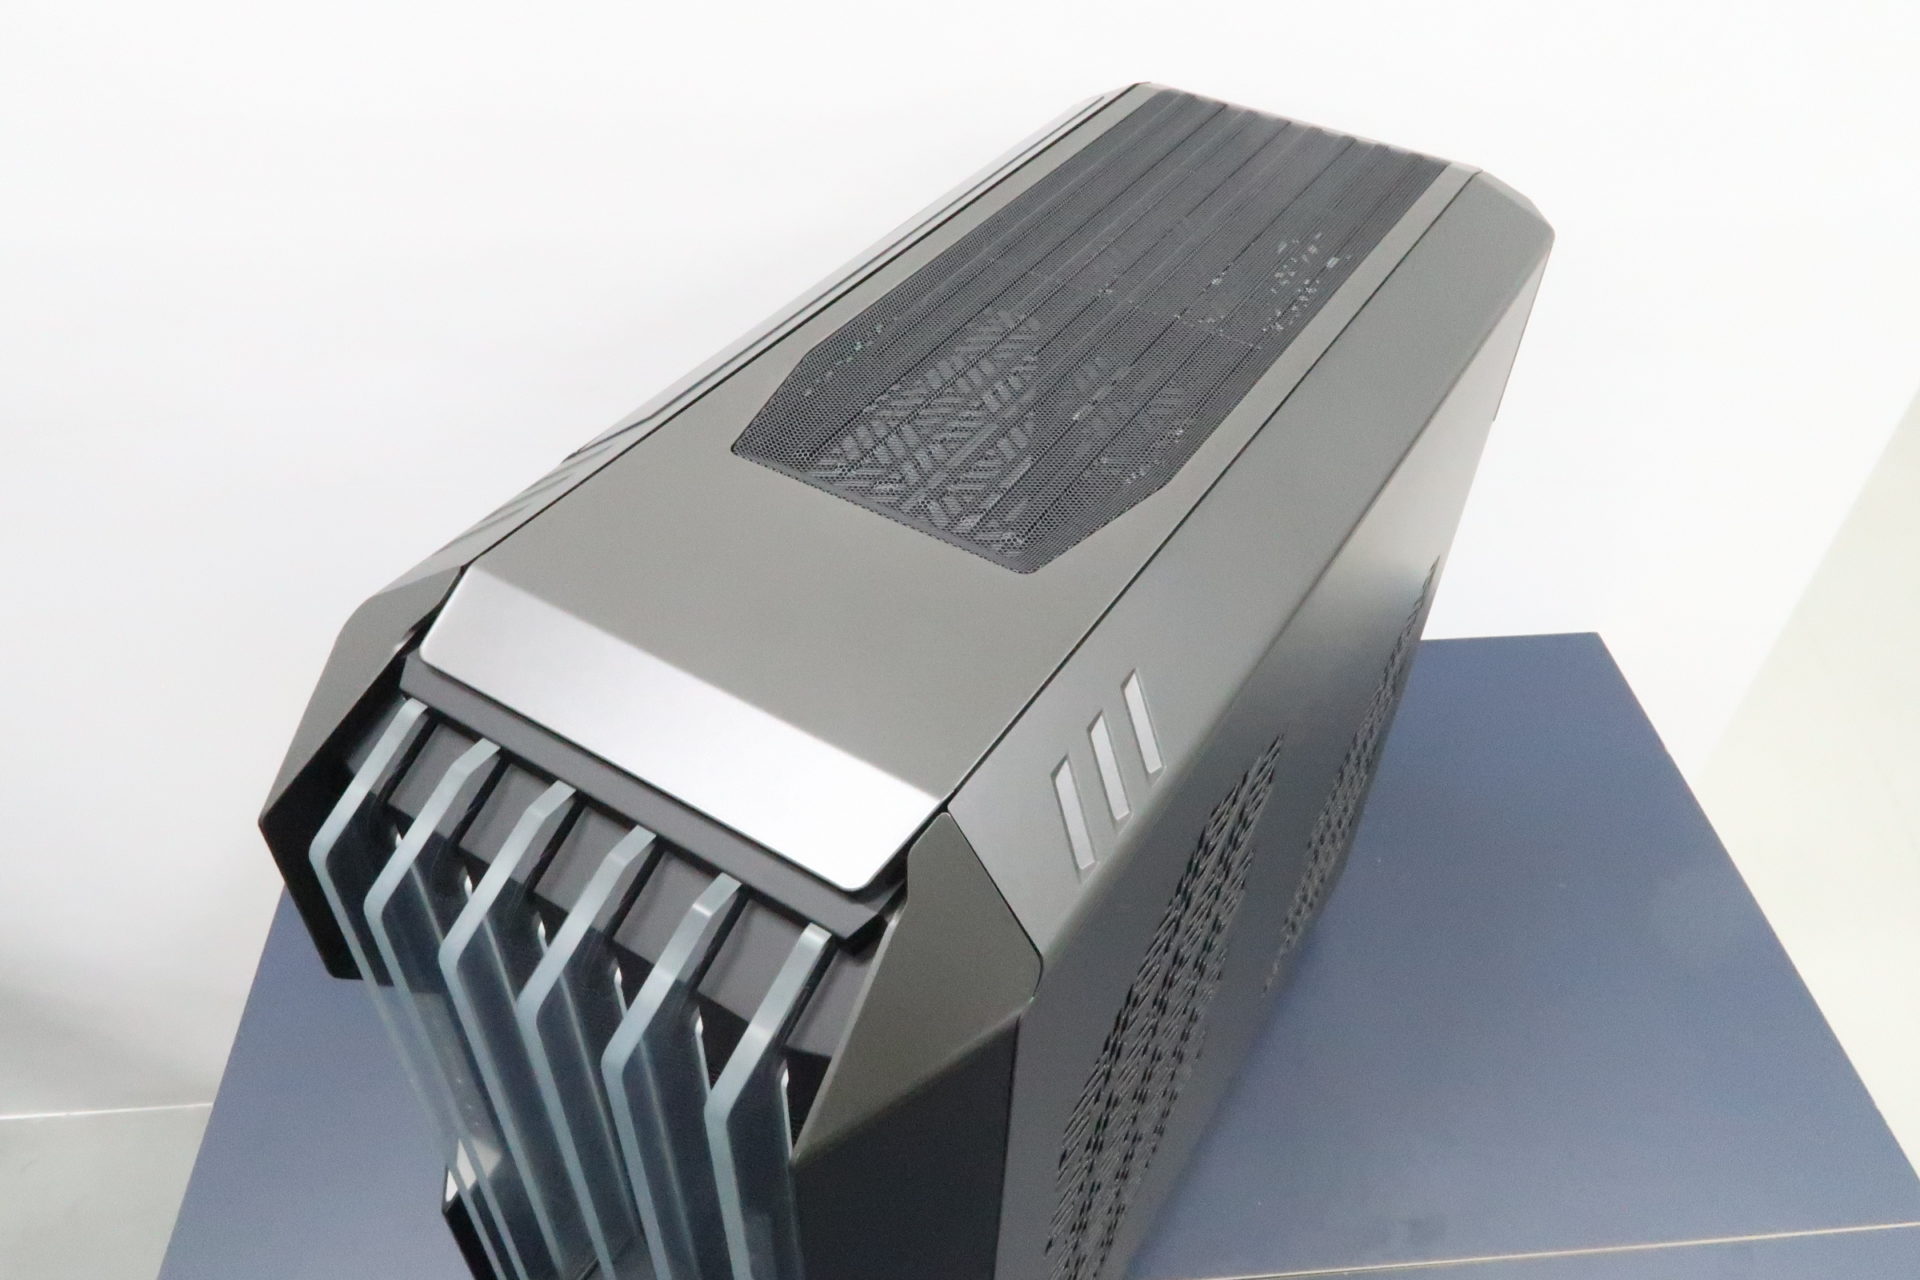
As mentioned earlier, the HAF 700 EVO is designed so that you will have ample space to work with. There is also considerable depth to the case, supporting even the tallest CPU air coolers you could want to install in the case. If you wanted to, you could have even installed a 420mm or 2 x 360mm radiators at the top side of the case. This makes the HAF 700 EVO extremely suitable to install a water cooler setup. In fact, to the right side of the motherboard tray, you can spot a reflective surface, which is known as the infinity mirror. A water cooling setup’s reservoir, or a 360mm radiator placed there would really create an interesting style to the case.
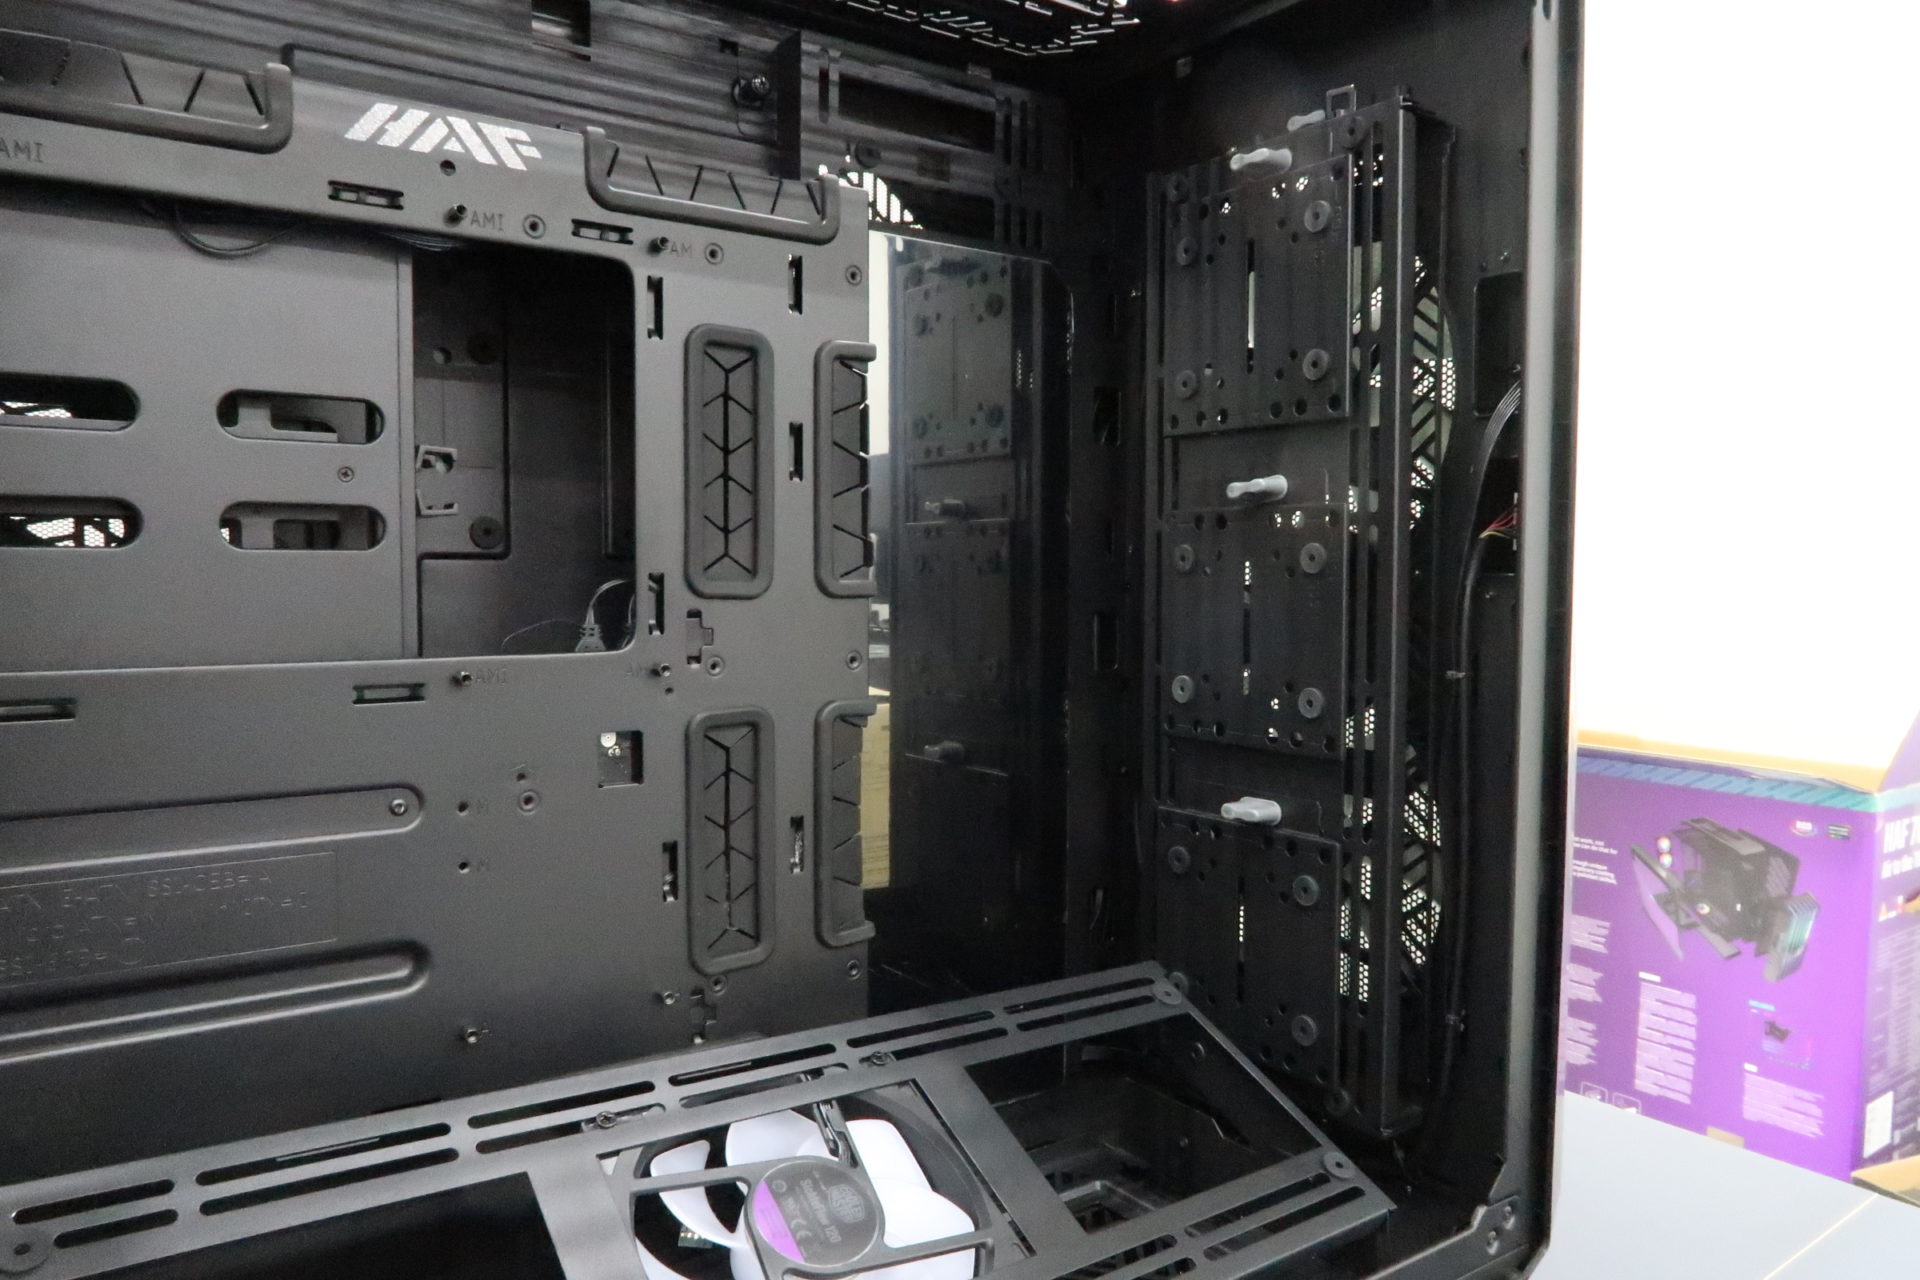
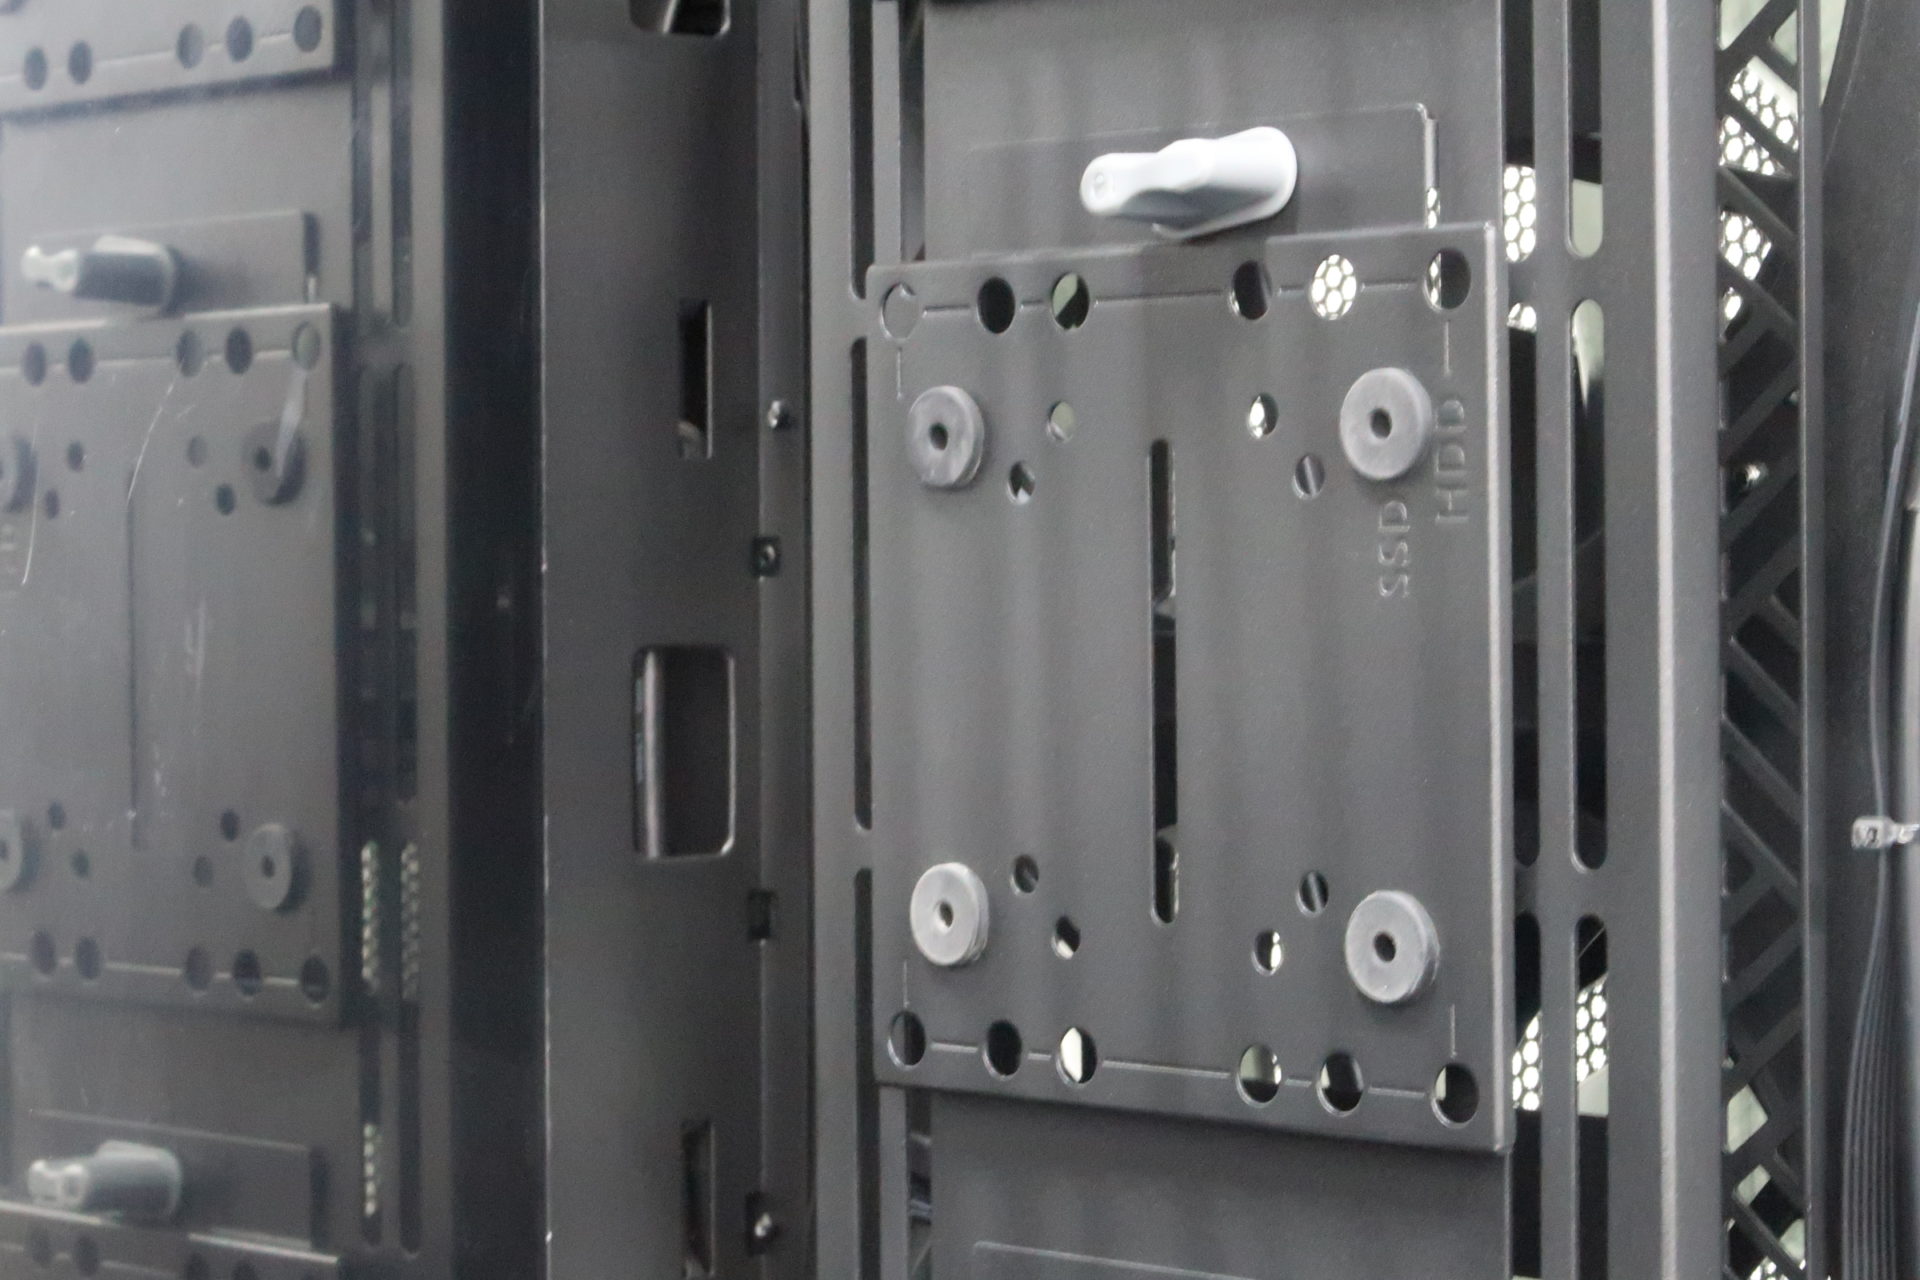
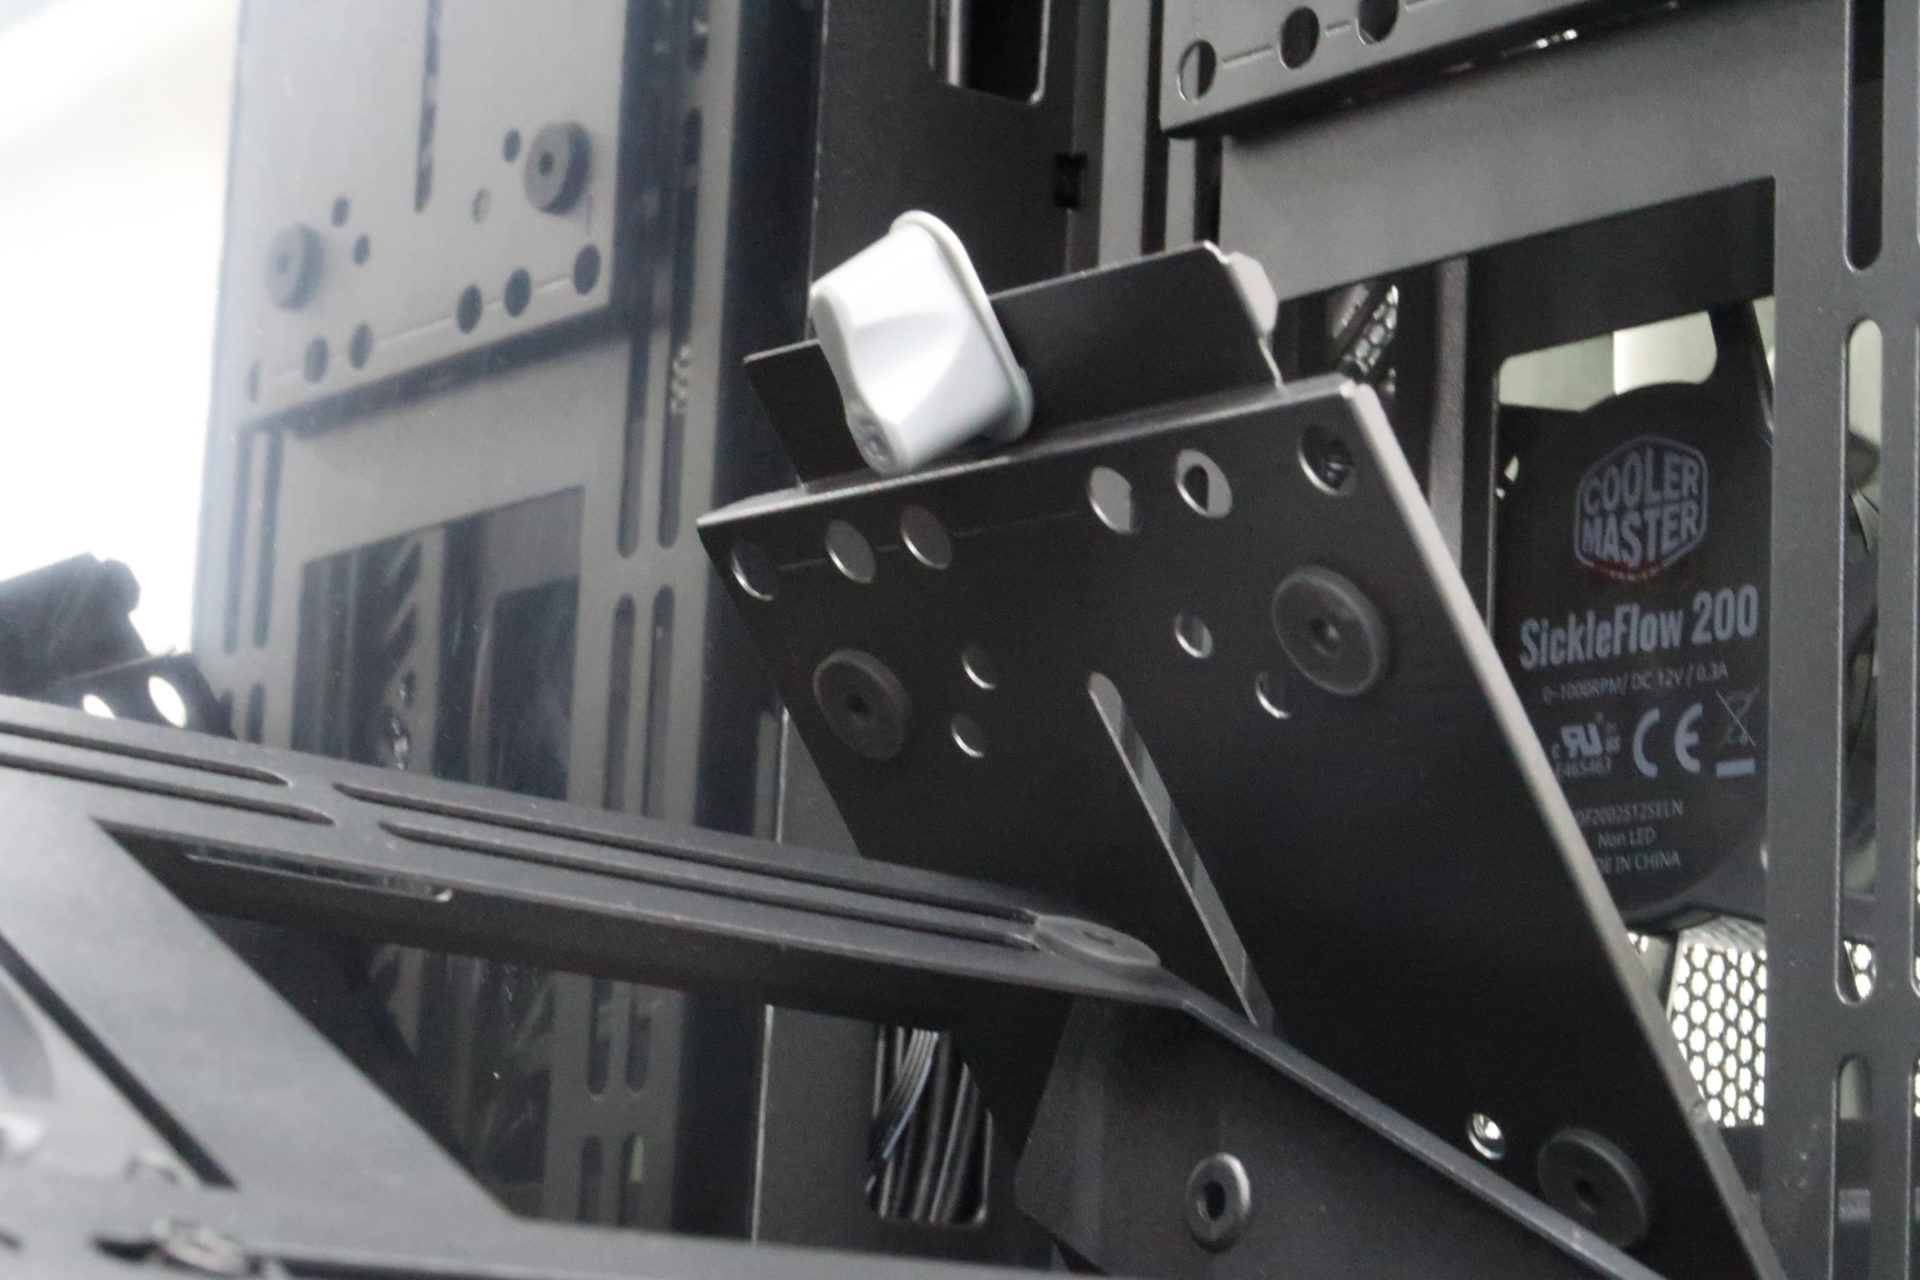
There are many components of the case which are removable. Some are secured by thumb screws, while others come with a uniquely designed gray tab which fastens the mount onto the case. By simply twisting the gray tab, the bracket will be removed, and you can then install your hard drive or fan onto them.
Even the whole fan bracket at the bottom of the case can be removed so that you can install the fans outside of the case, instead of having to work with constrained spaced within the case.
The ingenuity of the toolless design of the HAF 700 EVO certainly sets it apart from any other case of its class.
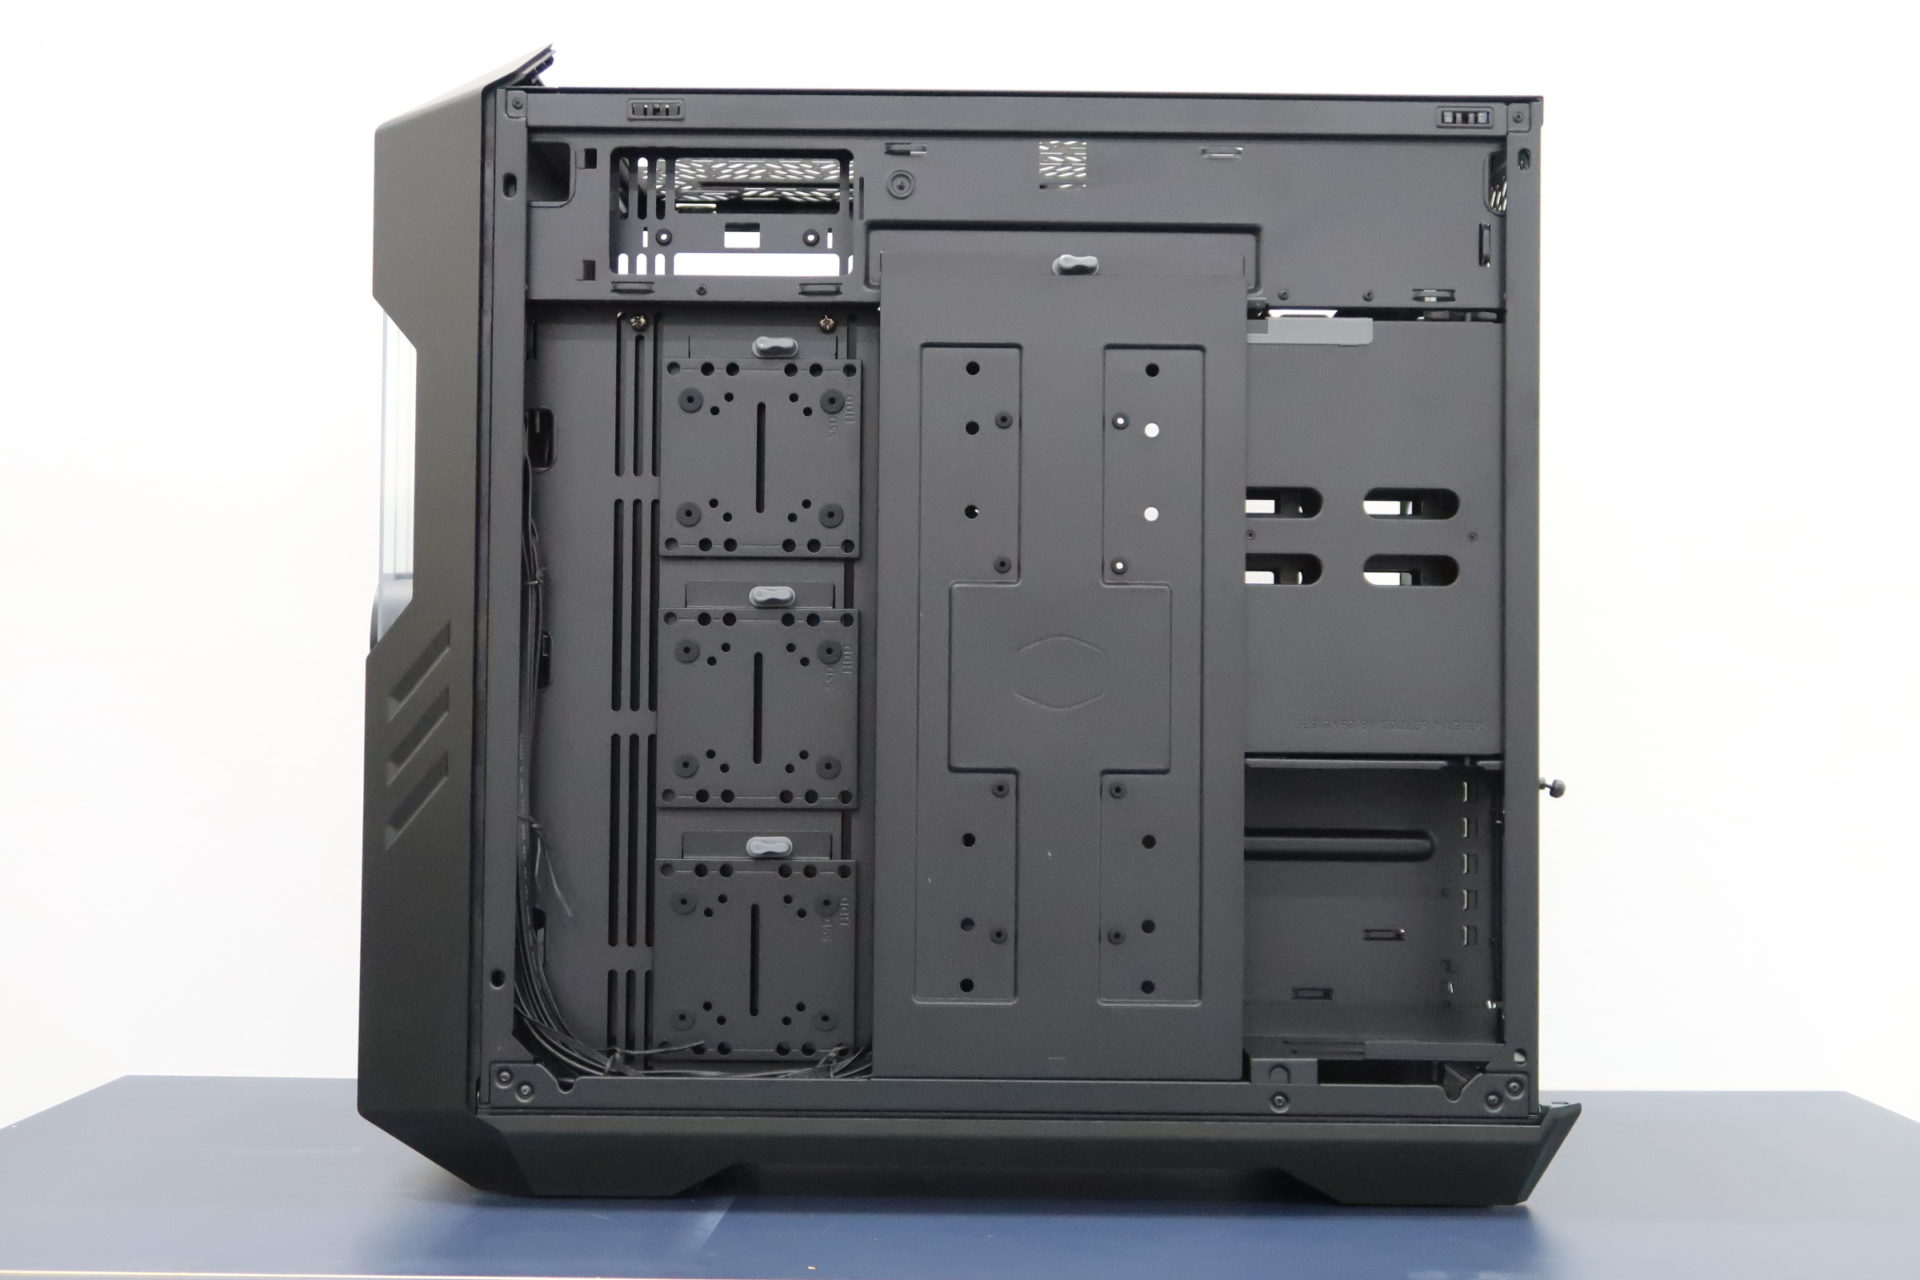
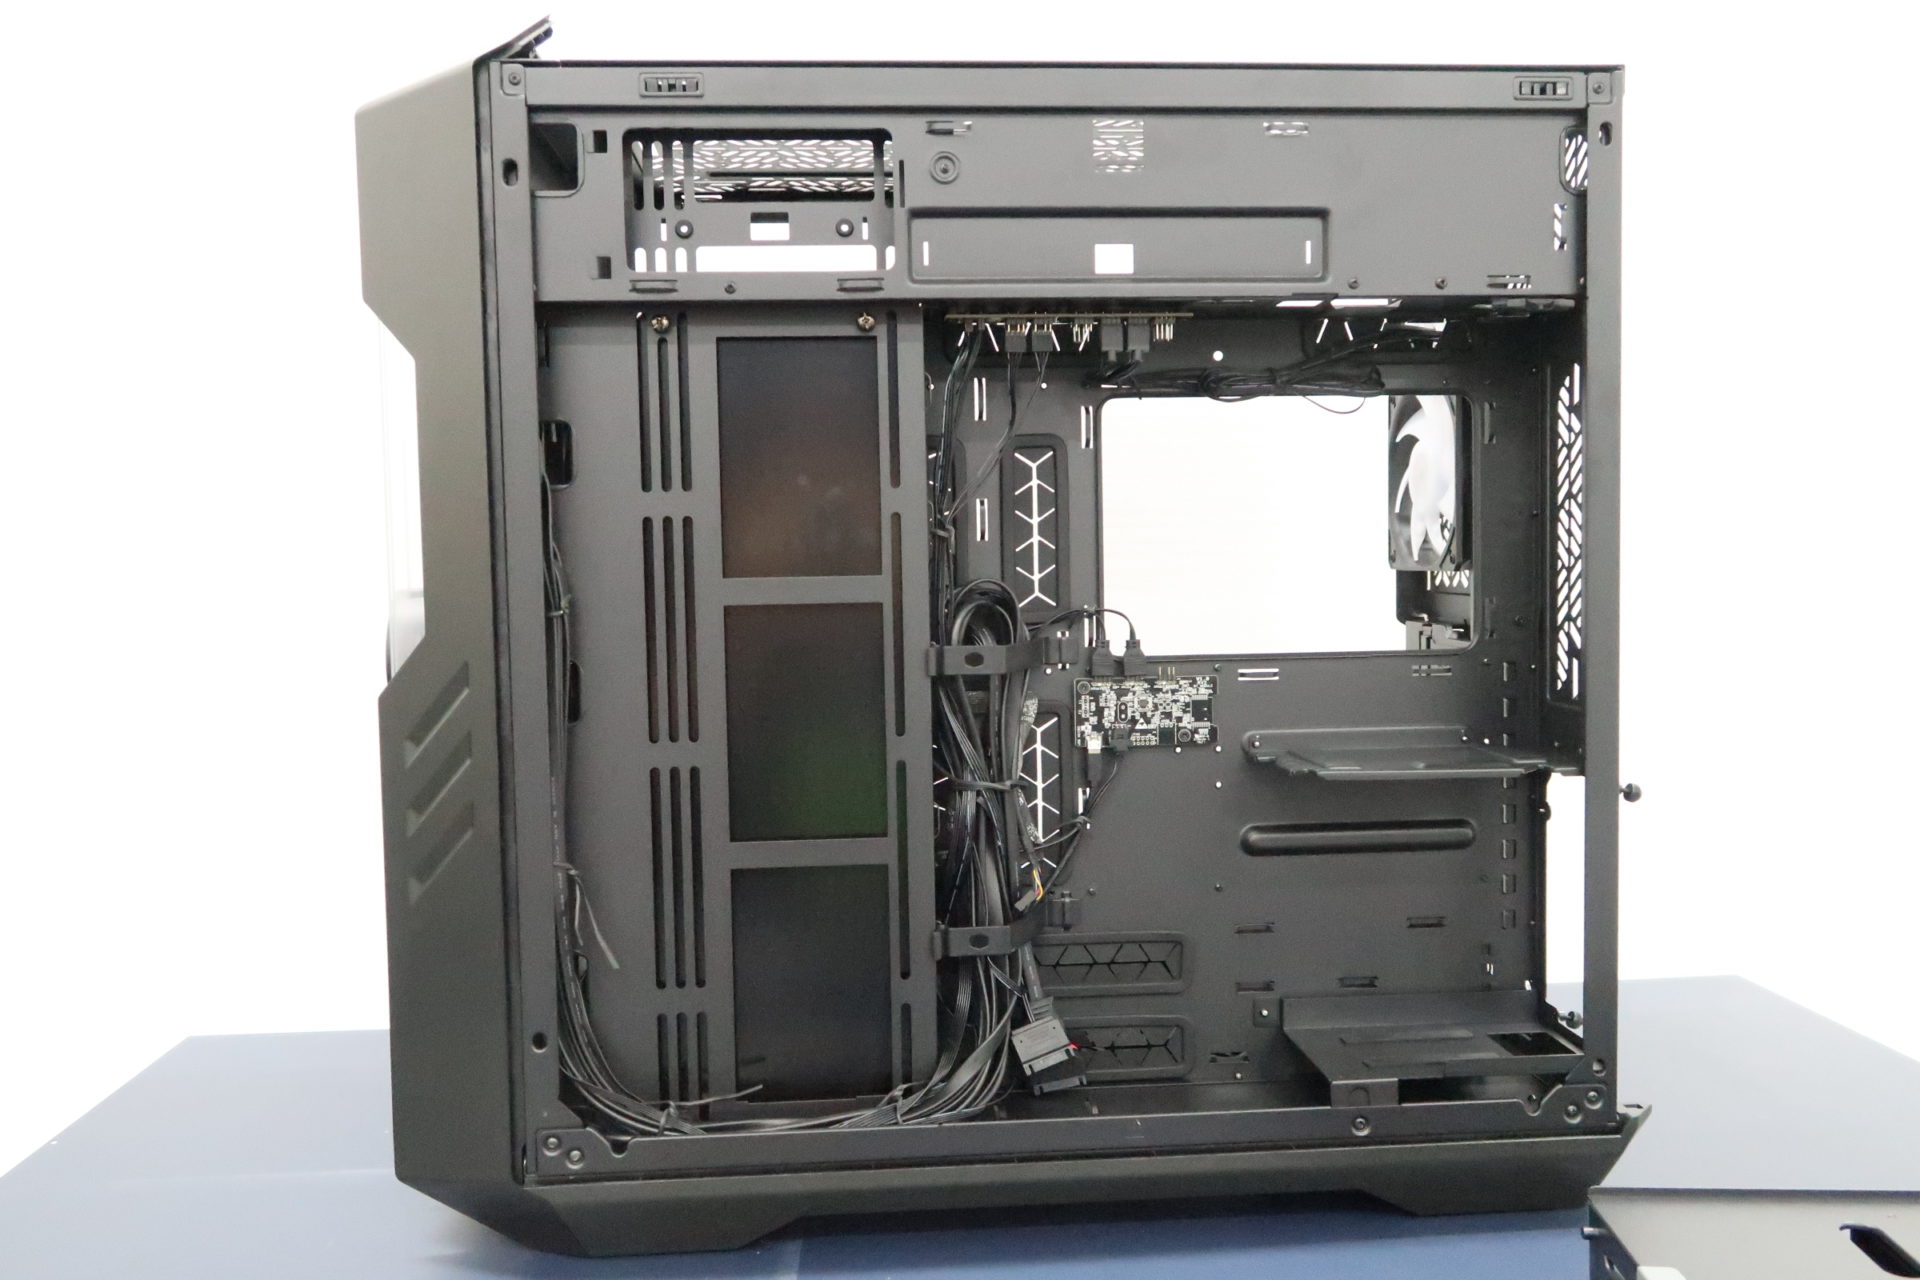
On the right side of the case, there were even more features which were never seen before. Since most of the cables will be routed at this side of the case, Cooler Master has specially designed shrouds and covers to hide the cables. For lazy people like me, I’d have to be less concerned with cable management, as I can just shove all the cables behind the cables and call it a day.
After removing the main center cover, we also spotted a few cable management features. There are cable retention brackets which are clipped onto the case. This allows cables to be properly routed so that they still look neat.
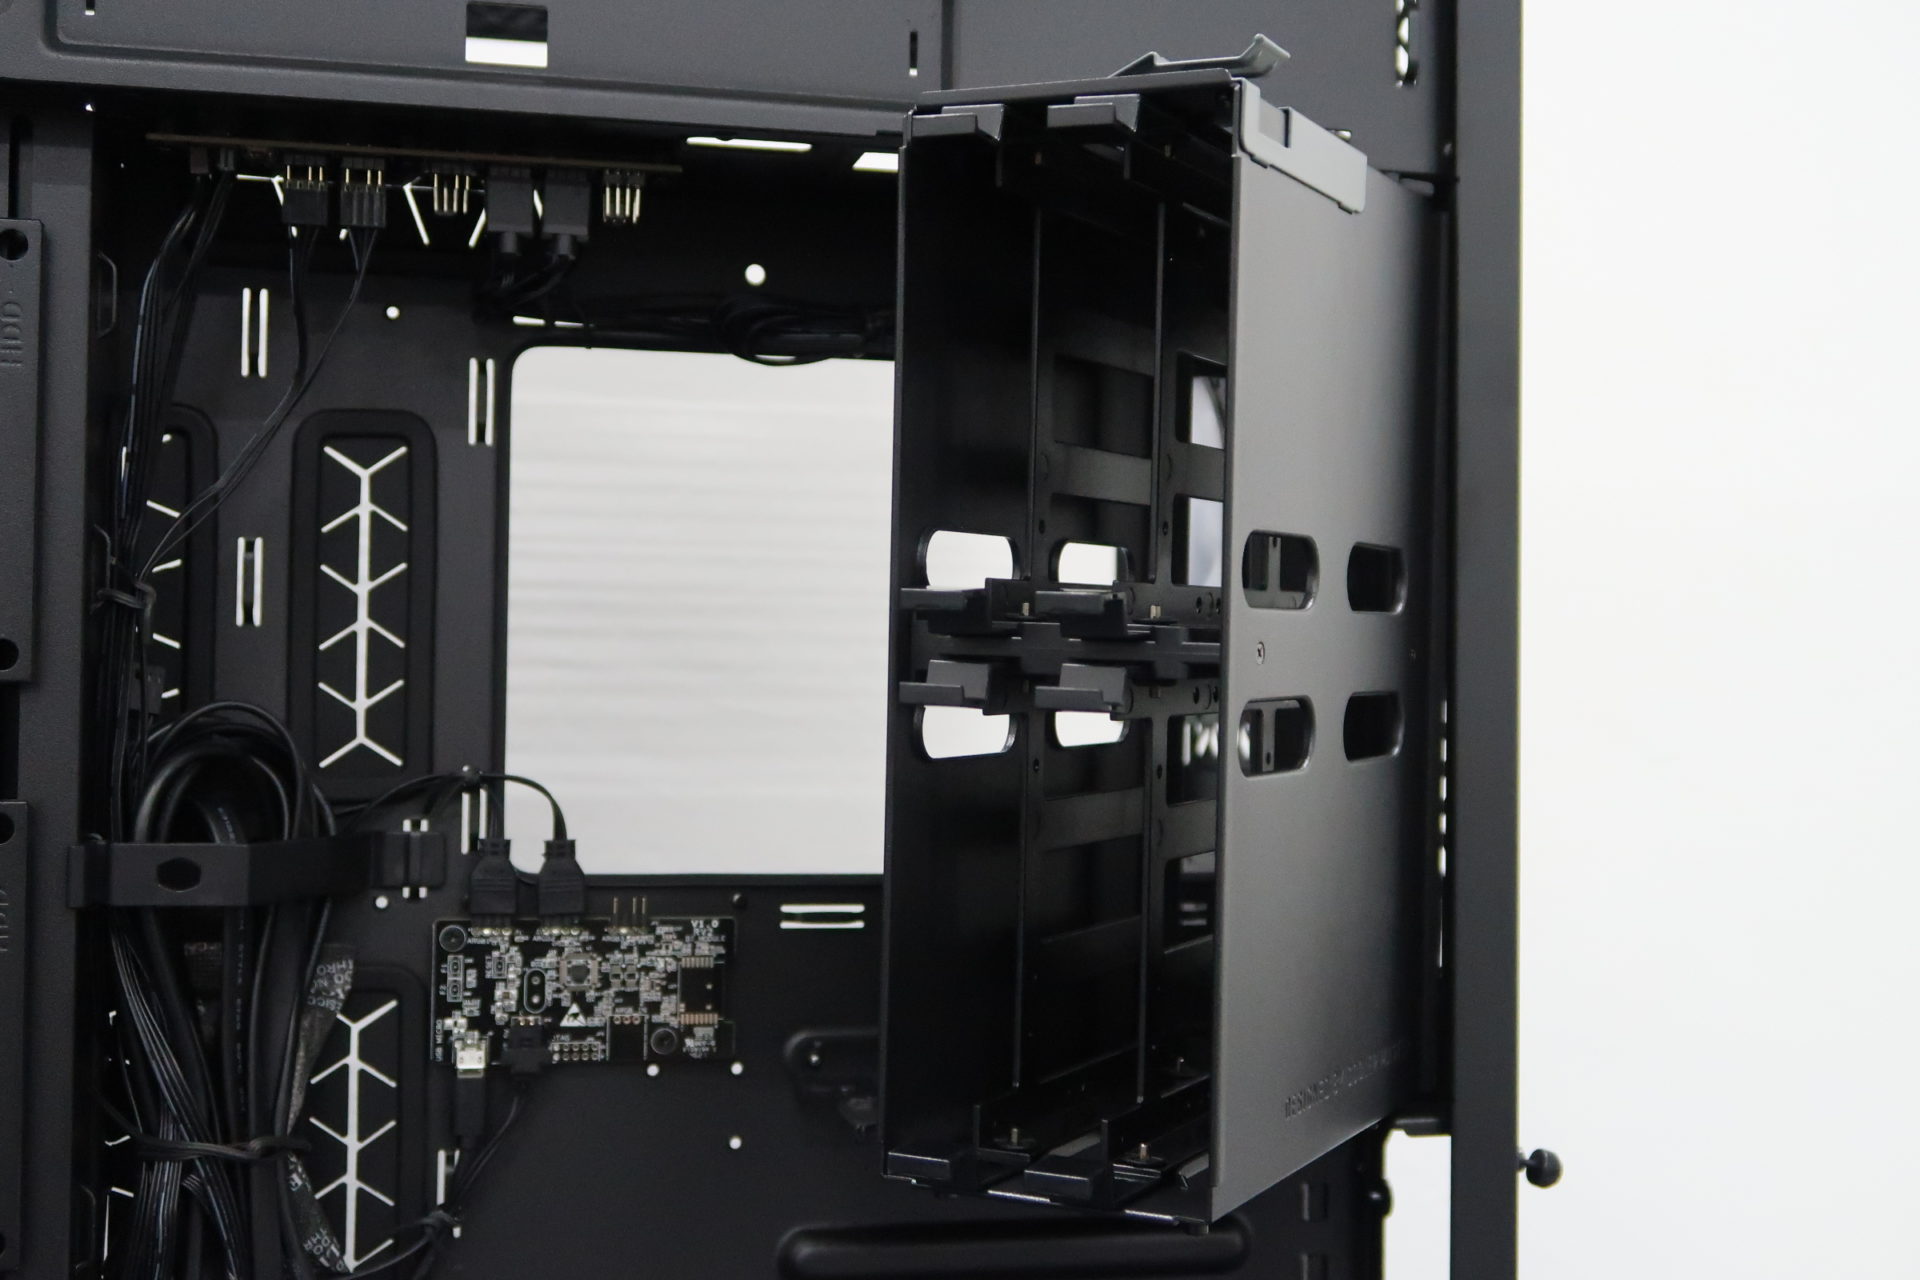
There is also a removable hard drive cage found on this side of the case. It can fit up to 4 more 3.5-inch hard drives. All installations of hard drives, and even the removal of the hard drive cage can be done tools free.
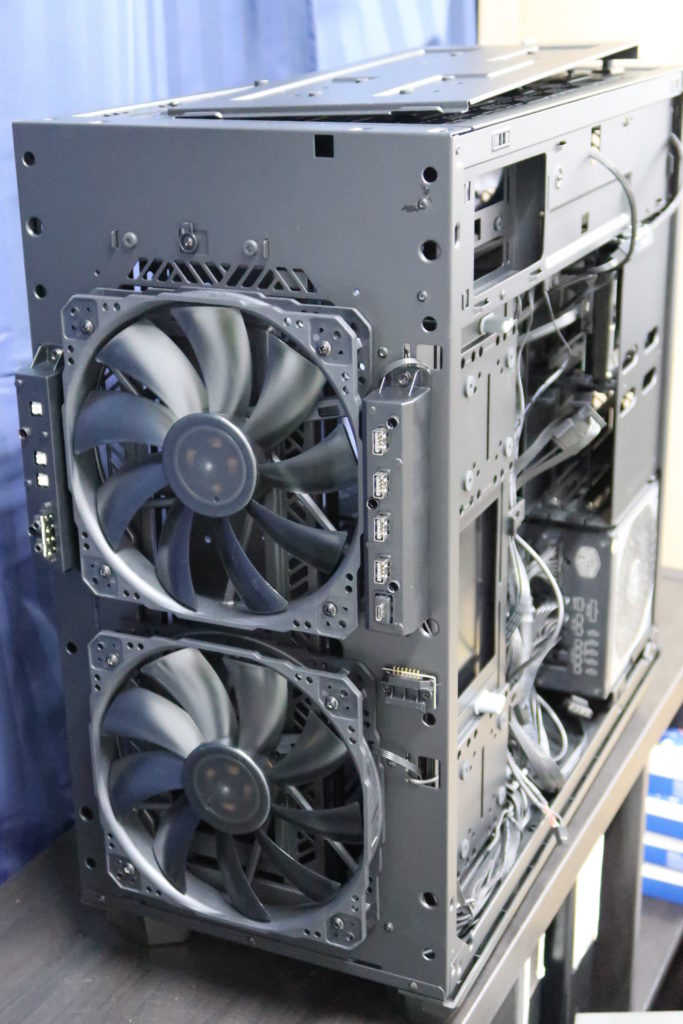
The front panel of the case can also be removed, making the fans very accessible for maintenance. It was also interesting to see that there are no cables directly attached to the front panel, as the lighting effects from the front panel are connected to the main case via contact pins.
Building a workstation with the Cooler Master HAF 700 EVO
The top panel of the case can also be easily take out, with the removal of two screws. In fact, I realised that without the top panel coming in your way, it was a lot easier to install the motherboard, as well as to connect the power cables.
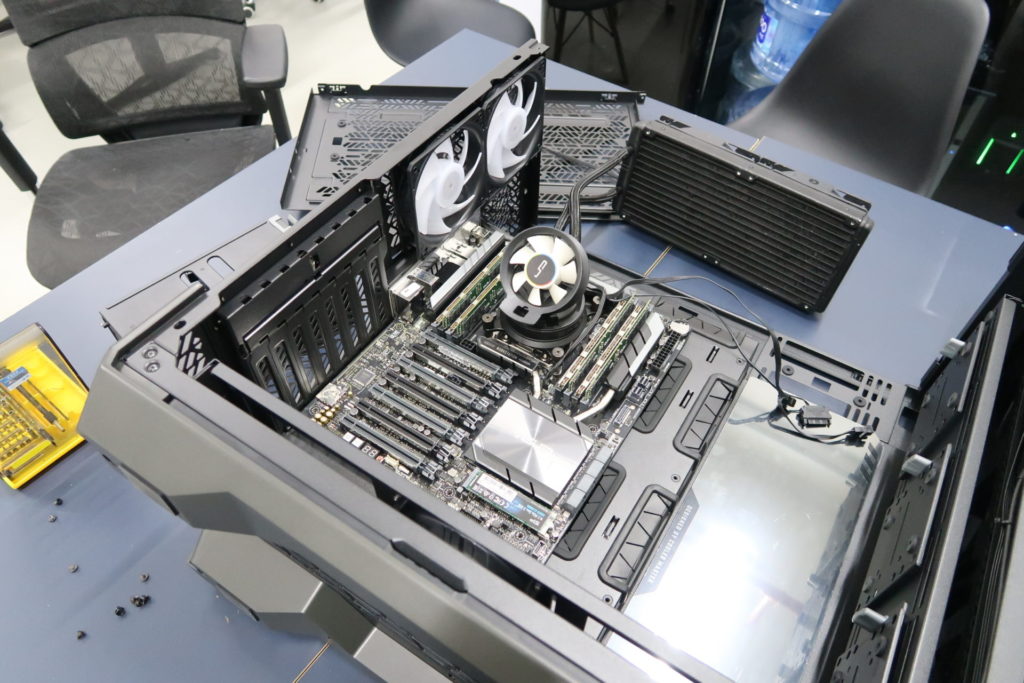
In no time at all, I was able to successfully install our motherboard onto the motherboard tray. The stand-off were already in place for the SSI-CEB form factor motherboards, and I did not have to add or remove any standoffs from the tray.
Installation of the radiator which we had onto the top panel of the case was also a breeze. Just because the top panel can be removed, we had added maneuverability to screw the radiator in without things getting in the way.

In no time at all, both the motherboard and radiator fell into place.
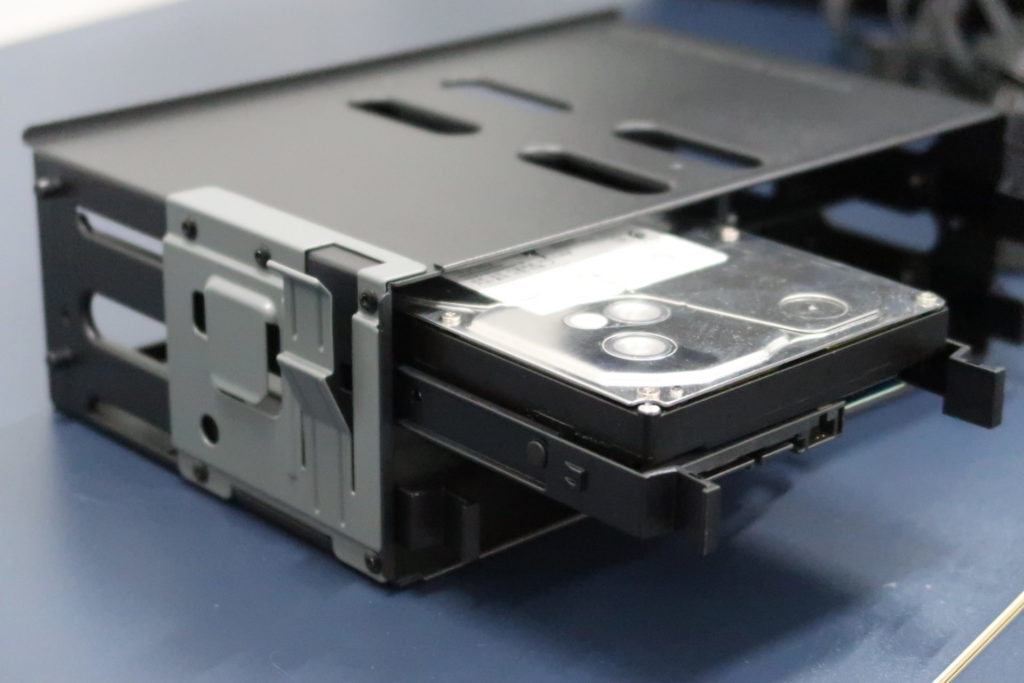
The hard drive cage at the right side of the case is also designed to be installed without any tools. The hard drives can be installed onto the hard drive bracket, and then slid into the hard drive cage easily.
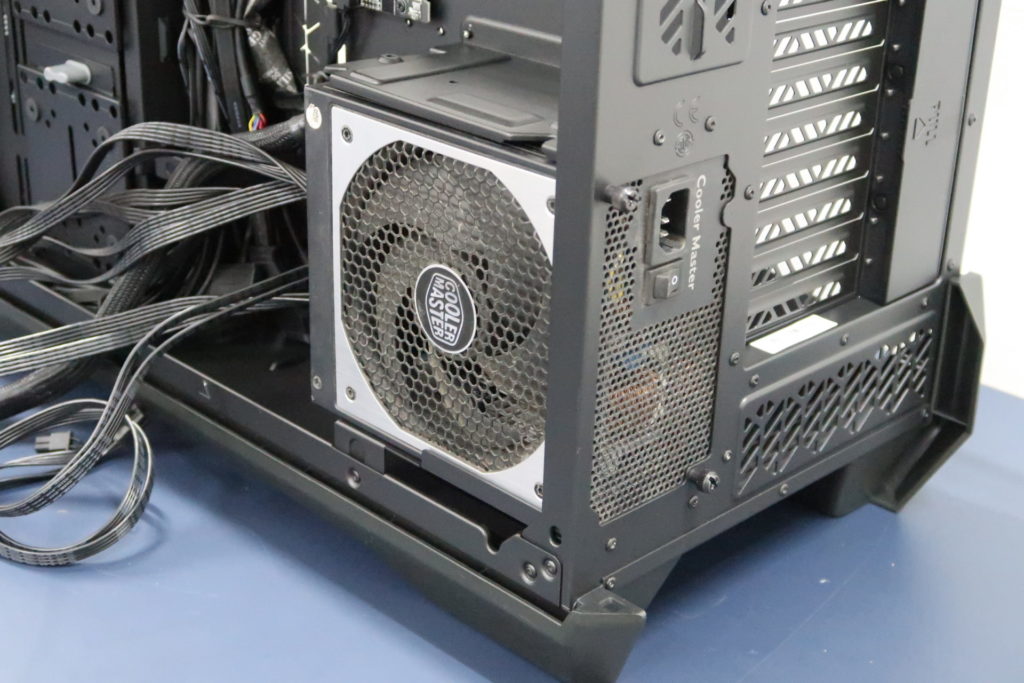
Similarly, with the thumb screws that are already installed onto the case, the mounting of the power supply onto the case also took less than 10 seconds. It’s the first time which made me feel that PC building can actually be very easy.
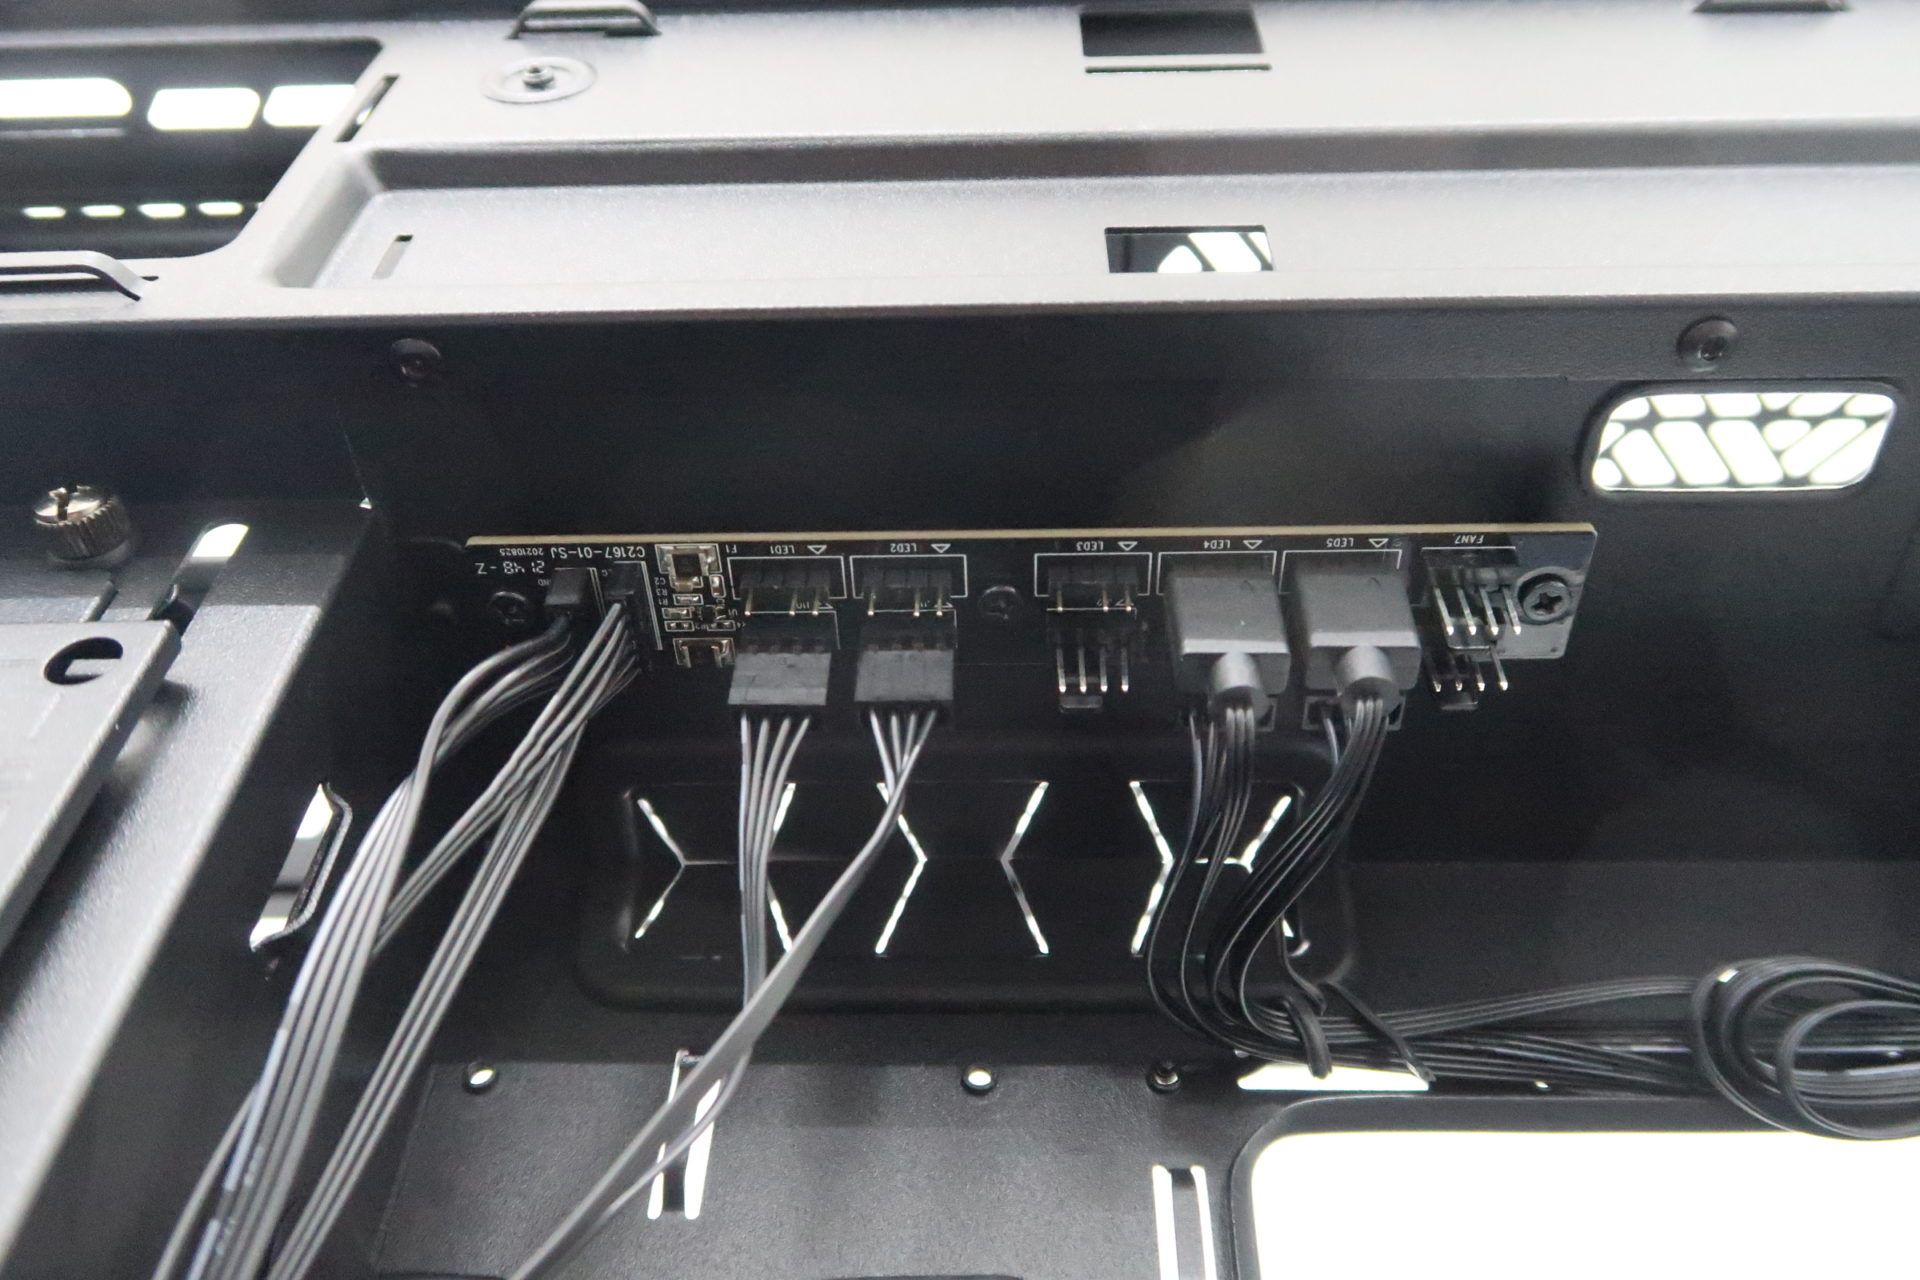
Mounted on the case are two controller boards. One of which is a RGB controller, which controls the lighting effects on the front of the case. The other is a ARGB fan controller. Do take note that the RGB controller is connected to the system via a USB 2.0 header to the motherboard. (Unfortunately, our motherboard did not have a USB 2.0 header for us to connect to the controller and the front LED panel for advanced control).
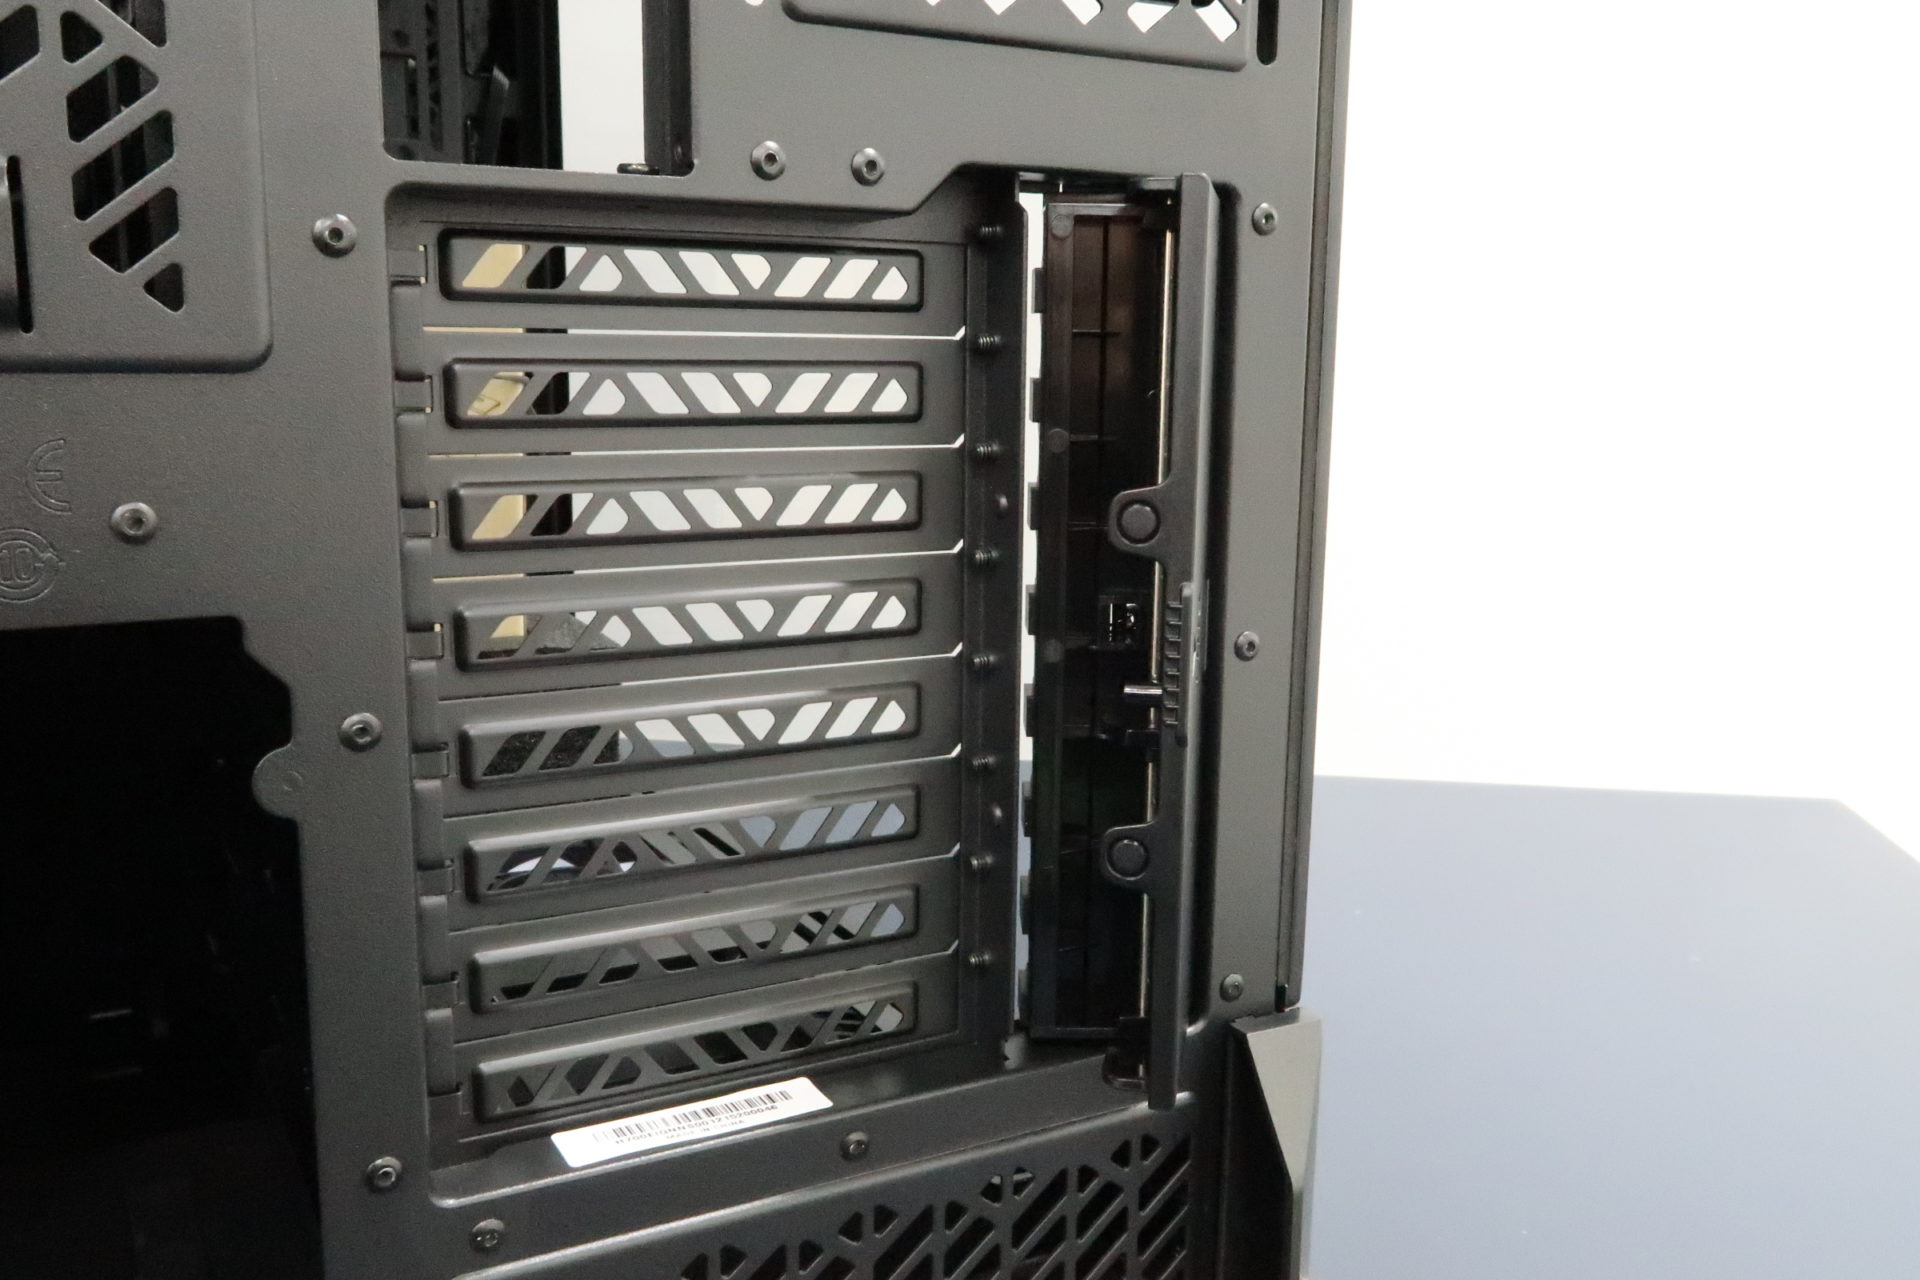
With a specially designed retention mechanism, the HAF 700 EVO dumbs down the method for the installation of expansion cards. You simply had to pull open the retention cover, install your expansion cards, then then lock the retention cover back into place. Sometimes I wonder, shouldn’t all cases feature such simple methods of installation?
A flaw? They’ve thought about it as well
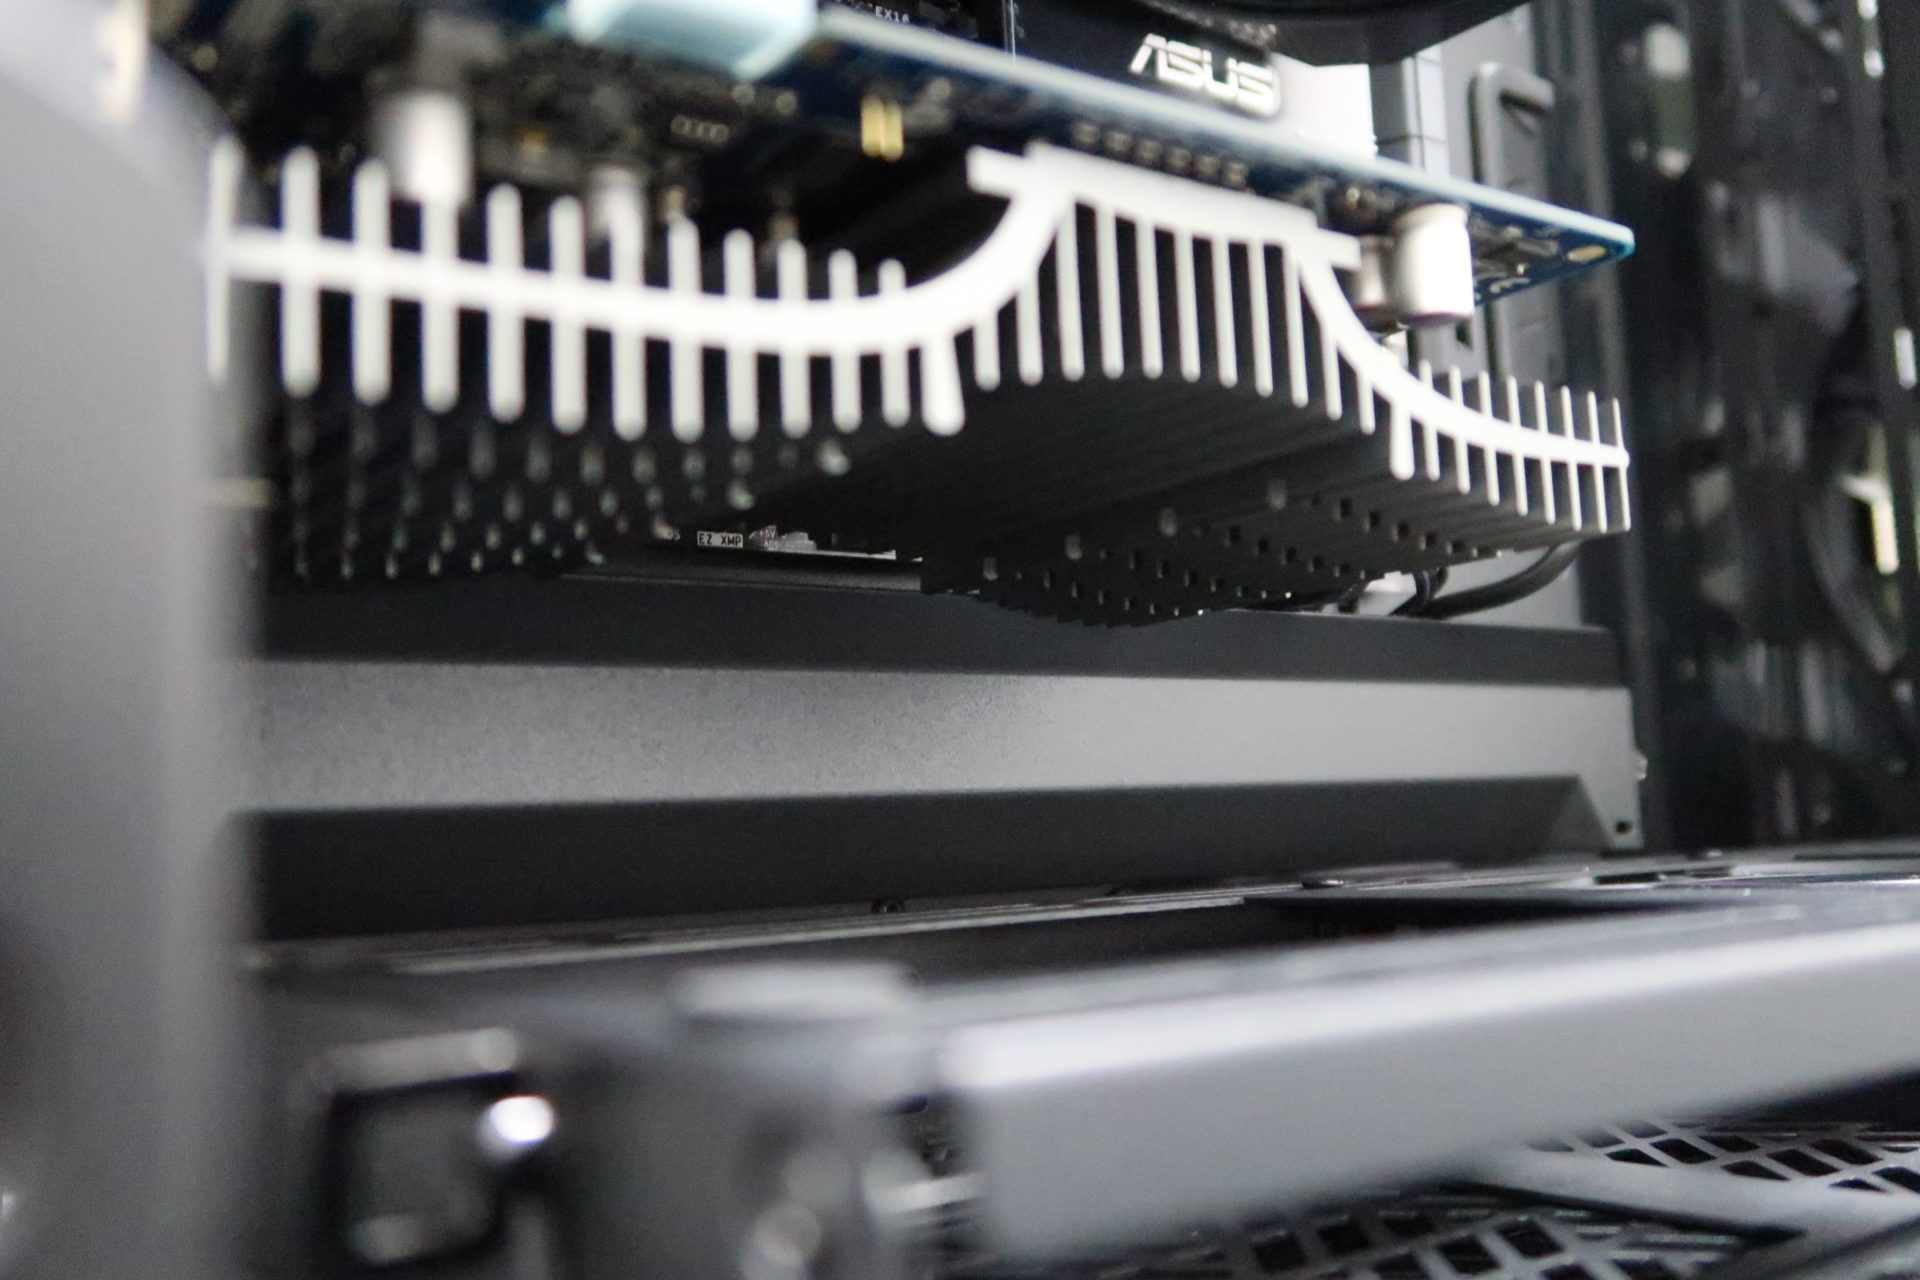
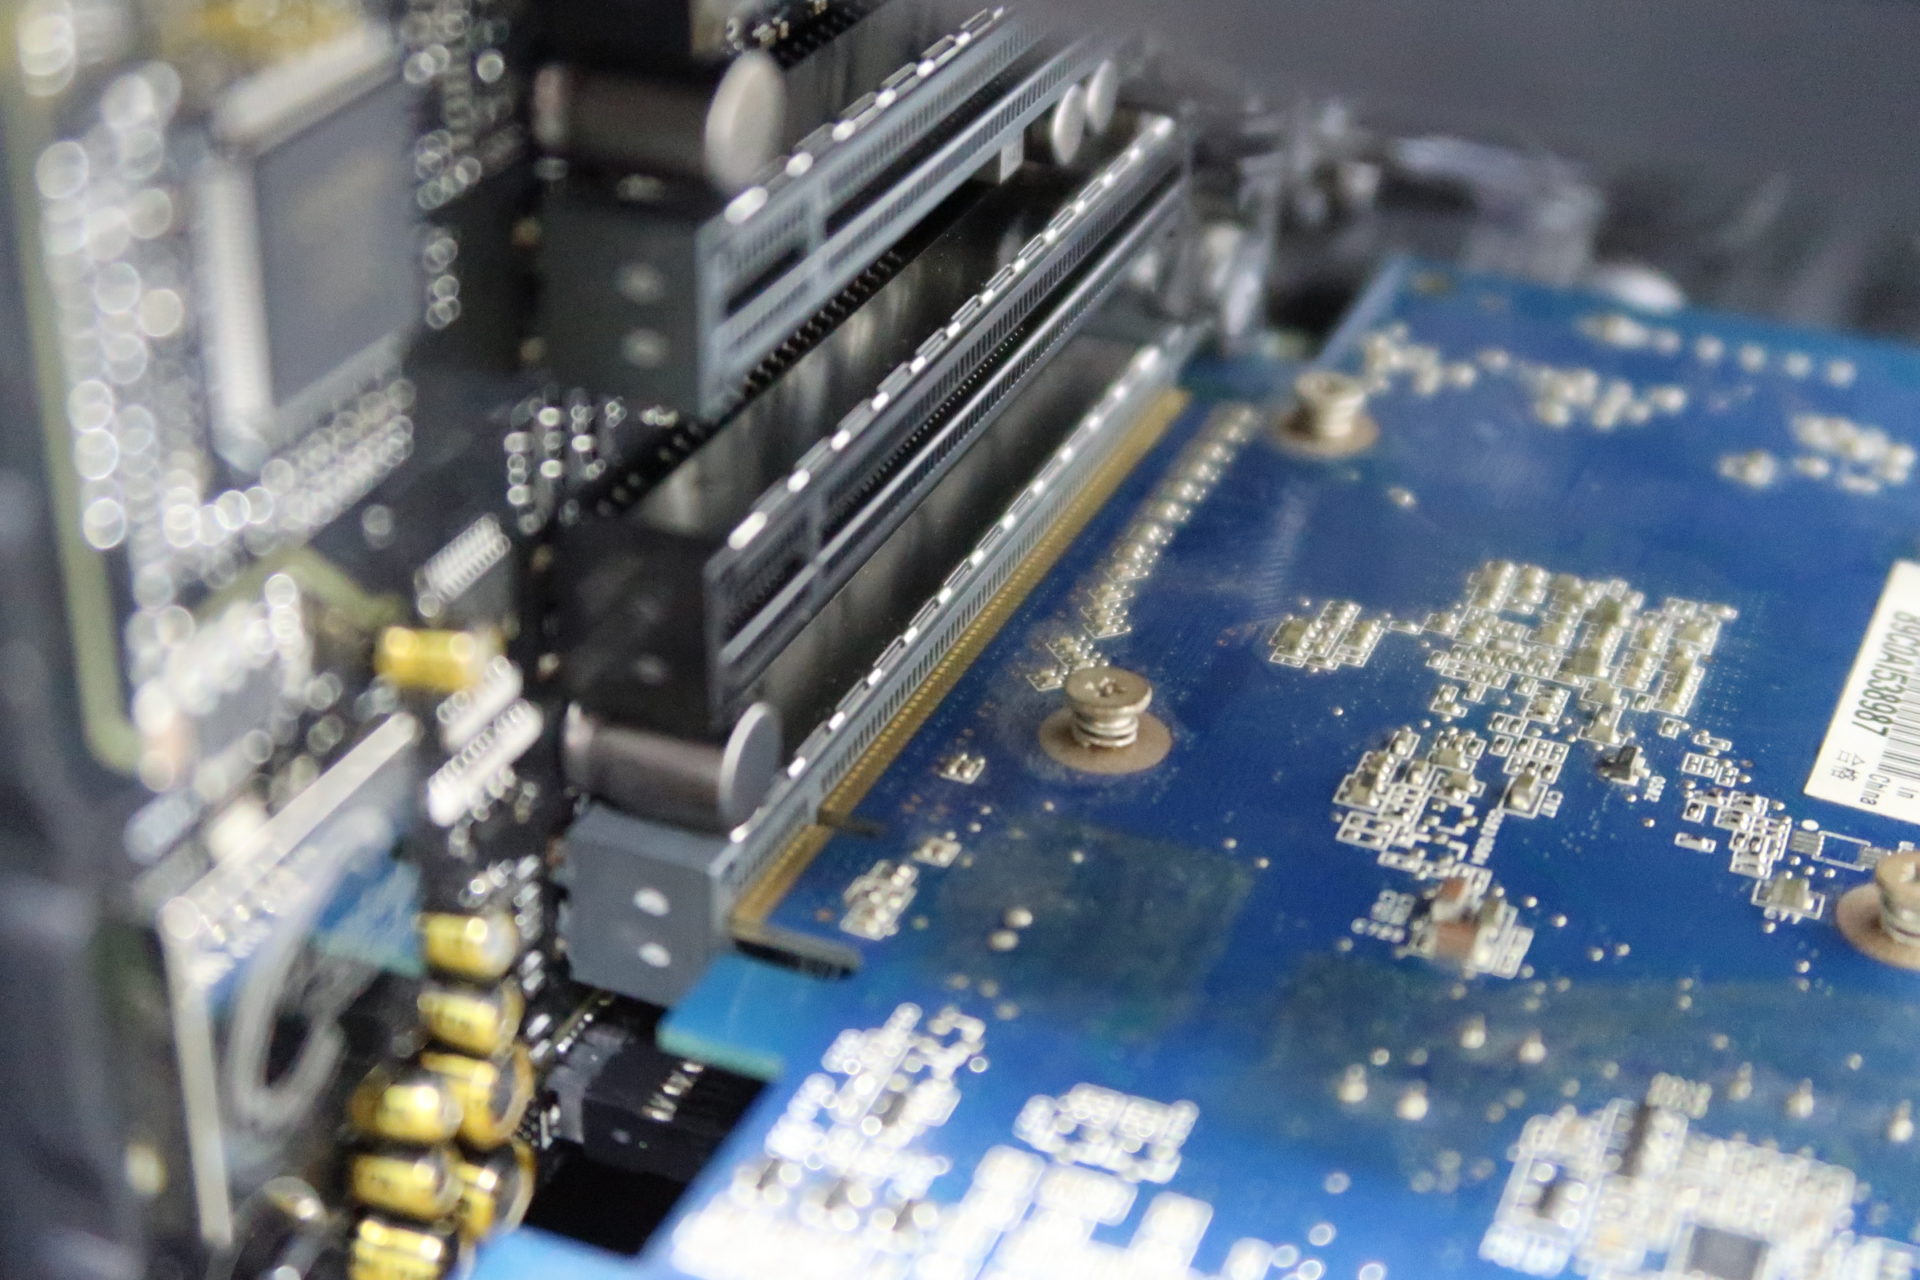
As we had to install multiple graphics card onto the system, I realised that a cable shroud found at the bottom of the motherboard tray actually came in the way of the graphics card. This has caused the graphics card to not be properly seated into the PCIe slot.
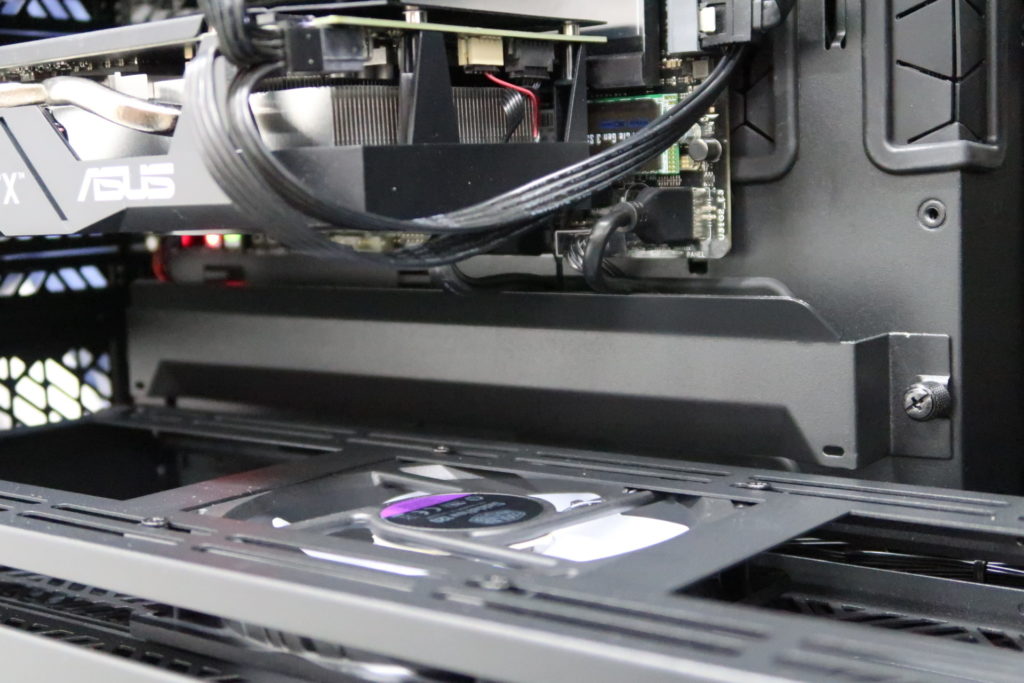
What I realised later was that the whole shroud was also removable, and is secured onto the motherboard tray via a thumb screw. Since the default position was slightly higher, all I needed to do was to move it downwards. This then allowed the graphics card to then fit properly onto the slot.
You know, it’s these kind of small things that makes you understand how much effort and thoughts the Cooler Master team has put into the HAF 700 EVO. I’ve really got the appreciate their efforts and detailed considerations when designing this case.
The Final Build
Messy cables? No problem. Just like how you would sweep dirt under the rug, we would just put the cover back onto the case and hide everything. Now, this side of the case just look as clean and neat as it should.
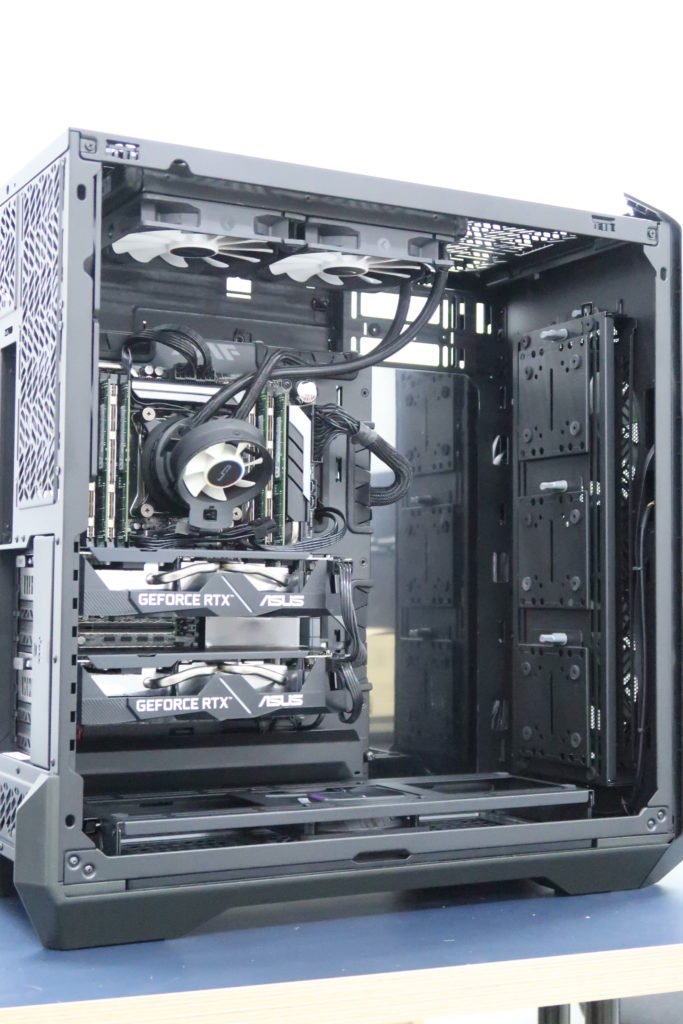
With all the cable management holes in place, it was quite a “walk in the park” experience to route all power and data cables to the motherboard. The result was that we can achieve a clean and minimal build without exposing too many cables.
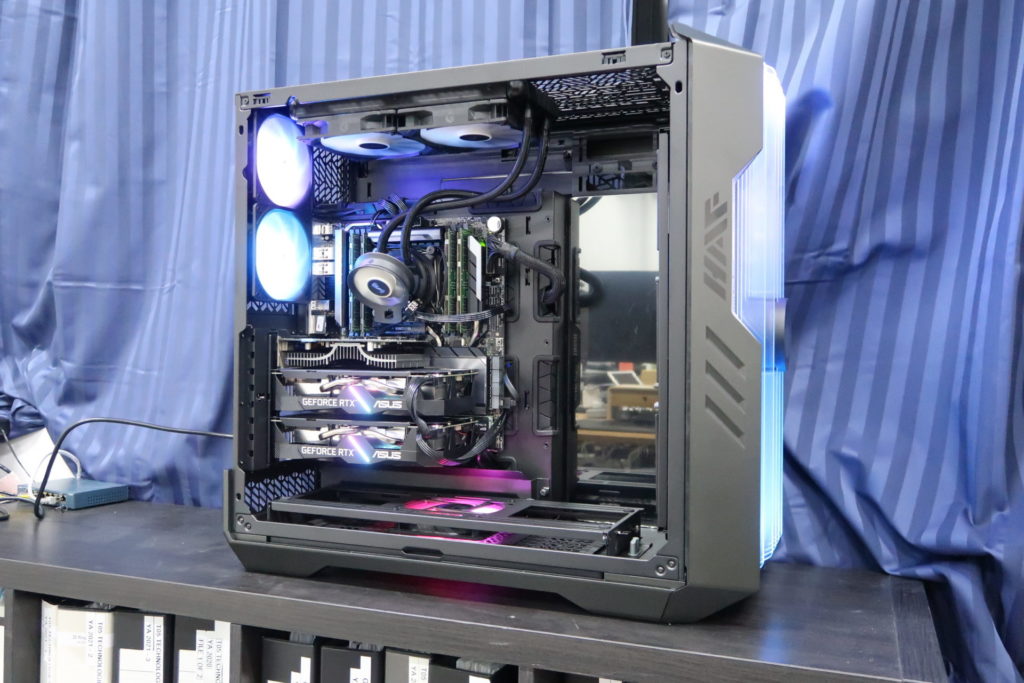
When the whole system gets powered on, you will now know that what you’ve went through building the whole system is all worth it.
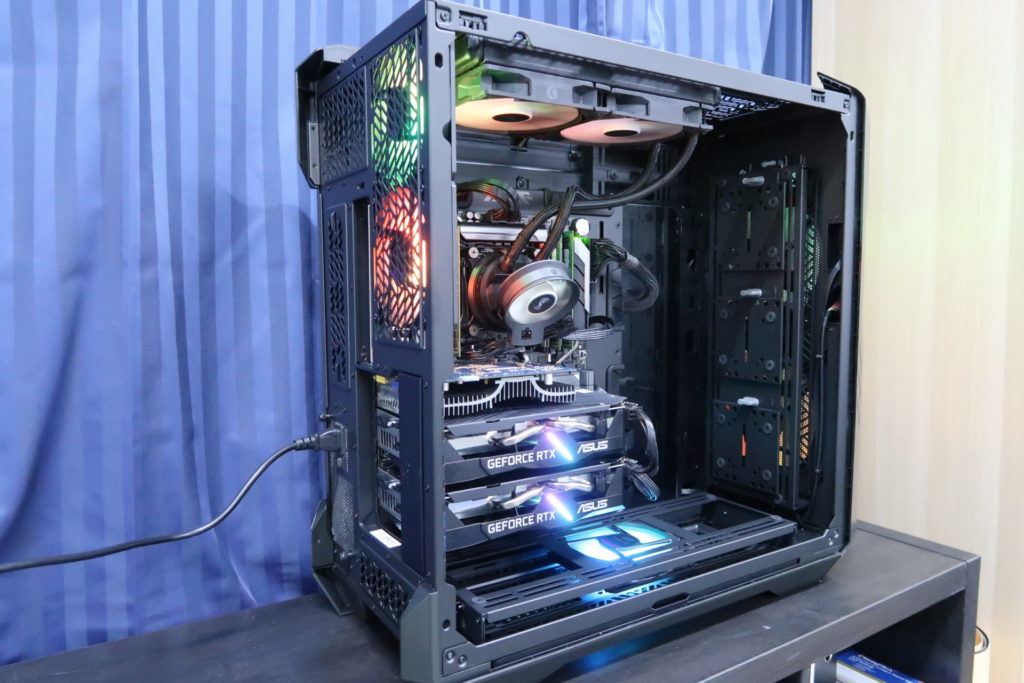
Unfortunately, since we only installed components which we had lying around, there was no proper considerations if our motherboard can fully support all features of the case. That is why, we weren’t able to fully utilize all the features of the case. You must take note that your motherboard need to have these headers, so that you can use all of the case’s features:
- 2 x USB 3.0 19-pin header – for 4 x USB 3.0 Type-A ports at the front of the case
- 1 x USB Type-E header – for 1 x USB 3.0 Type-C port at the front of the case
- 1 x USB 2.0 Header – for control of the RGB controller and front LED panel
Of course, if the USB 2.0 Front Panel connector was installed, you could also customize the case’s front LCD to display to show what you want. This includes the CM logo, system information such as CPU/GPU clock or temperature. If not, you can also make the LCD display to show a clock, or perhaps other multimedia.
Final Words and Conclusion
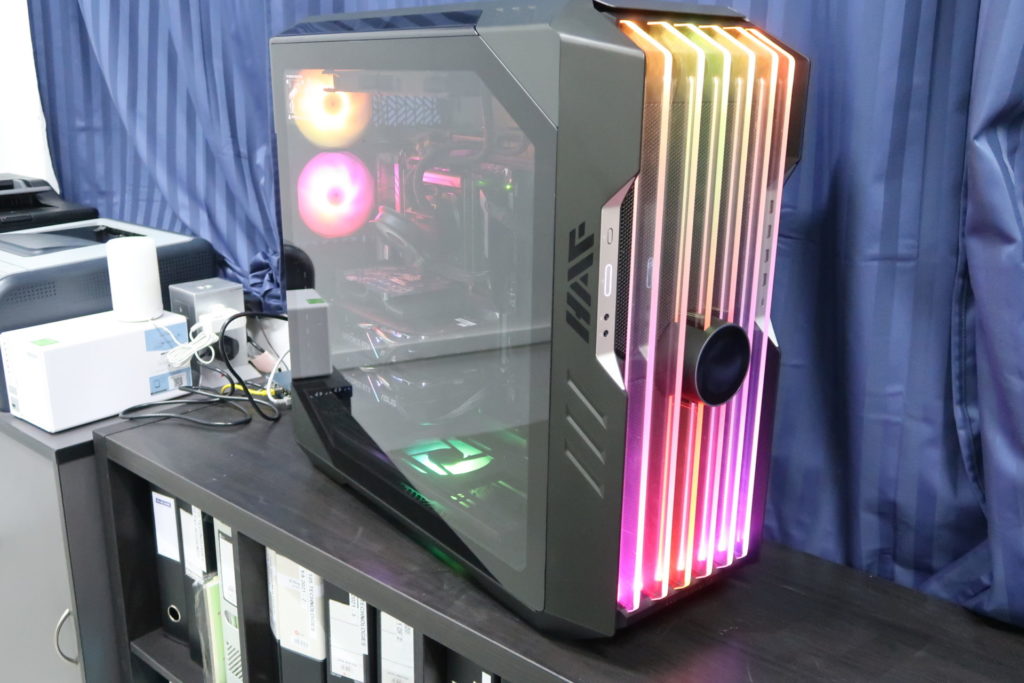
The Ultimate Case for the Ultimate Build. This would really be how I would describe the Cooler Master HAF 700 EVO case.
After spending a few hours with the HAF 700 EVO, it got me all excited about PC building all over again. Undoubtedly, when dealing with a case like this, and as a tech reviewer, I was simply amazed by all the various features and thought process put into a product. Every single component was properly engineered and considered. Nothing was pretentious, and all of it served a purpose.
I’ve really got to give kudos to the design and engineering team from Cooler Master.
I don’t expect anything more from a PC case. The HAF 700 EVO sets a new benchmark for a next generation of high-end premium desktop full tower case. It is highly usable, spacious, performs extremely well in terms of cooling, and also very versatile as well. Of course, we can’t forget about how the case brings “tool-less” design to the next level.
If you are looking for a new top of the line desktop PC case for that workstation or that no-compromise gaming build you have always dreamed about, the HAF 700 EVO is one serious contender. You just have to make sure that you motherboard is good enough to be worthy of the case (not the other way round).
What the HAF 700 EVO should really look like with all connections done right


