A need for NAS
In today’s information age, data storage and backup management have gained significant importance to many organizations. For businesses that rely largely on the data that they create and manipulate, a proper storage solution is fundamental to everyday operations. Networked Attached Storage devices, or more commonly known as NAS, have become the mainstream for many business operations.
For example, a video production company will require their large raw video footages to be uploaded to a storage solution so that they can be use by their editors. The editors will then look through the archive of videos and select the correct footage for their videos. If these videos were all kept on the cloud, the transfer of these files down to their local workstations will be limited by the bandwidth of the internet connection. If these videos are stored locally on a PC, it would make sharing, backup and archival difficult. Being able to meet all these requirements, a local NAS will fit the job scope nicely.
Network Speed of NAS
Today, most NAS systems runs on Gigabit ethernet speeds. For the layman, this means that the transfer rate of files across the device can only reach 1000Mbits per second. When converted to bytes, this is just 125MBytes per second. A typical hard disk drive can read and write data at about 200+MByte per second. Most of the time, the speed of file transfer is bottle-necked by the network, but not the speed of the hard drive. Moreover, as Solid-State Drives (SSDs) are capable of reaching speeds beyond 1GByte per second, a NAS device that supports only gigabit speed seems somewhat outdated.
This is why, many new NAS systems out there are now equipped with the 10 Gigabit Ethernet standard interface instead. As obvious as it may seem, 10 Gigabit Ethernet standard is 10 times faster than the usual Gigabit Ethernet. With such a network interface, the transfer speed of files becomes limited by the storage drives themselves, rather than the network. It brings about huge productivity gains for businesses that transfer a lot of data. A previous set of files which took 10 hours transfer could potentially take only 1 hour now with 10 Gigabit network speeds.
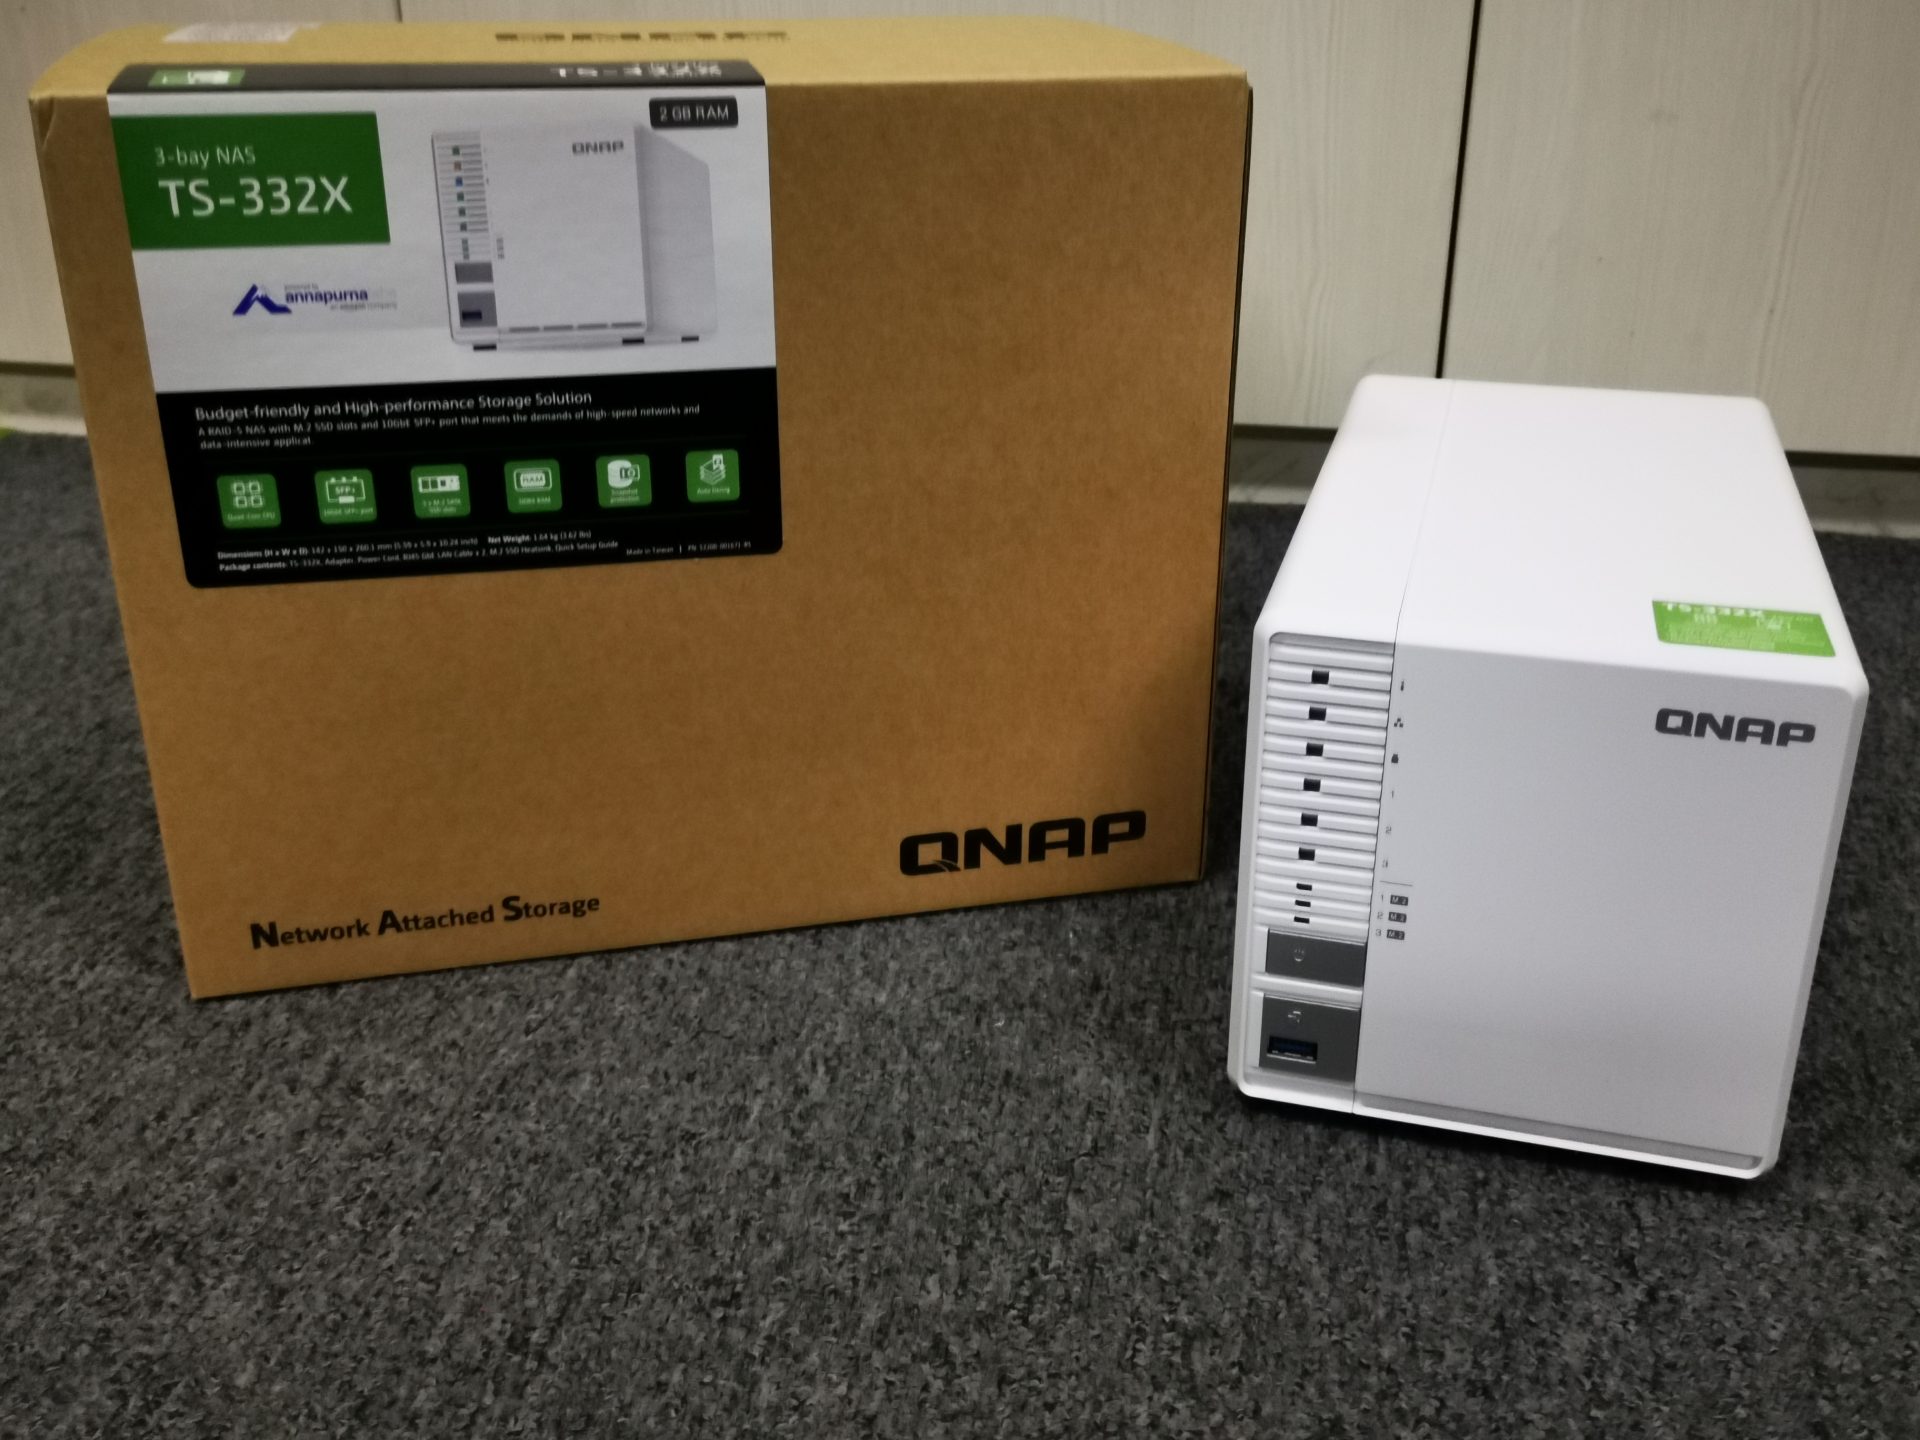
However, 10 Gigabit Network devices, such as a 10GbE NAS, have always been more expensive than the standard Gigabit devices. QNAP has strongly believed that it’s about time to move on to a new era of 10GbE based devices, and pushed forward a range of 10GbE supported network devices. As for storage needs, they have also released the new QNAP TS-332X Network Attached Storage. In this review, we will take look at the performance of a 10GbE enabled NAS, as well as the various features that makes the TS-332X unique.
A Quick Look at the QNAP TS-332X
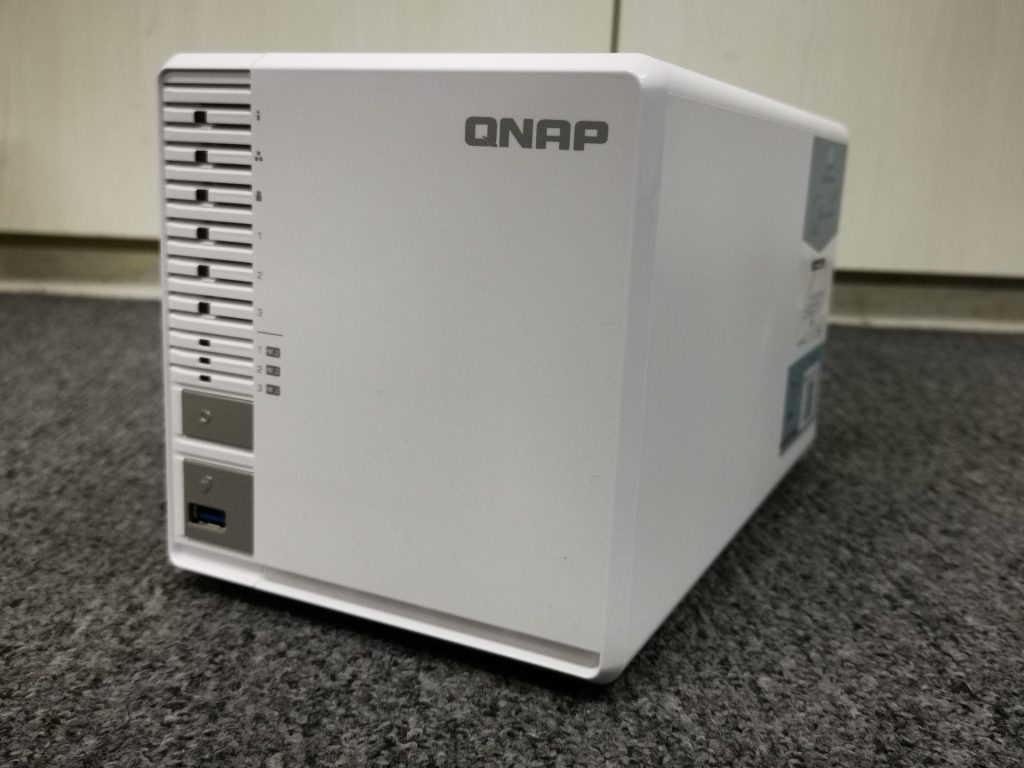
The QNAP TS-332X looks to be a rather simple NAS system. Unlike its counterparts which has a hot-swappable disk bay design with individual drive trays, this NAS system requires users to remove the whole enclosure in order to install or change hard drives. We thought that it could be likely be a cost factor that has led to this design. Hot-swappable disk bays are likely to cost a lot more. Since the TS-332X focuses on affordability, perhaps QNAP has decided to take this feature away.
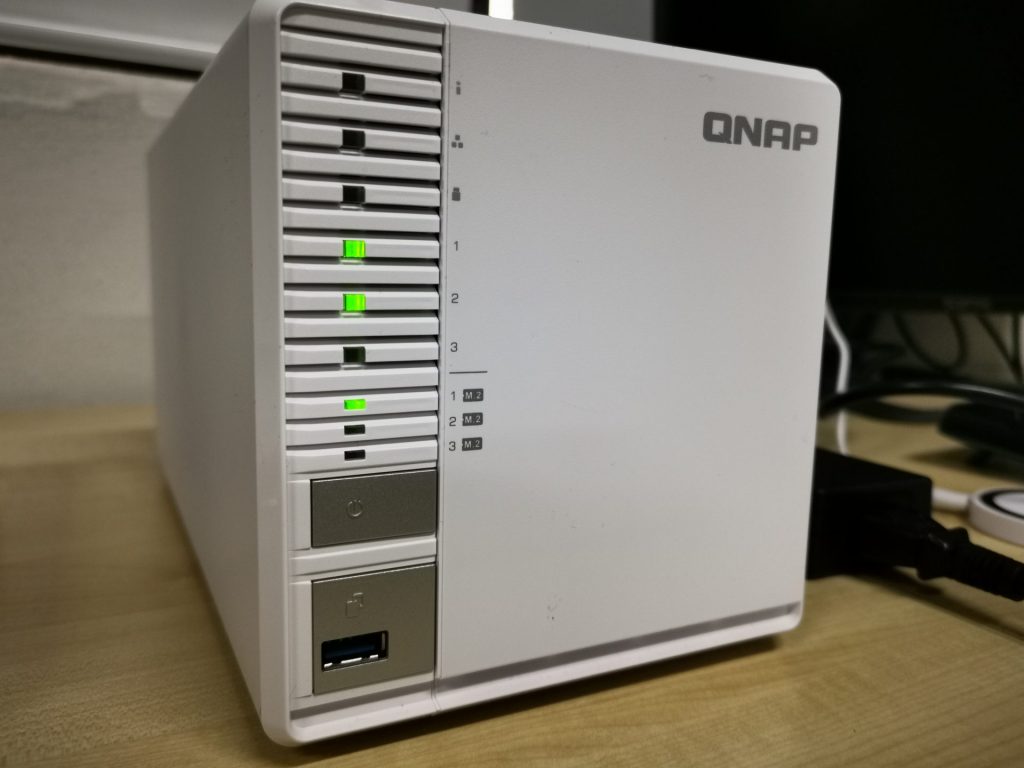
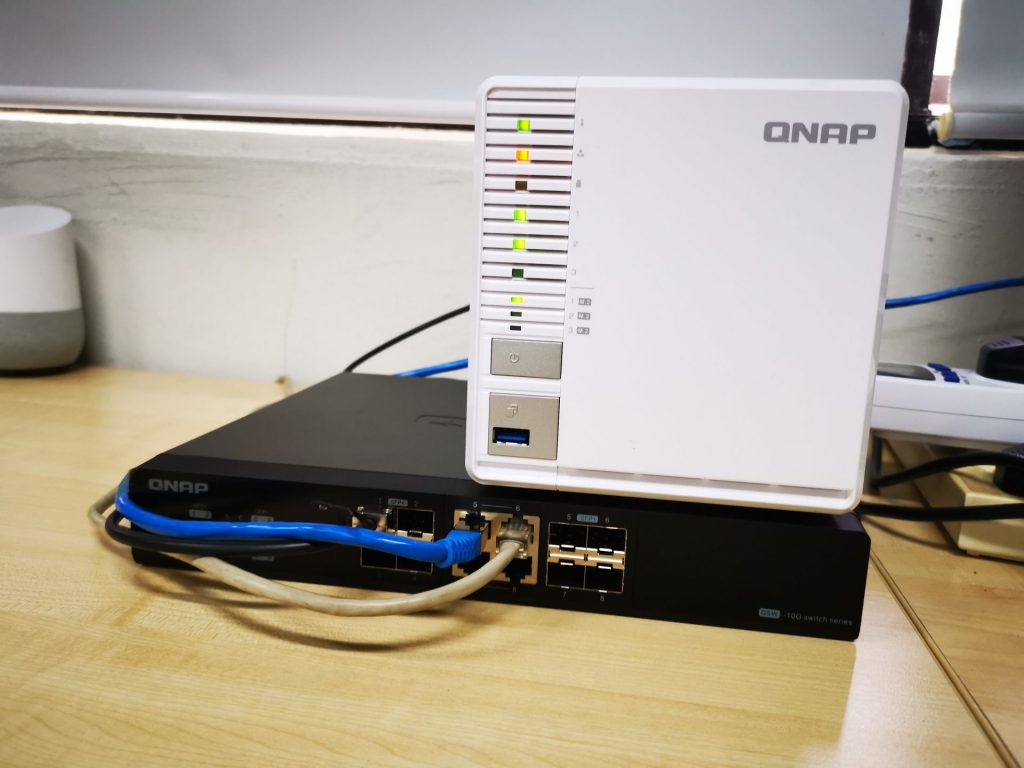
At the front of the NAS, we can see quite a number of LED indicator lights. At the top, there is a status LED, which shows the state of the NAS. For example, if there are configuration issues with the system, this LED will turn red or blink. Similarly, the network indicator light also shows network activity. The third LED is for the USB port that is found at the bottom. Furthermore, there are also individual activity and health status LED indicator lights for the 3 x hard drives and 3 x M.2 SSDs that can be fit in the NAS. The front USB 3.0 port supports a feature known as “One-Touch Copy“, which allows the contents of an external drive to be quickly copied into the NAS.
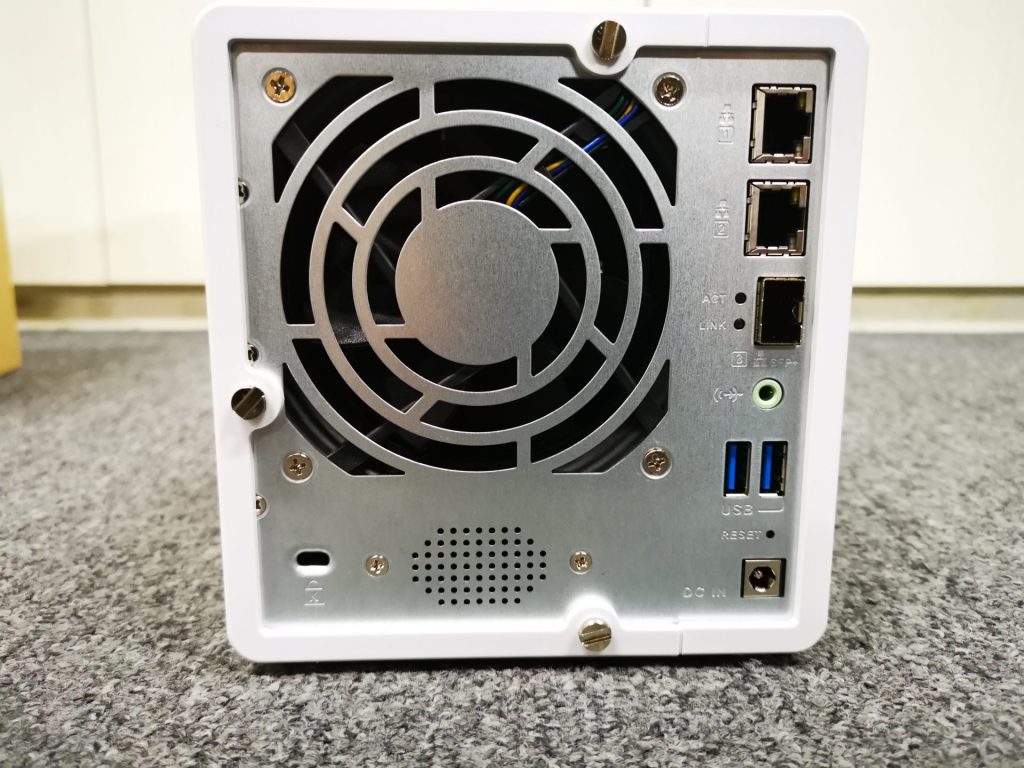
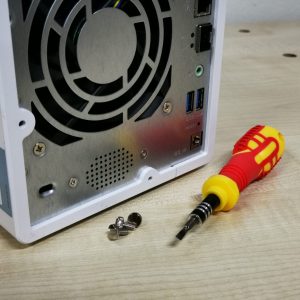
At the rear, we spotted a 90mm fan that actively keeps the drive and internal components cool. There are a total of 3 network ports found on this device – 2 x GbE LAN port and 1 x 10GbE SFP+ port. It’s quite a weird design consideration for QNAP to include a SFP+ port instead of a 10GbE RJ45 port. A usual RJ45 port is a lot more common in the market, and could be compatible with more 10Gbps devices. On the other hand, they have chosen to use 2 x Gigabit LAN port for their RJ45 ports instead. We would have preferred to see at least 1 x 10GbE RJ45 port, but it seems that this was the design choice of the QNAP designers.
Moving on, there is a 3.5mm audio jack output. You can connect the QNAP TS-332X to an external speaker system and enjoy networked music right out from the NAS. Below this jack is two more USB 3.0 ports for external storage devices.
Specifications
| Feature | Specifications |
| CPU | Annapurna Labs Alpine AL-324 64bit ARM Cortex A57 Quad-core 1.7GHz Processor |
| Memory | 2GB SODIMM DDR4 |
| Maximum Memory | 16GB |
| Flash Memory | 512 MB |
| Drive Bay | 3 x 3.5” |
| Drive Compatibility | 3.5” SATA HDD 2.5” SATA HDD 2.5” SATA SSD |
| Hot-Swappable | Yes |
| M.2 SSD Slot | 3 x M.2 2280 SATA 6Gbps slots |
| Gigabit Ethernet Ports (RJ45) | 2 |
| 10 Gigabit Ethernet Port | 1 x 10GbE SFP+ |
| USB 3.0 Ports | 3 |
| Audio Output | 1 x Built-in speaker, 1 x 3.5mm line out jack |
| Dimensions | 142 x 150 x 260.1 mm (HxWxD) |
| Kensington Security Slot | Yes |
Installation of Drives and SSDs
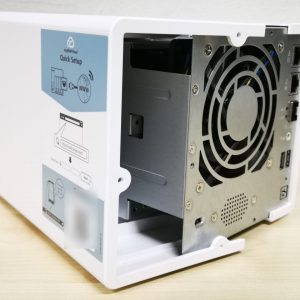
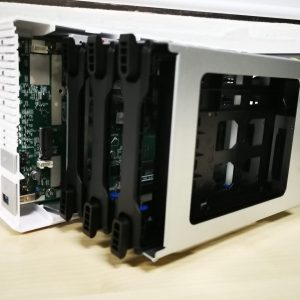
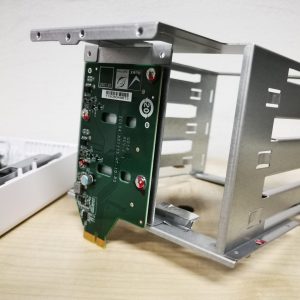
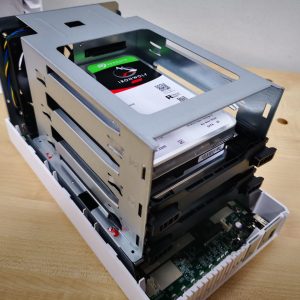
The QNAP TS-332X does not come with a tool-less design. In order to install or have access to the physical hard drives, users will have to need a screwdriver to remove the screws that secures the enclosure. Once these screws are removed, the plastic enclosure will slide out to reveal the hard drive cage and the main board.
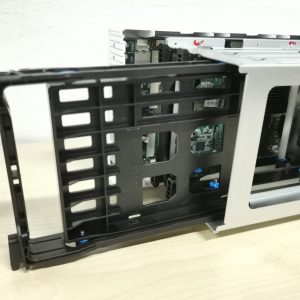
All three drives will then be placed vertically within the NAS. The hard drive trays also slides out easily and does not require any additional tools for hard drive installation. Moreover, the hard drive trays also support drives in 2.5″ form factor as well. A simple connector is attached to the hard drive cage, which connects all the hard drives to the main board that is mounted on the side of the NAS.
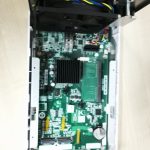
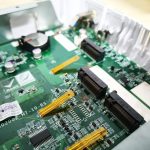
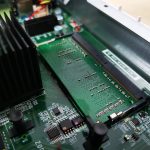
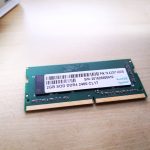
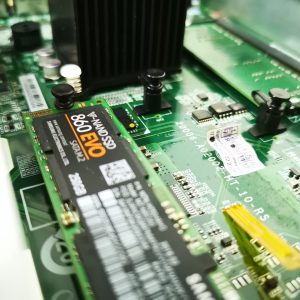
On the board, we found 3 more M.2 slots for further SSD expansion. Interestingly, this NAS system comes with a standard DDR4 SODIMM. In fact, if you have some spare cash to spare, it could be worthwhile to upgrade the RAM of QNAP TS-332X to a higher capacity. This whole system is powered by an ARM based processor that has been optimized for storage solutions. It also has accelerated data encryption and decryption capabilities.
Installation of the M.2 SSD was straightforward. QNAP specially designed a little ledge that keeps the SSD into place. Even though we were glad to see that QNAP included the support of M.2 SSDs within this setup, it was a pity that these slots only supported the SATA interface. Perhaps due to the limitations of the chipset, they weren’t able to support NVMe based PCIe M.2 SSDs. Such a feature, when paired with 10Gbps network connection would really give rise to a strong proposition of a high-performance storage system.
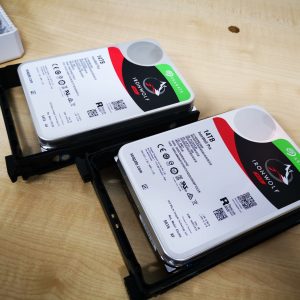
For our setup, we included a Samsung 860 EVO SSD and 2 x Seagate IronWolf Pro 14TB drives. The QNAP TS-332X is connected to the QNAP QSW-804-4C 10G Ethernet Switch via SFP+, which gives us a direct 10Gbps bandwidth for our local networks. For our test system, we had it connected to the same switch with a QNAP QXG-10G1T 10GbE Network card. Yes! We’re 100% 10Gbps network compatible!
Software Installation
It’s easy to get the QNAP TS-332X installed. To get started, we simply followed the instructions that were indicated on a sticker on the enclosure. Even though we don’t have the habit of reading the instructions booklet unless totally necessary, we realized that perhaps that was not required in the first place at all!
We would say that the main installation of the NAS can be divided into three parts, which are as follows:
1. Registration and linking your NAS to the Cloud
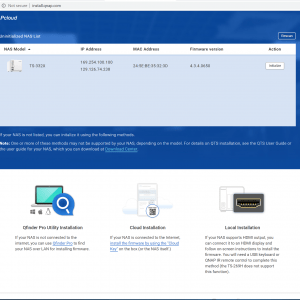
Based on the stickers found on the NAS, we simply had to visit install.qnap.com. To move on, we clicked on initialize, which kickstarts the whole installation process. We found this NAS discovery service very user friendly, as the process was really fuss free.
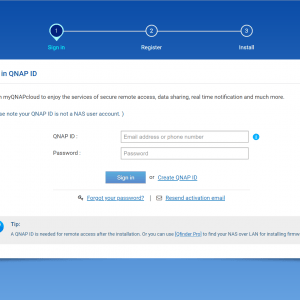
Moving on, we then had to create an account with QNAP and setup cloud access to this NAS. This makes it straightforward at a later stage for us, as we can easily access our files from our NAS from anywhere, as long as we have an internet connection. Once this was done, we were instructed to proceed with the configuration of the NAS device itself. At this point of time, the software also searches for the latest firmware and prompts the user to update the NAS as well.
2. Configuring the NAS
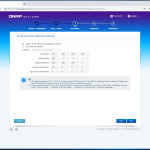
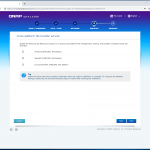
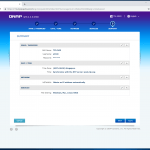
For a start, we had to create an administrator user account, which will be used to execute all further settings on the NAS. Moving on, the setup will guide you through in setting up the date/time, network, and activation of various share services such as Windows, AFP and NFS. For those who don’t know too much about all these terms, you can simply just tick everything and your NAS should work with most operating systems.
With that completed, we were done with this part of the setting up!
3. Adding Disk Volumes for Network Sharing
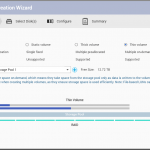
Perhaps the most challenging part of the setting up process is the creation of disk volumes. The QNAP TS-332X has a couple of ways to create a disk volume for file sharing. It is actually not easy to understand the different methods that could fit the best for your use case, but there are always recommendations and default settings that are embedded in the instructions. Those really helped us a lot in getting this up.
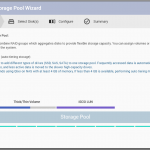
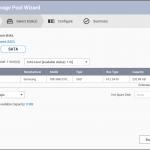
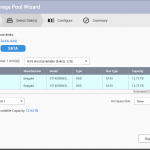
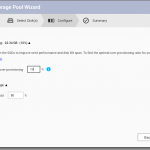
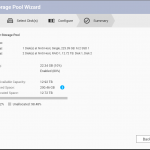
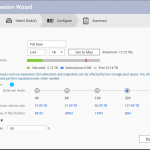
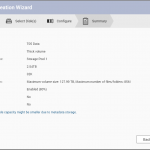
To get started, we had to create a storage pool, which is like an abstract layer on top of the physical disks. The storage pool will then allow users to treat all storage drives as one, and only view available storage for volume creation. For our setup, we set up our two hard drives in RAID 1 mode, which mirrors data between the two drives for redundancy. Our SSD is a separate entity by itself. The QNAP NAS also helps to extend the SSD lifespan by setting up over-provisioning profiles, which prevents the SSD from getting filled up that will affect its performance and reliability.
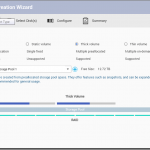
Based on the available size within the created storage pool, we can proceed with the creation of volumes. As we chose Qtier storage pool earlier, all the SSD and Hard drive will be seen as one pool. Frequently accessed data is automatically moved to faster drives, and less active data to slower drives.
File Transfer Performance
To set the baseline for our performance test, we must consider the raw performance of the hard drive. You can see the performance results of the Seagate IronWolf Pro here.
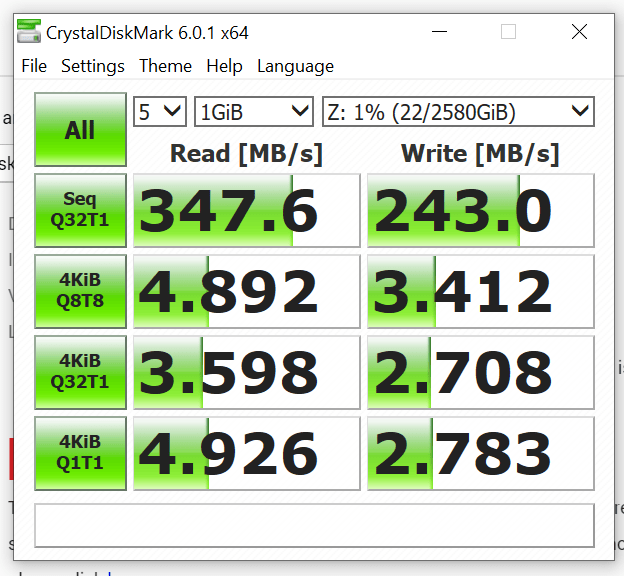
With the mapped drive, we did a CrystalDiskMark test on the network volume. Interestingly thanks to the Q-tier system and proper data caching system within the NAS, we were able to achieve speeds that were higher than what the hard drive has to offer.
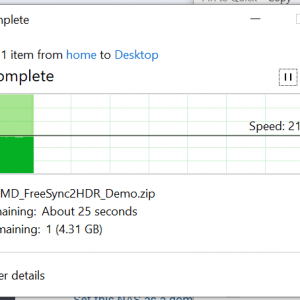
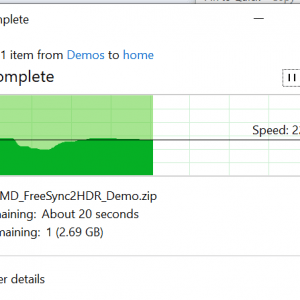
The read and write performance to and from the NAS via Windows SMB protocol looks promising. Thanks to the 10Gbps network, we were able to get more than 200MB/s for our file transfers. Of course, if we simply transferred files between SSDs instead of hard drives, the speeds would be even higher.
This test also shows the possibilities of a 10Gbps equipped NAS. Other NAS would only max out their transfer speeds at 125MB/s, but we were able to surpass that and reach the 200MB/s mark, which is largely bottlenecked by the hard drive.
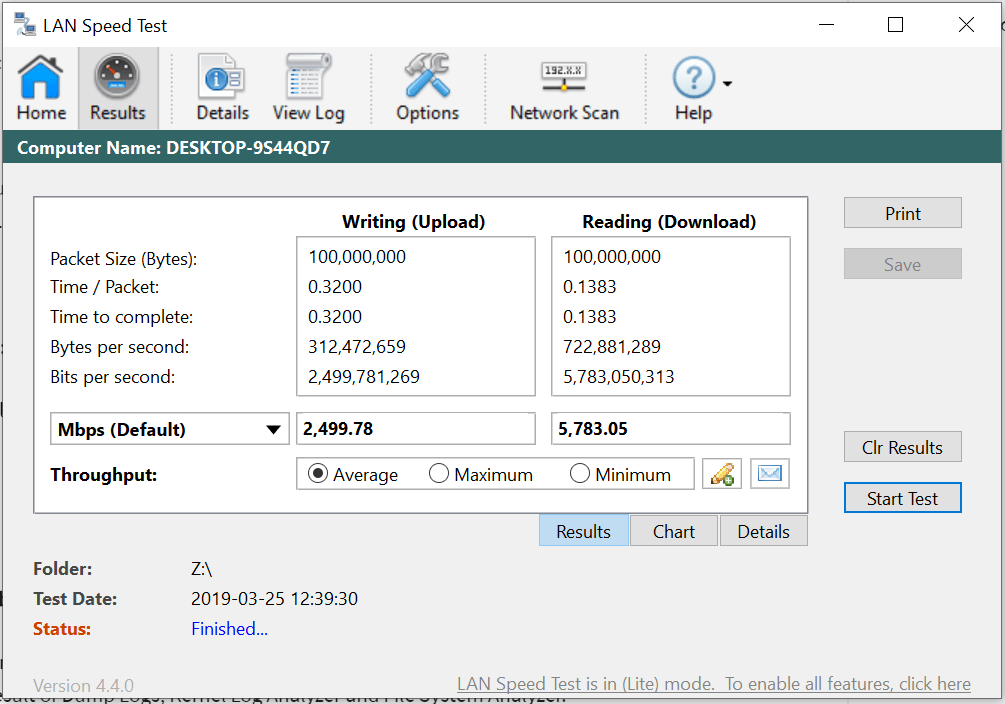
On the LAN speed test, when uploading and downloading a file, we were surprised to see read speeds reaching 5783Mbps (722MB/s) and write speeds of 2499Mbps (312MB/s). This could be attributed to the caching of the files on the SSD and perhaps the DRAM of the NAS.
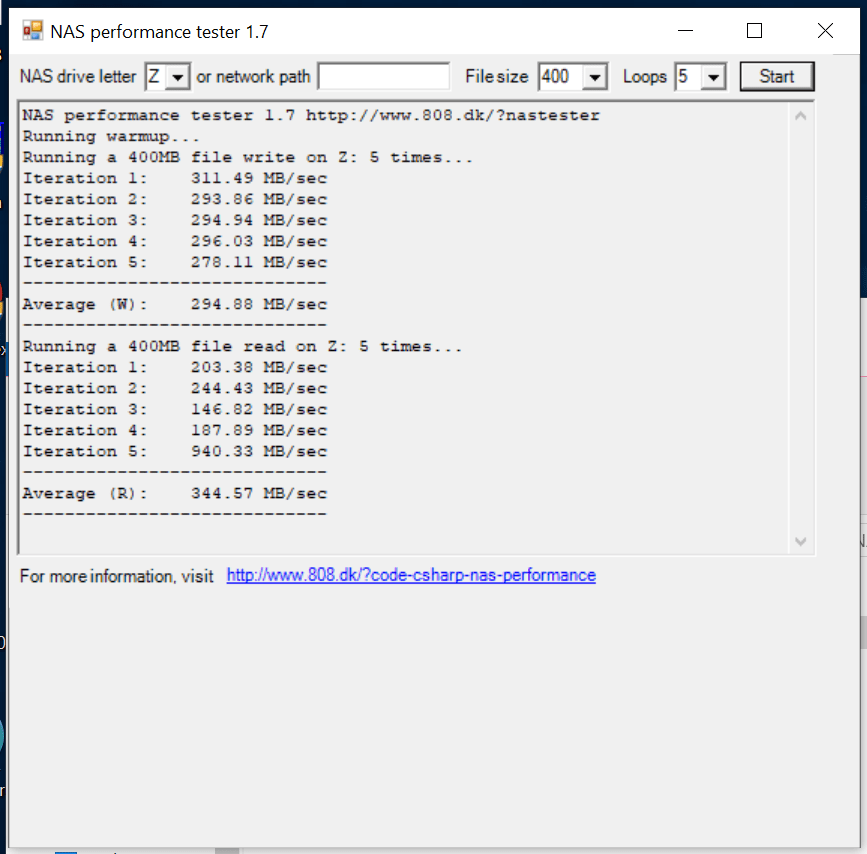
NAS performance tester stated that the average transfer speeds of the NAS were at 294.88MB/s write and 344.57MB/s read.
Conclusion
The QNAP TS-332X’s most promising feature is its 10Gbps network interface, which allows the NAS to edge over competing products in the same price segment in terms of performance and features. This also sets the NAS apart from many other SME focused systems in the market. But in a bid to save on cost and reduce its price, it lost hot-swappable disk bays. If you are are fine with that compromise, and are looking to upgrade to something faster without breaking the bank, the QNAP TS-322X NAS will be a right choice.


